Thursday, June 11th, 2015 by Trevor Hogg
A native of France who was surrounded by art, music and films growing up, Alexandre Jarek studied architecture at the CREAD Institute while self-educating himself on the skills required to become a CGI artist. “I started doing 3D Artworks because of my studies. I studied interior design for 4 years and I firstly used 2D artworks [drawings, sketches] to represent my concepts. But gradually I became more interested in using 3D tools which were more flexible than 2D.” The Internet was a great source of education. “There are a lot of good blogs where it is easy to find great resources such as Ronen Bekerman’s Blog, 3DTotal, and CGArchitect. You may also find online trainings such as courses by Grant Warwick. I started with CGTuts and especially, tutorials made by Ben Tate.”
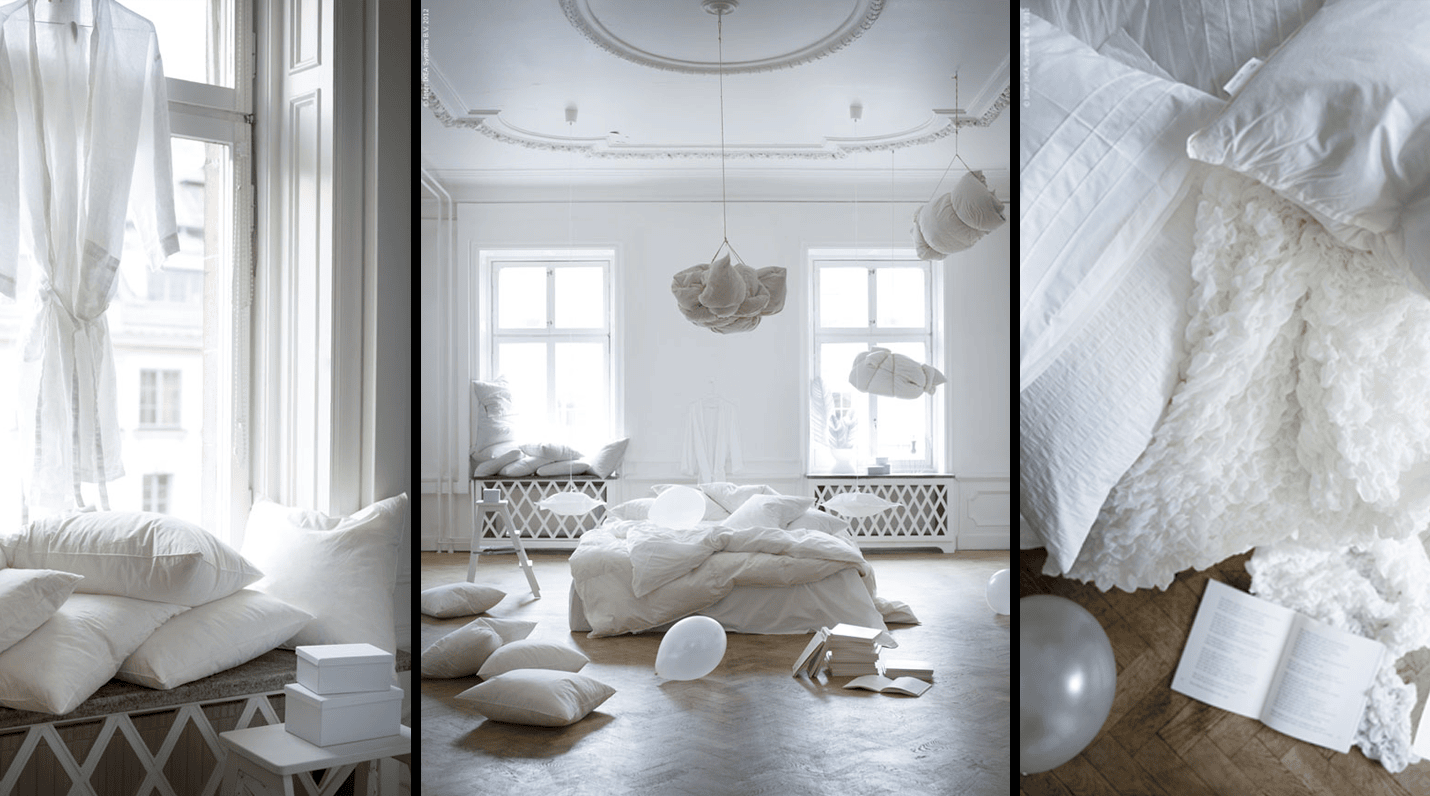
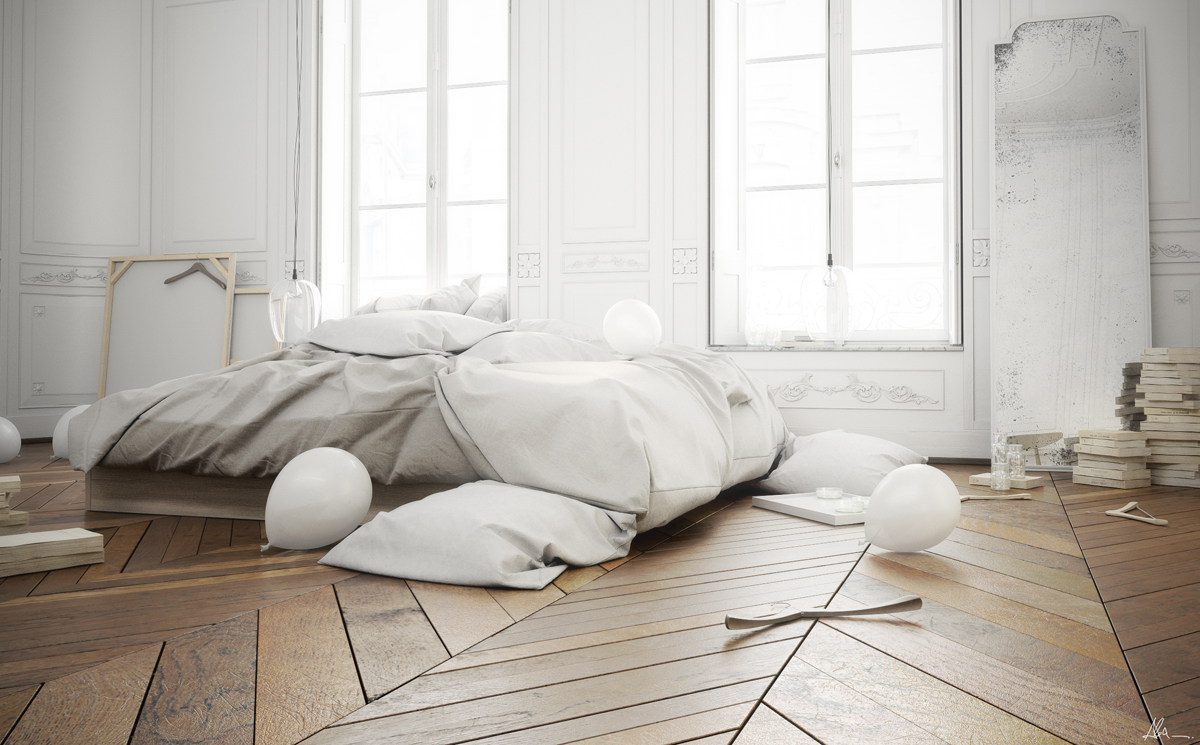
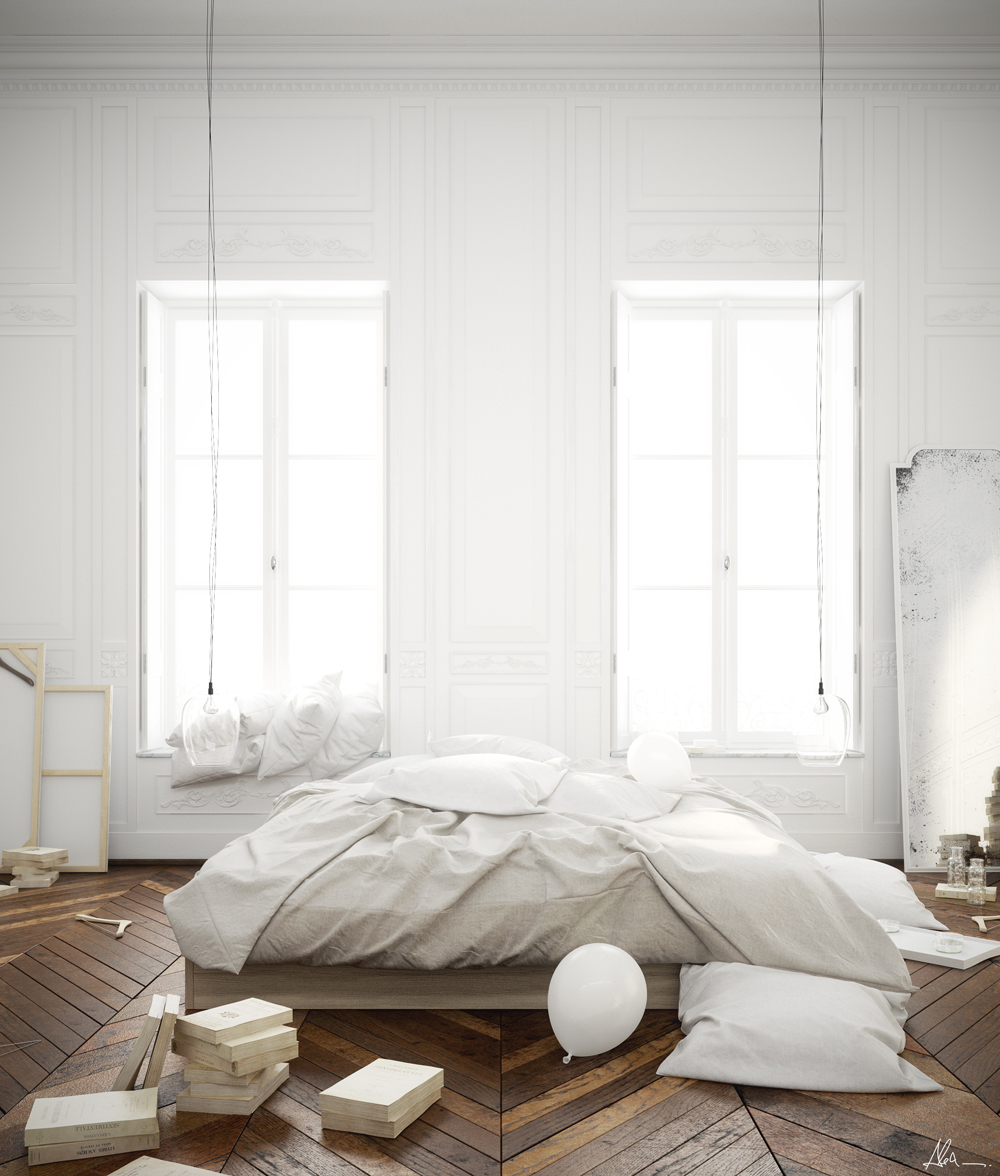
Different elements need to be kept in mind when developing 3D and 2D artwork. “2D is mainly dealing with depth perception and how to fake it. In 3D you do not need to care about the perspective since you’re already working with three dimensional meshes but you have to deal with composition.” Jarek has created quite a buzz on the Internet by illustrating his ideal IKEA home which was inspired by a single picture discovered on the official website of the Swedish furniture retailer; he has taken the time to provide RebusFarm with some insights into his creative process and workflow.
What sort of visual research did you conduct?
"I focused on well composed pictures and real world photographs. Since I’m not an expert in photography, it was important for me to gather good references and mimic what works and avoid what does not."
What software programs did you use?
"I use several applications, but for this particular project I used 3ds Max [for the major part of the model], Marvelous D [for the fabric creation], V-Ray [as a render engine] and Adobe Photoshop for the post processing part."
What was your workflow?
“I start by gathering as many references as possible which are really important since I always try to reproduce the real world and then, it’s all about 3D which involves modeling, lighting, texturing, rendering and post-production.
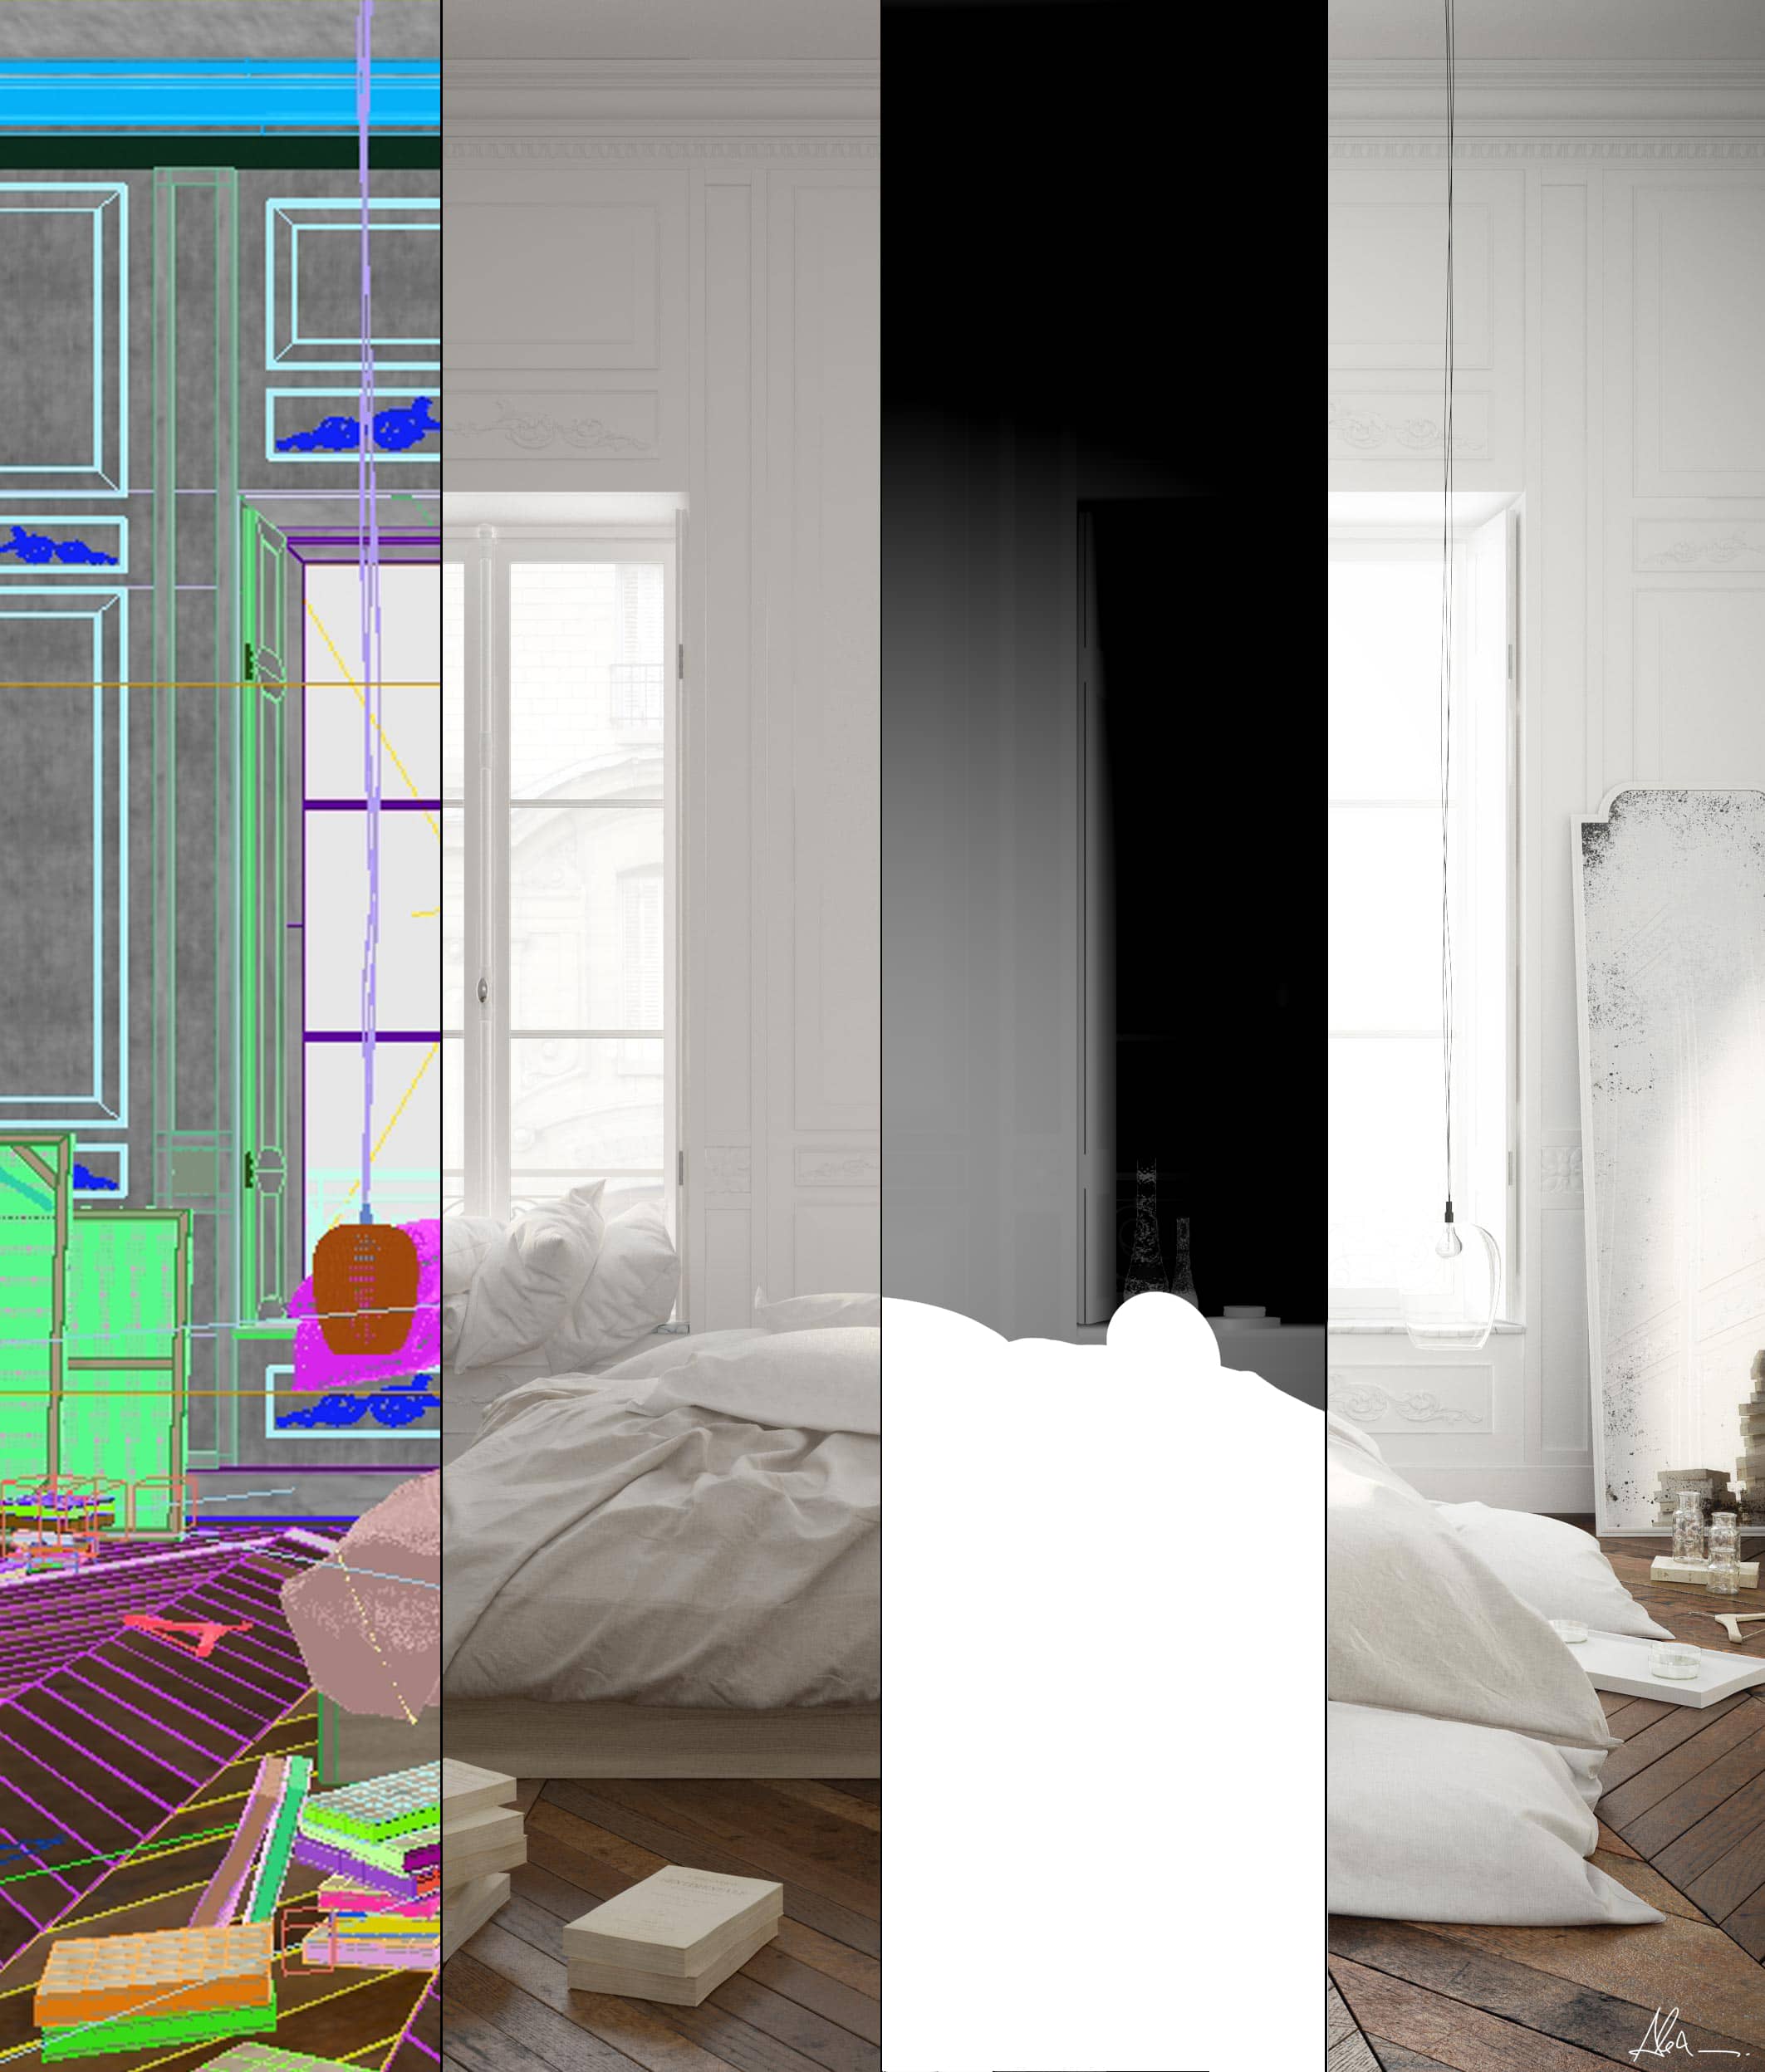
For the modeling part, I started with the main structure such as the walls, floor, and ceiling. I then dealt with the details, like windows and doors. For the bed, I used Marvelous D which is great software program to deal with fabrics and it is much easier to use than it appears. When the modelling is complete I try to find a good atmosphere with the lighting, and then work on the shaders and materials."
How did you approach the required modelling?
"I followed references and tutorials about how to create creases and folds with Marvelous D. The most difficult part was to recreate the real world fabrics feeling with its shapes and natural deformations. In the end, it took a few tries with the software program and that was good!"
What was involved in producing the floor, fabric and light?
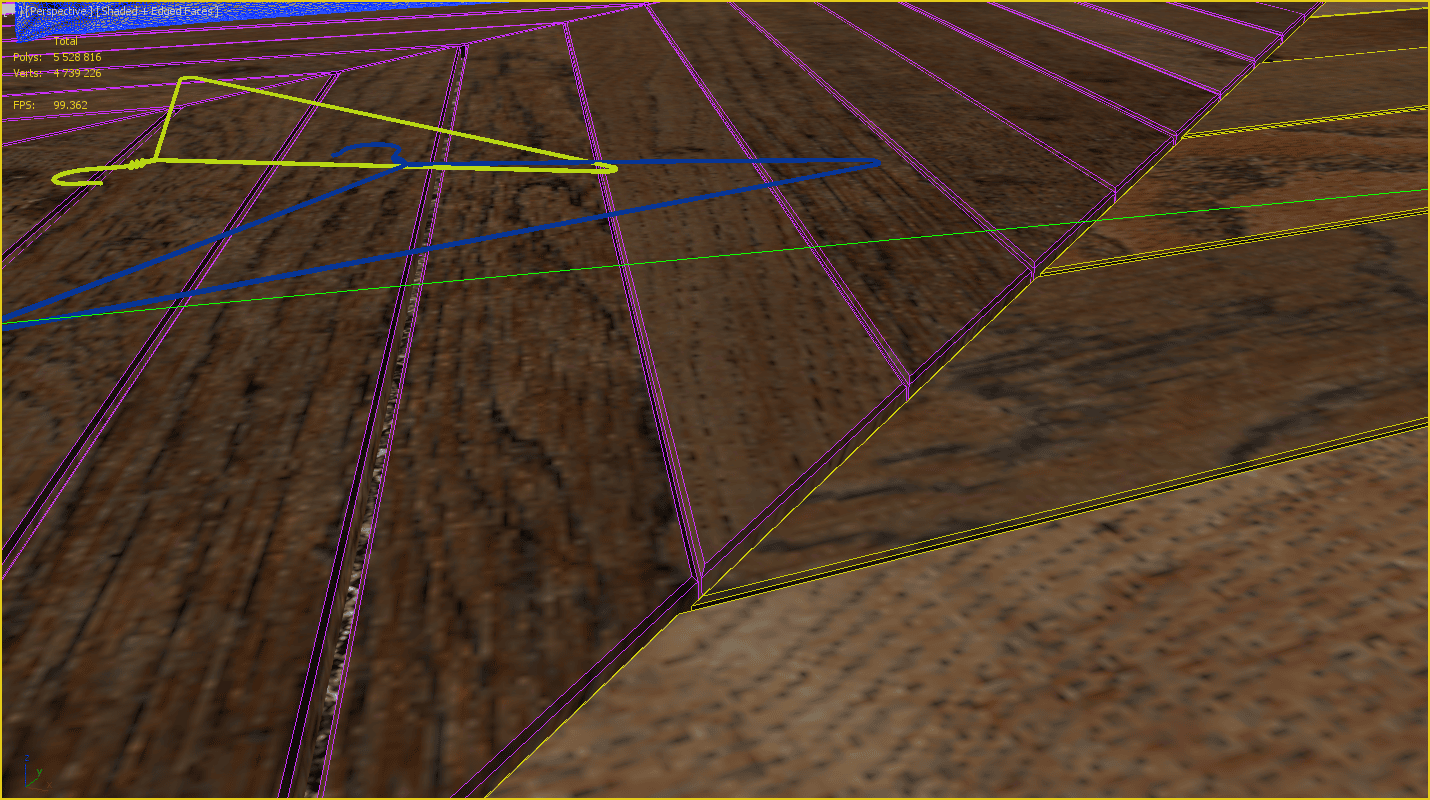
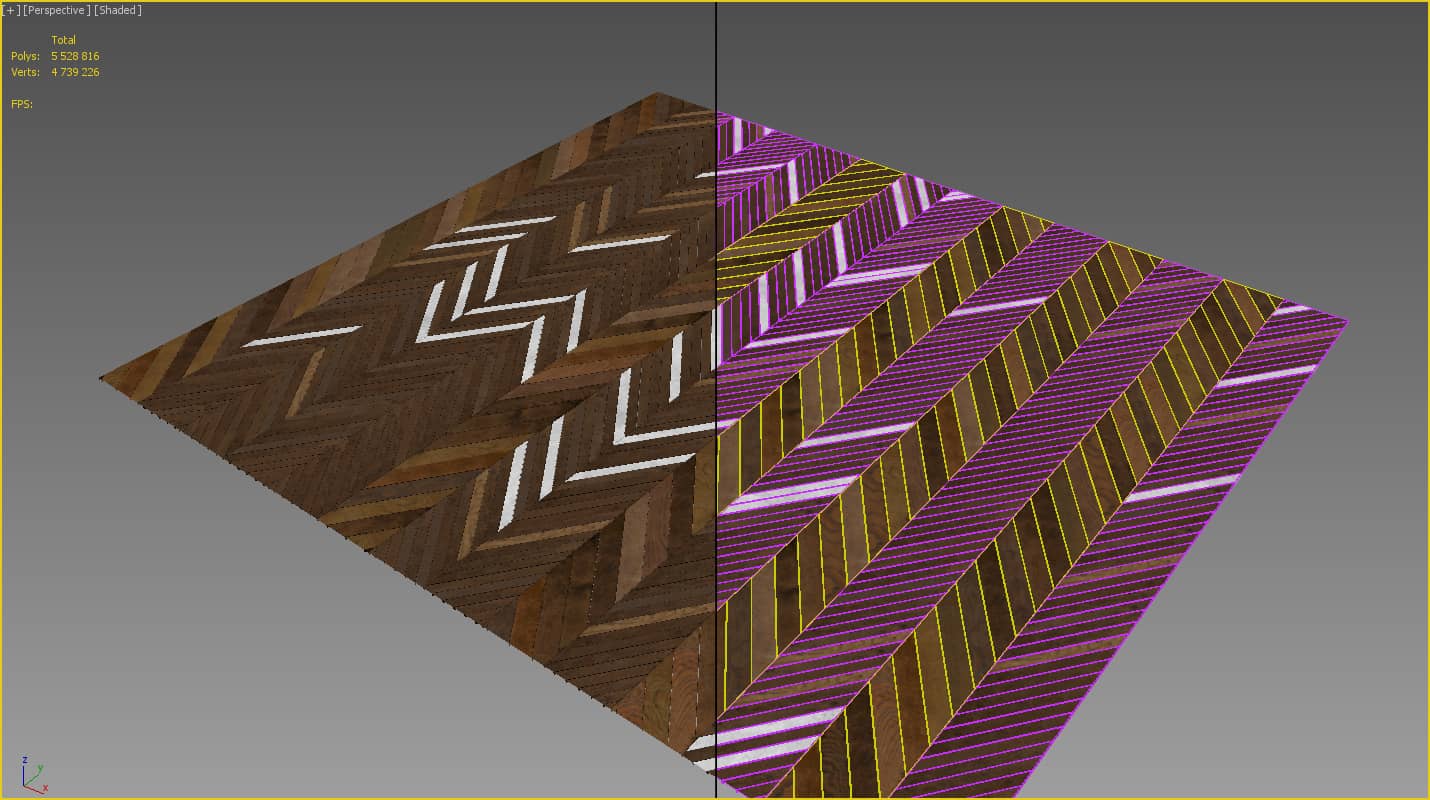
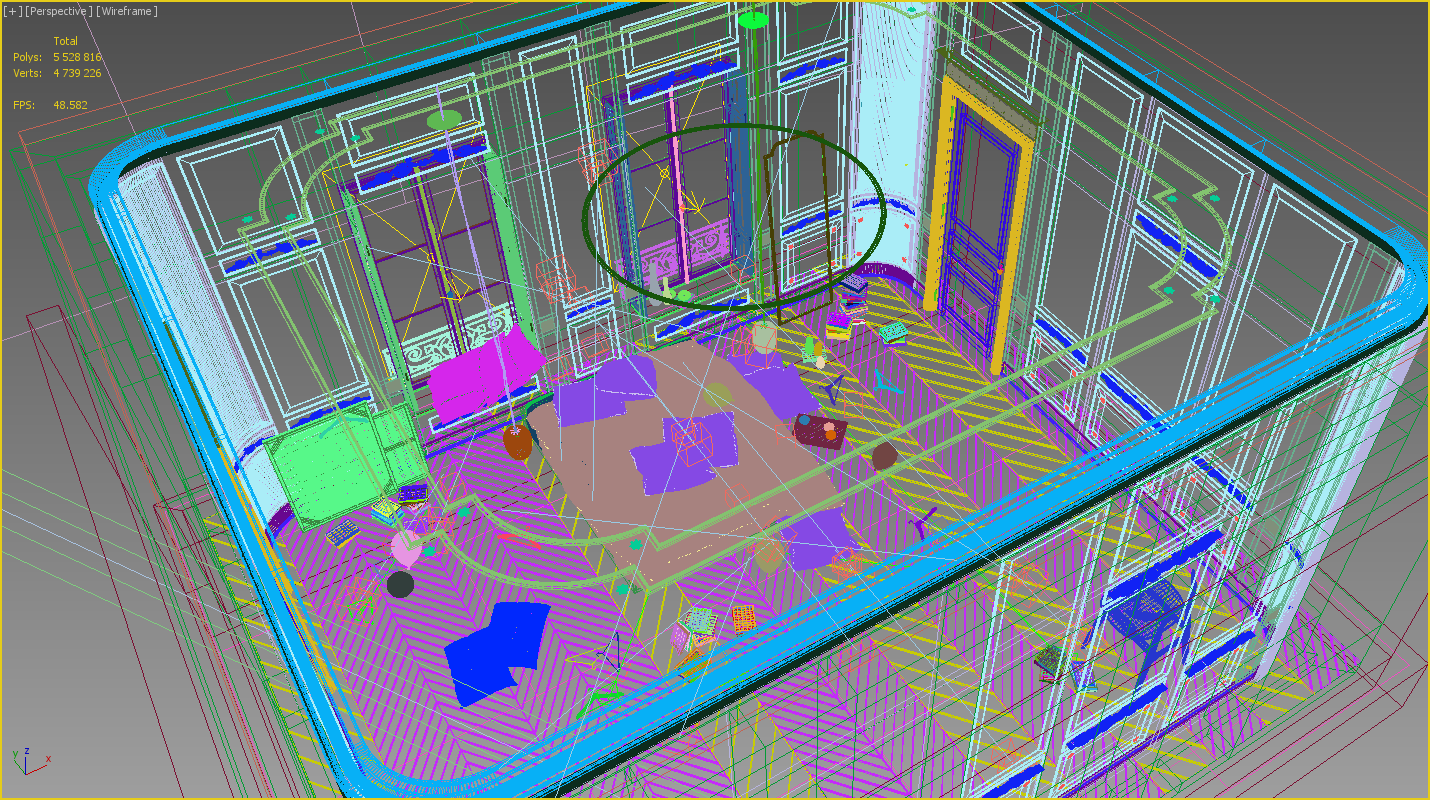
Floor: "I modeled the floor, plank by plank. I wanted to give each plank a different height from the other and put them in place separately. Of course, this takes a bit of time and I could have used some plug-ins such as Floor Generator but I didn't. I unwrapped the planks to create a different Map for each one."
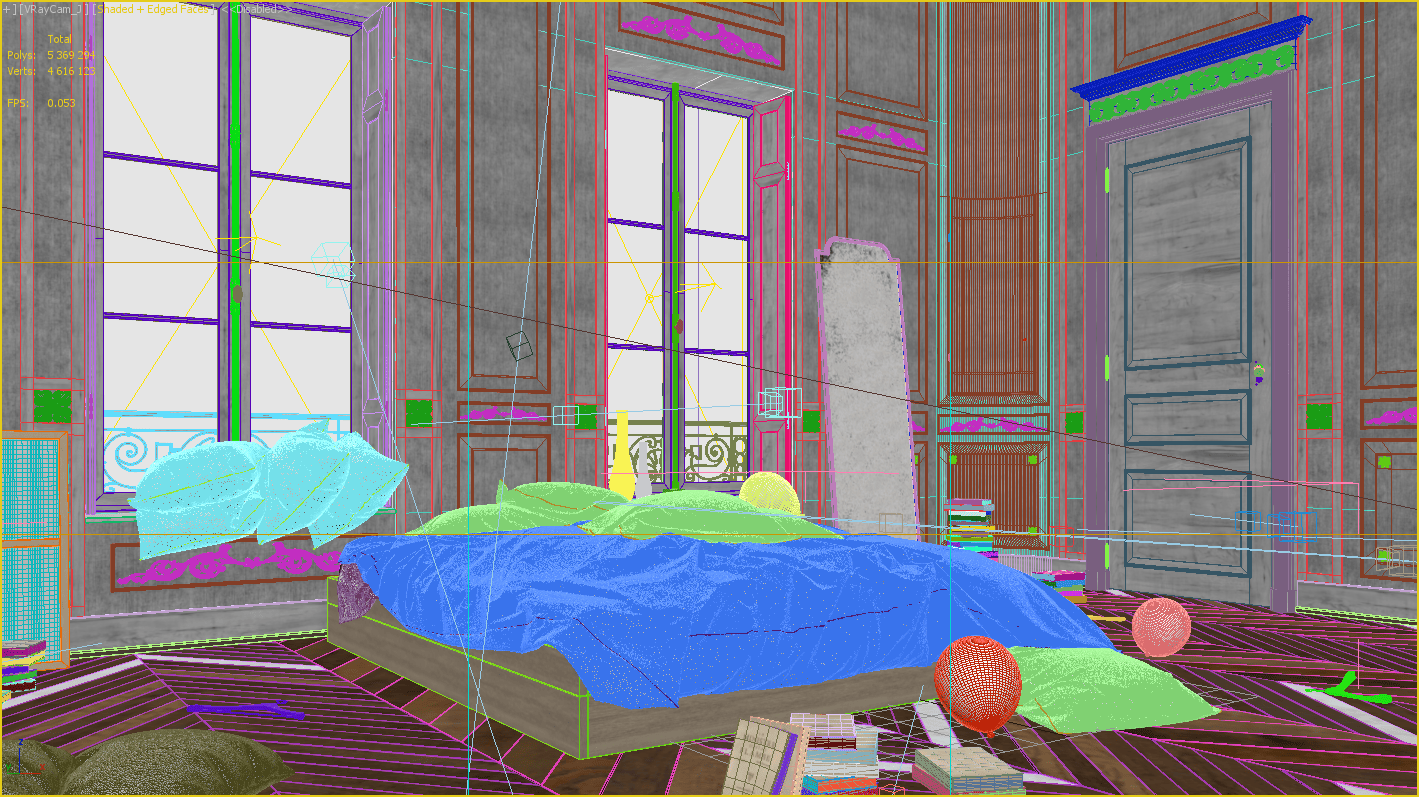
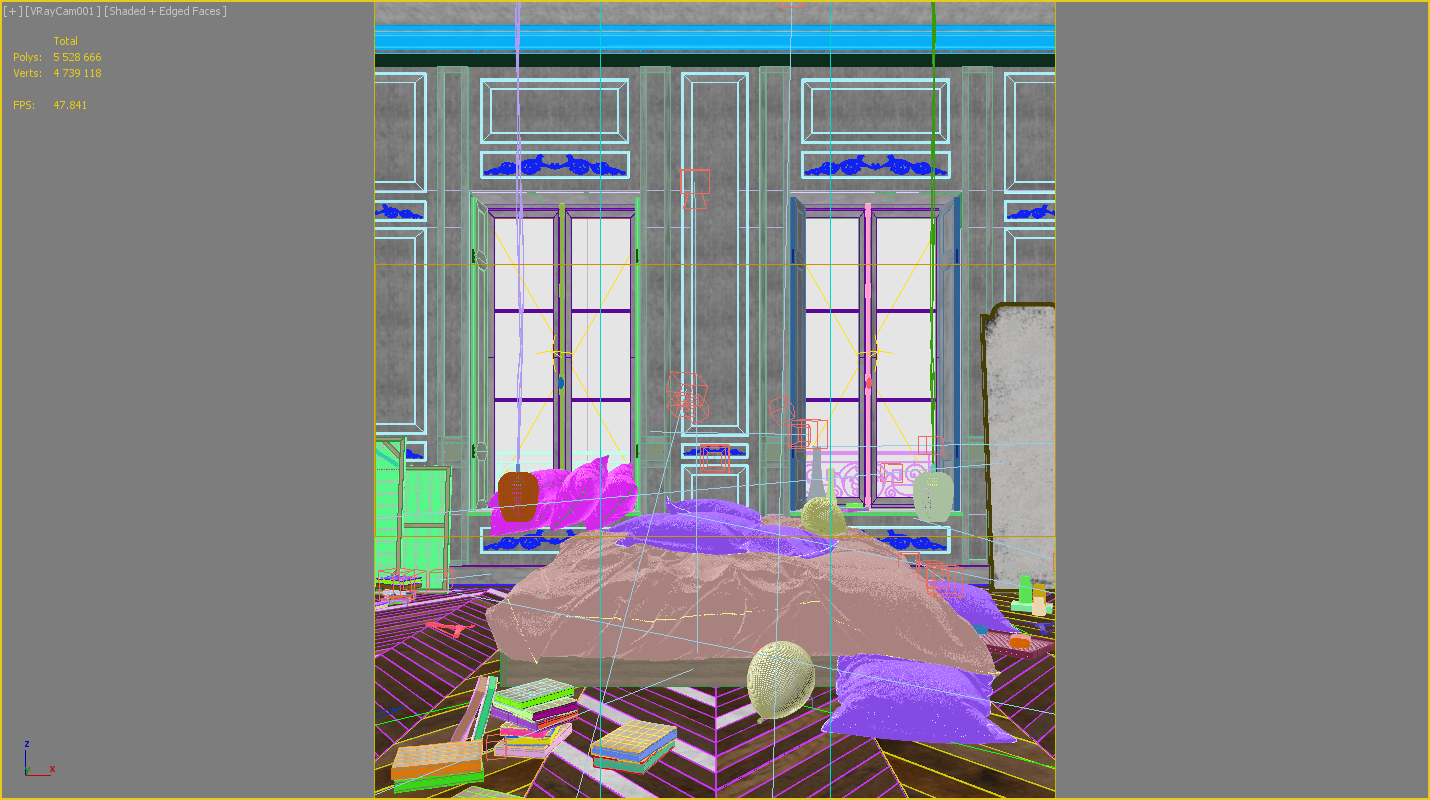
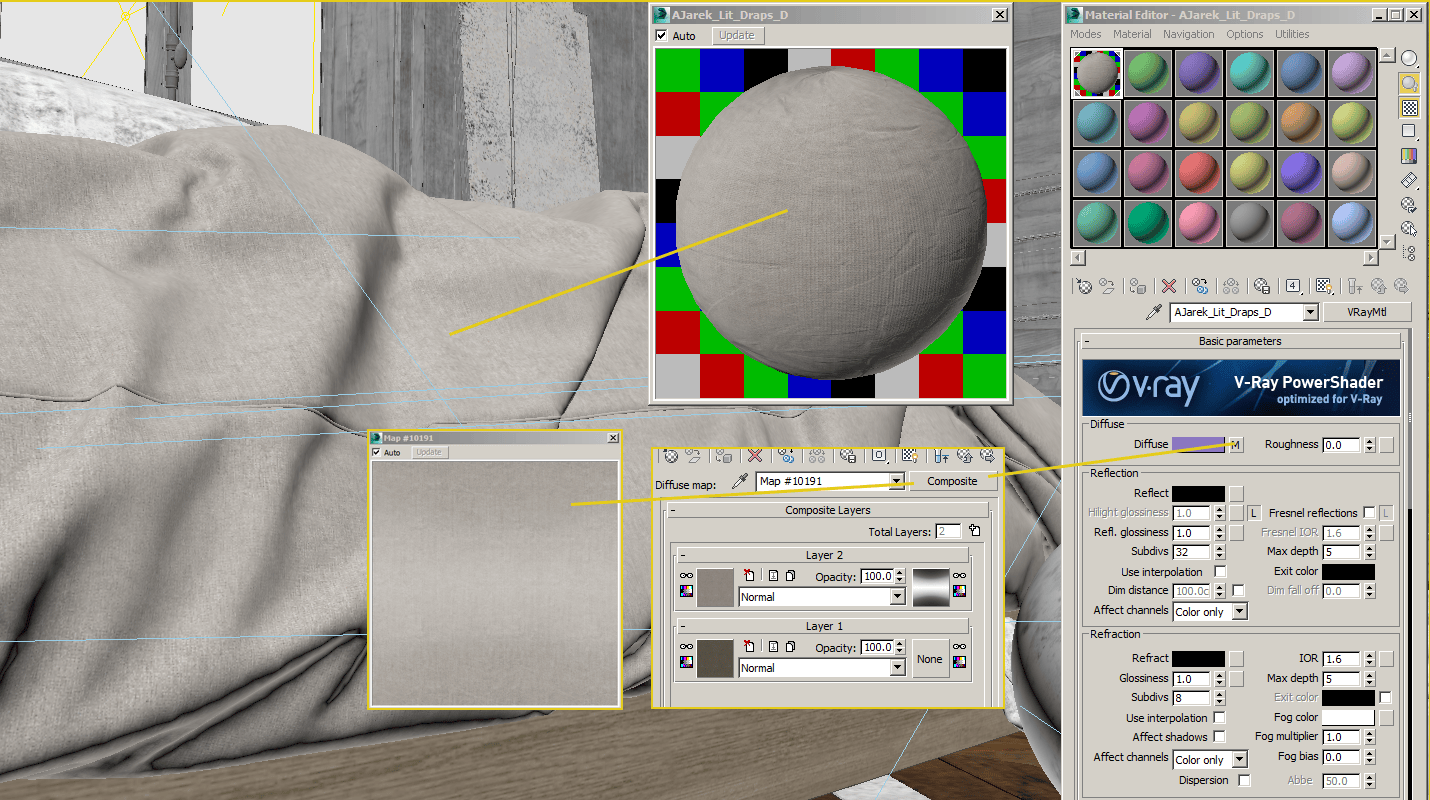
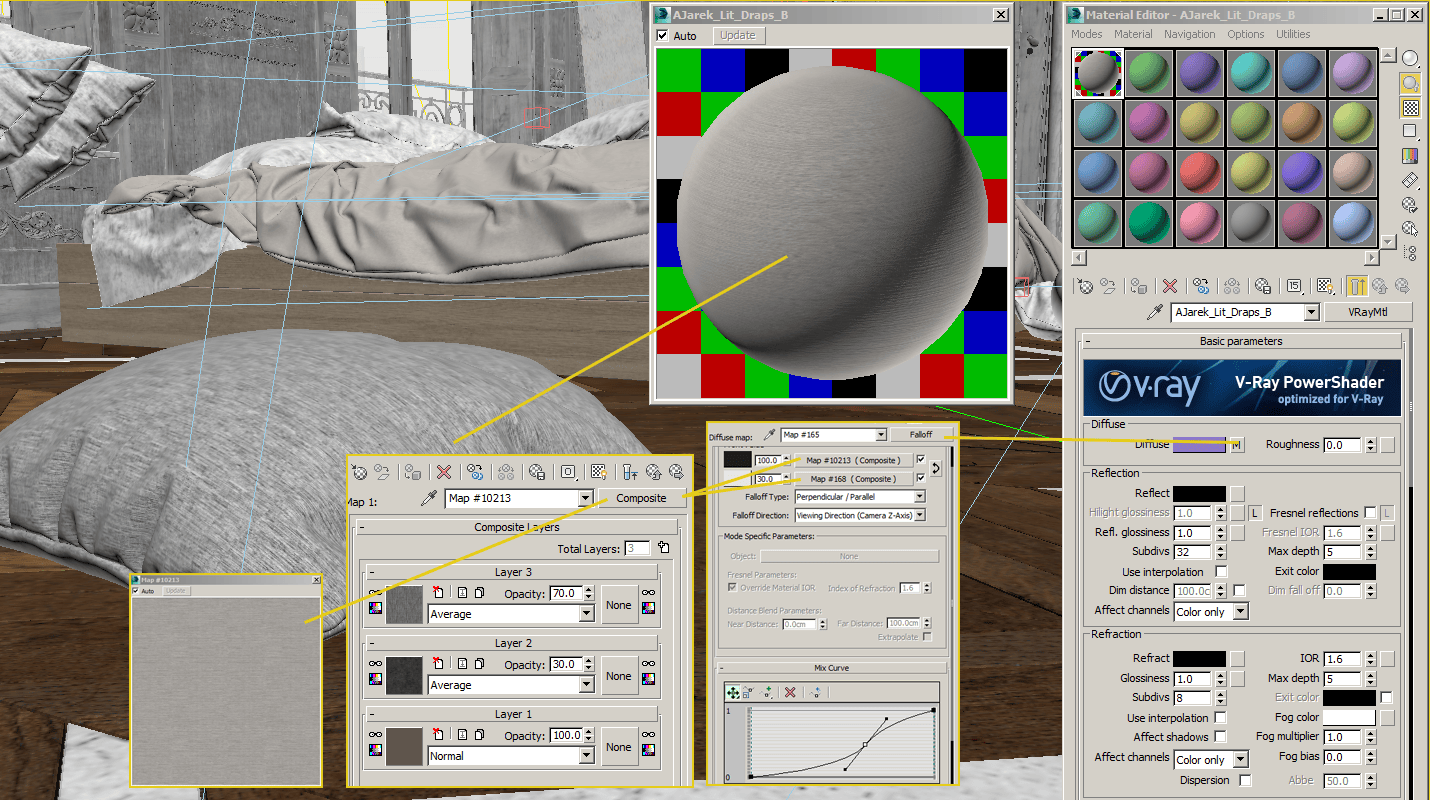
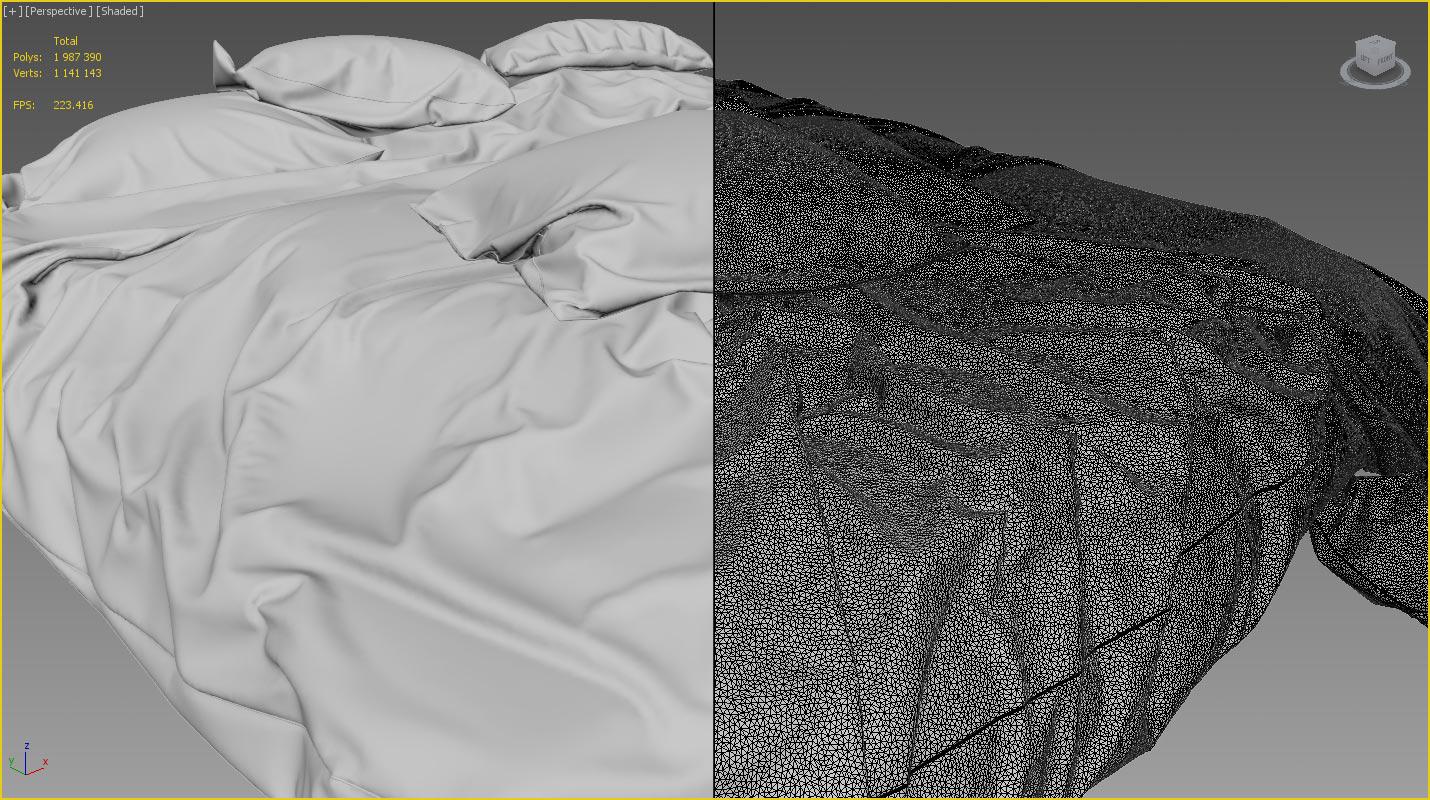
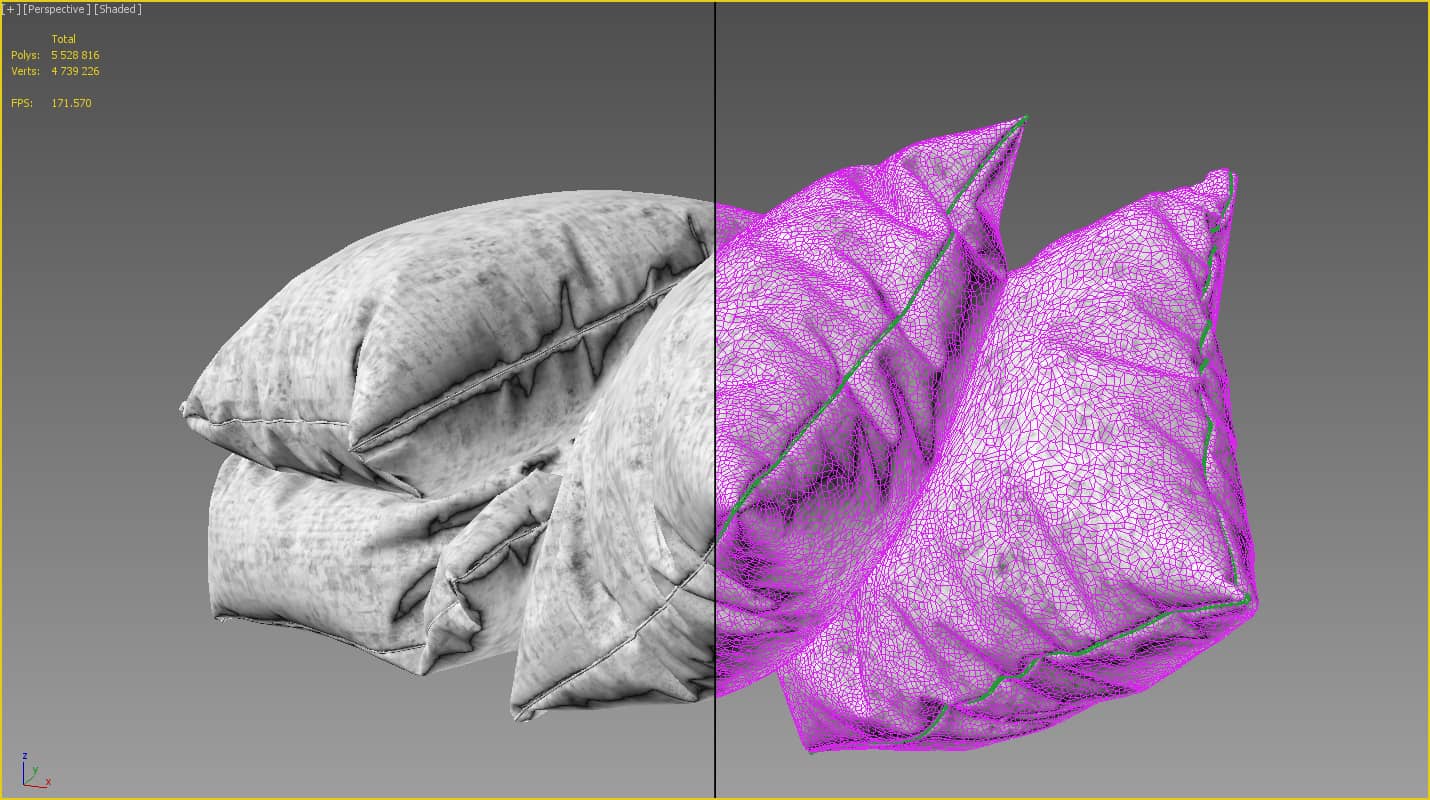
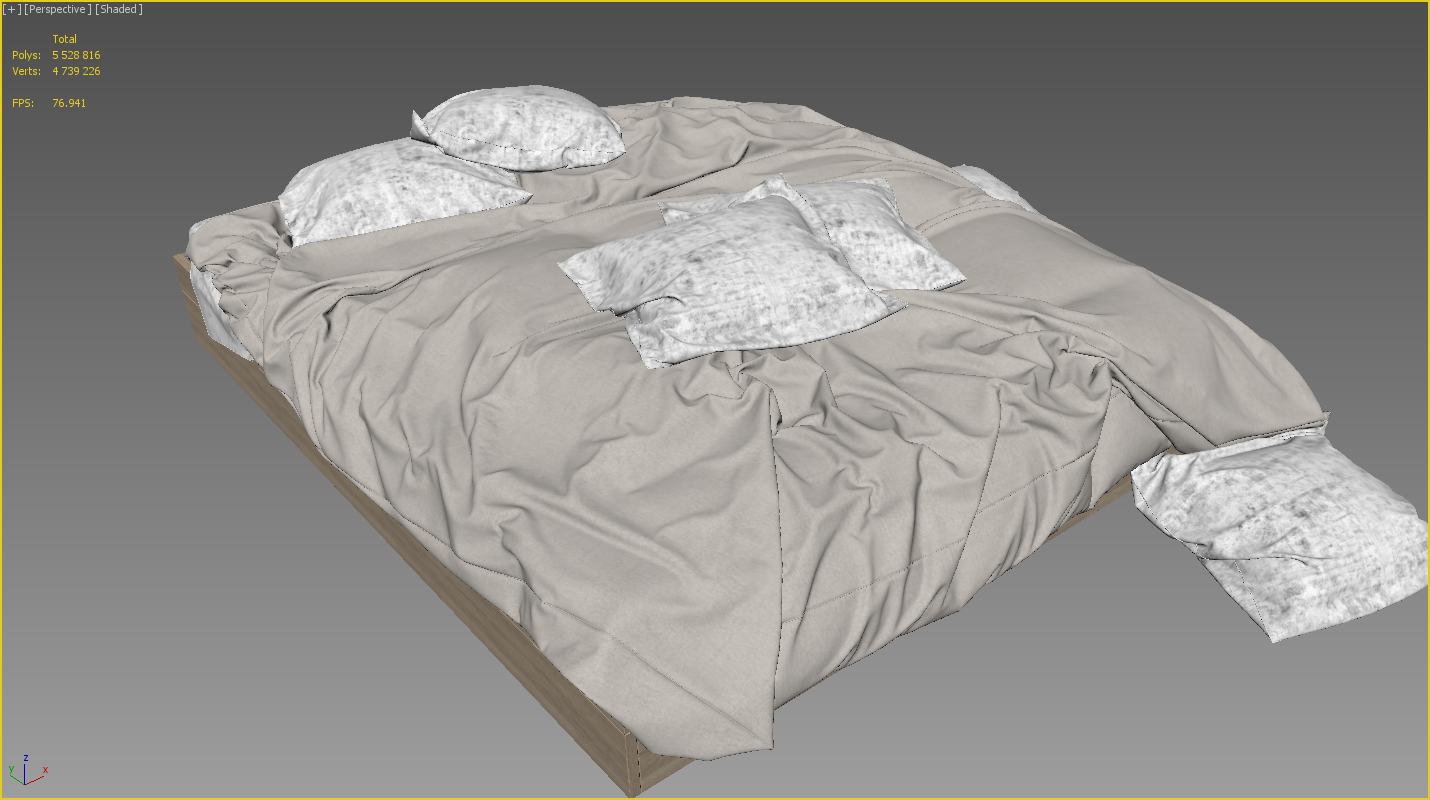
Fabric: "All of the fabric parts, like the bed sheets and pillows, were created by using Marvelous Designer 3. This is a powerful software program that produces great results. I won't go through the all process about how to create fabrics since there already are a thousand of tutorials on the web. I'll just show you some wireframe shots."
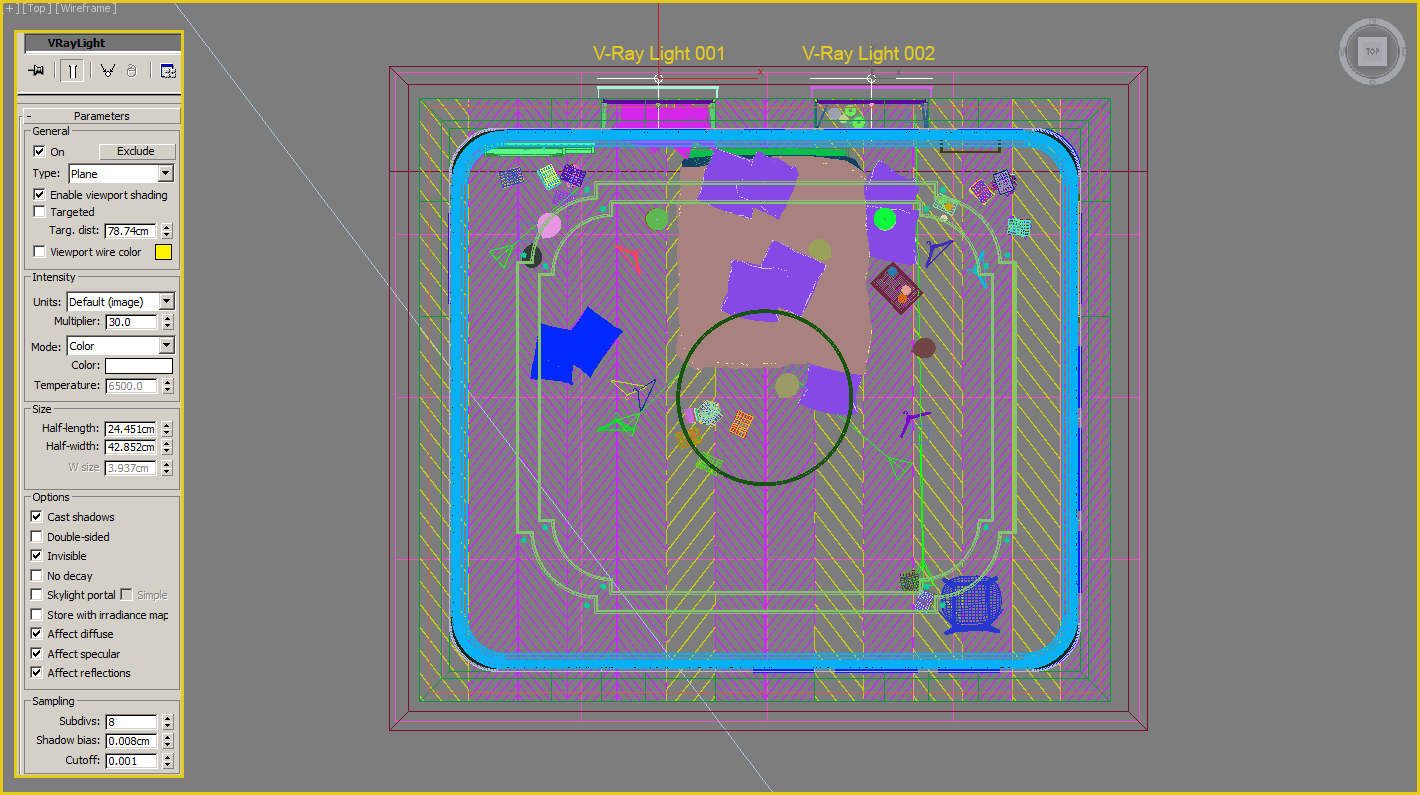
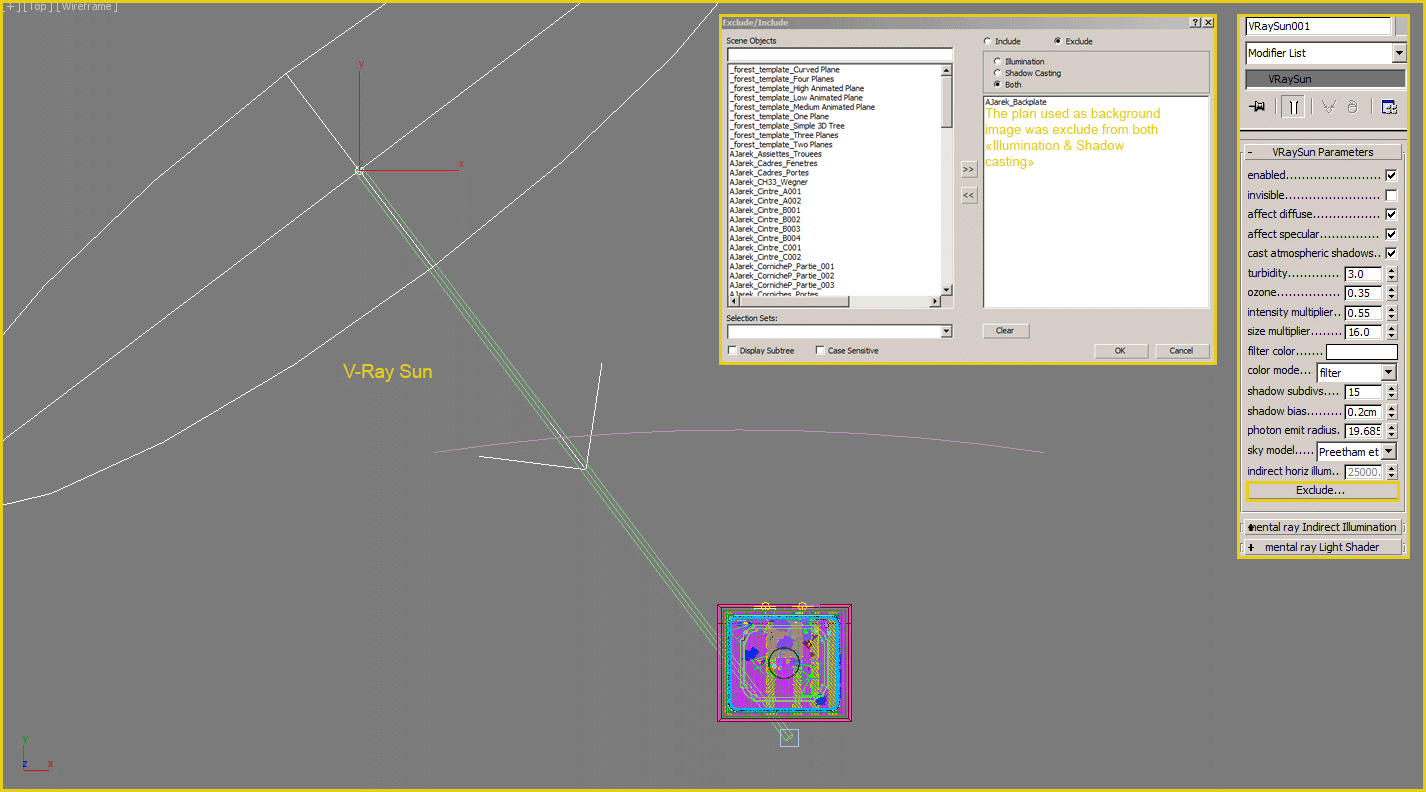
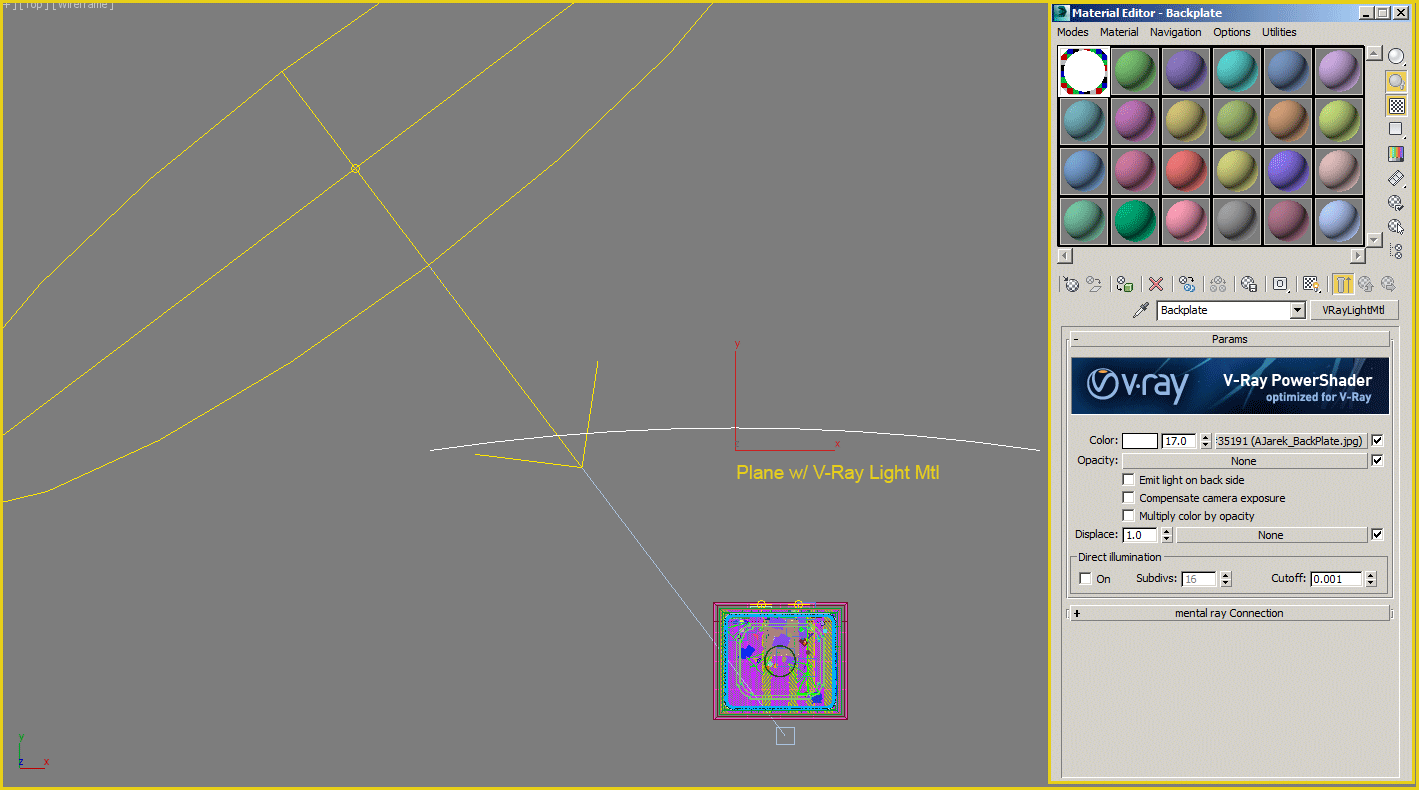
Lighting: "Three different lights were used in this scene. There are two V-Ray lights [set as 'Plane'] coming through the windows, and also a V-Ray sun. And finally, a V-Ray light material for the picture which I used as a background."
What materials did you use?
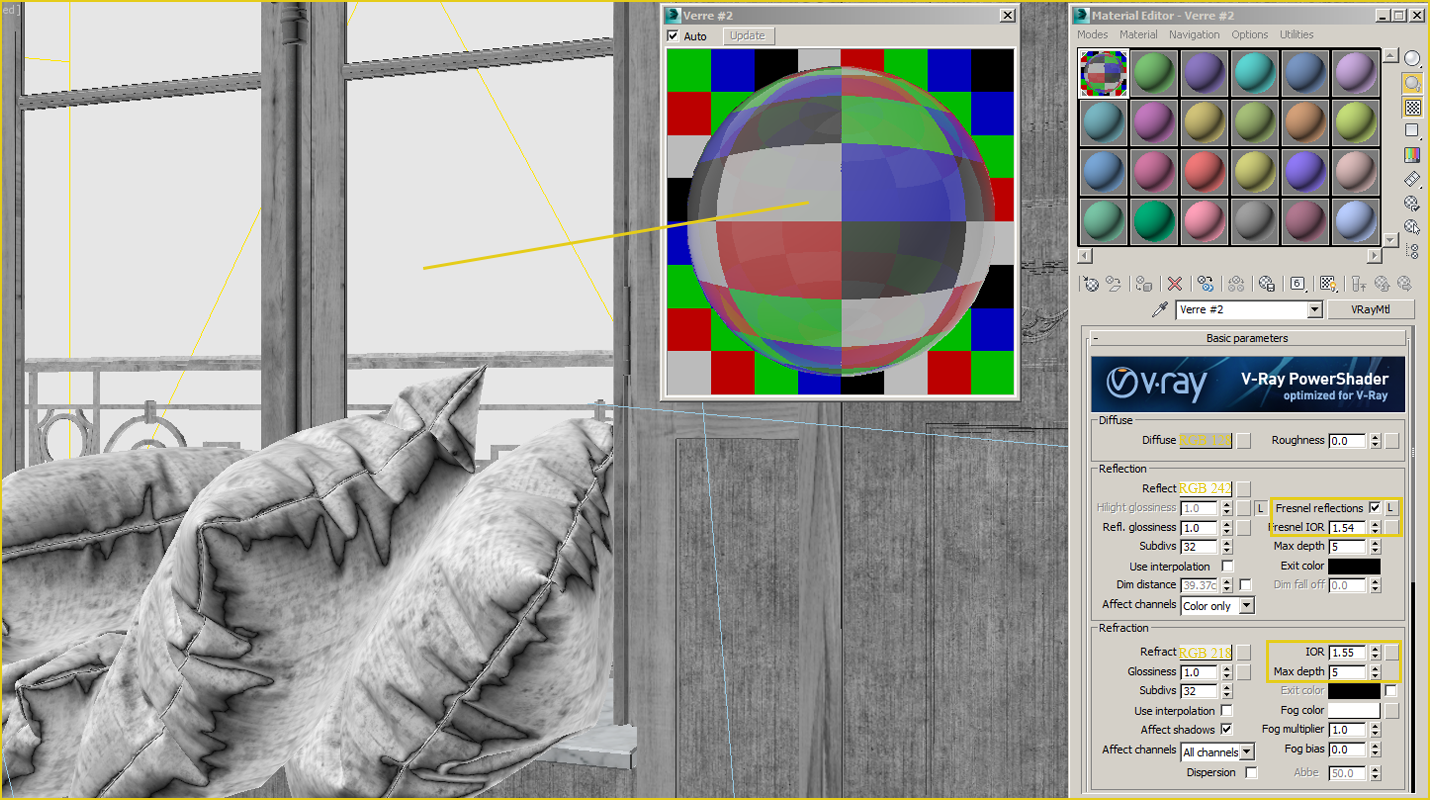
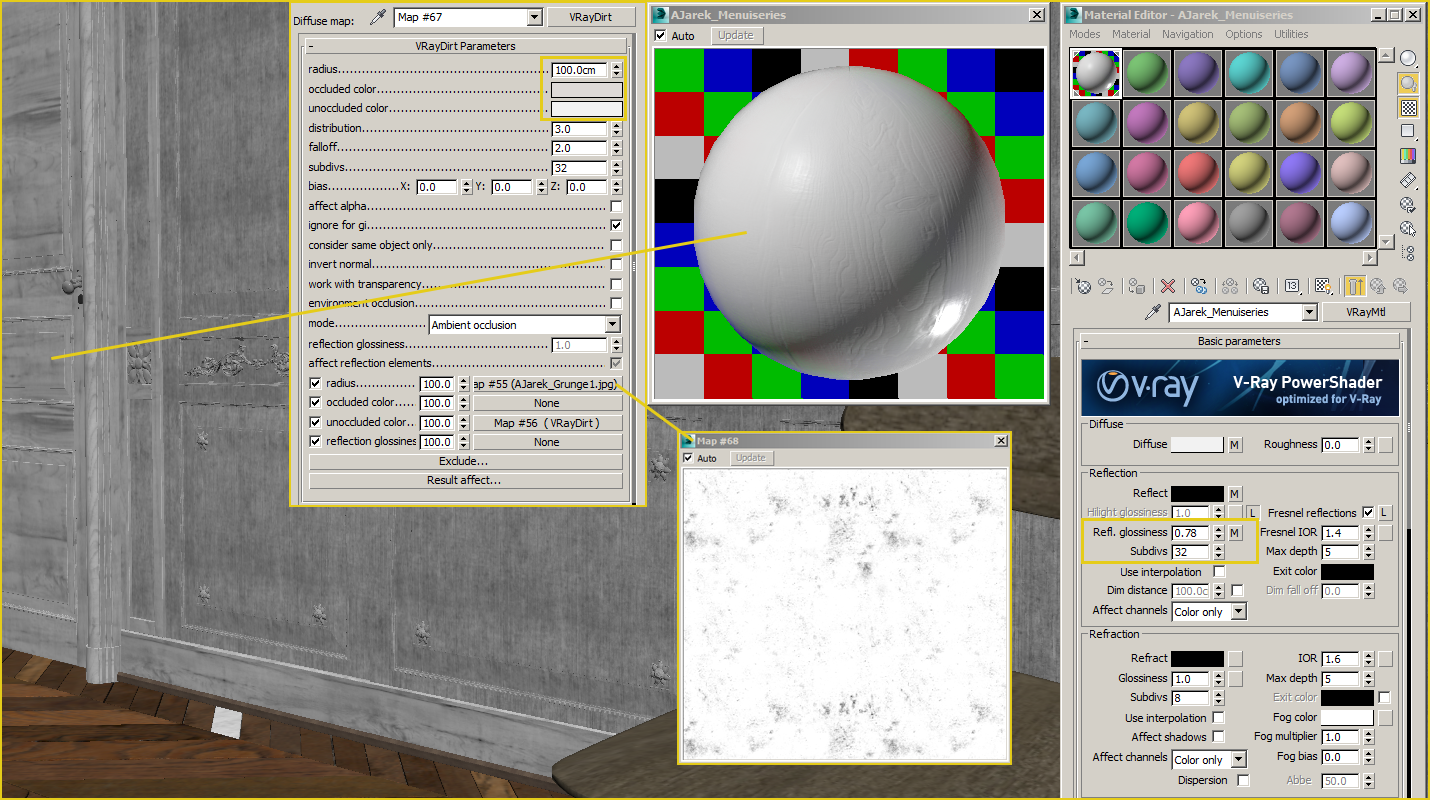
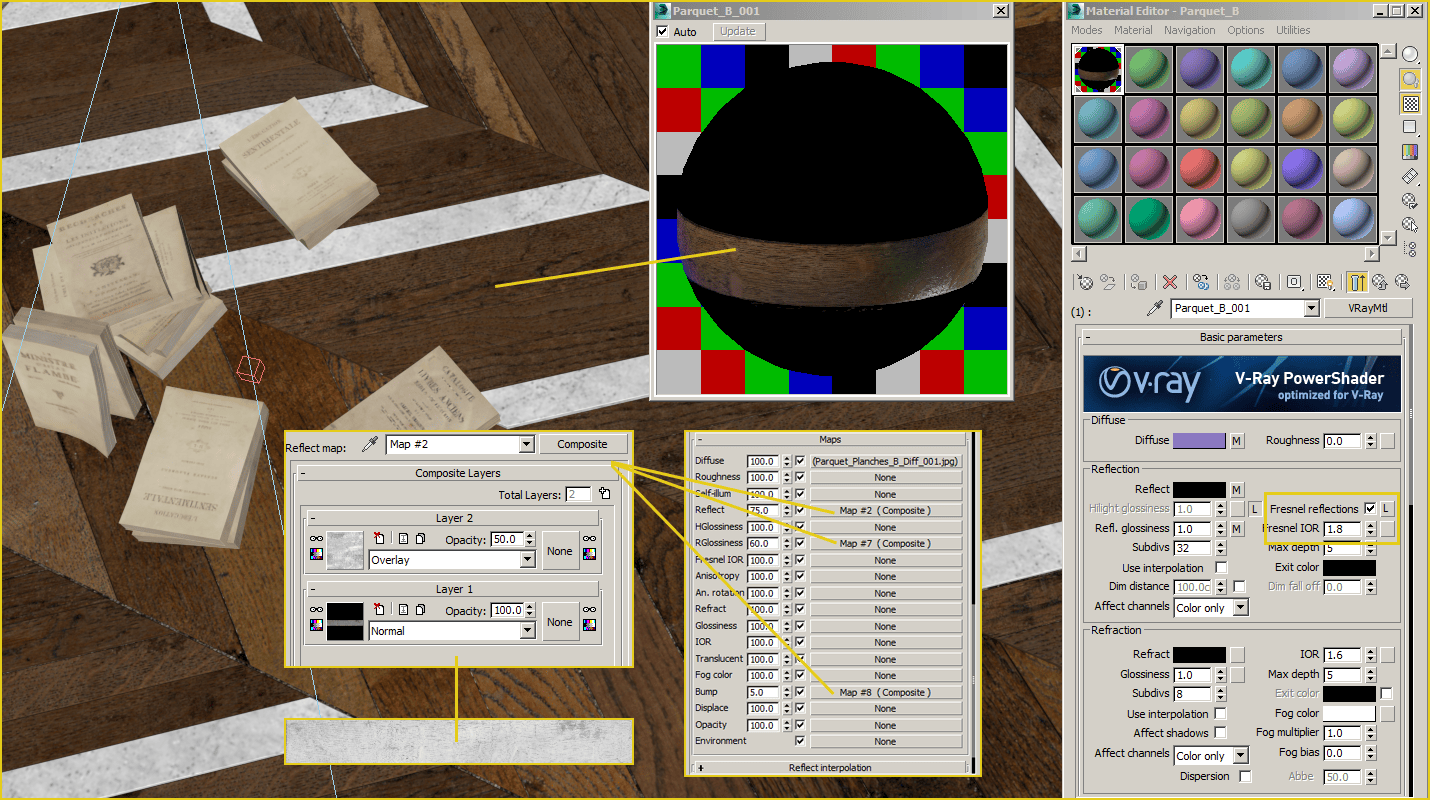
"In this particular scene it is mainly plaster, wood and fabrics. Most of my shaders used V-Ray Dirt and custom specular maps."
How did you go about deciding the different camera positions and exposures?
"The camera angles and exposures came from photographs that I used as reference."
What was the attraction to using RebusFarm and what did the rendering service enable you to achieve with the project?
"I use only one workstation to produce 3D renders so the render time can be a real issue. The services offered by RebusFarm enable me to avoid long render times. Once I’m ready to go for final renders I just have to click on the “send” button and there we go! RebusFarm provides a ready-to-use plugins that simplify the way you send your project to their render farm and it is easy to use."
What was your biggest challenge and how did you go about devising the solution?
"The biggest challenge was dealing with render time! I was only using a single i7 core machine as a render station and it is not a brand new one. Investing in my own render farm is out of the question. The final renders were calculated in 4000px for the biggest stills using brute force. I also created a small animation. I couldn’t really wait for months to calculate the video so I had to optimized the render settings and find a good balance between time and quality."
Is there anything you would like to add?
"I’d like to thank the RebusFarm team for their help and support. Promoting my work was a great opportunity so far!"
Trevor Hogg is a freelance video editor and writer best known for composing in - depth artist and movie profiles for AWN, CGSociety, 3DTotal, Live for Films and Flickering Myth.

