Wednesday, September 22nd, 2021 by Cem Tezcan
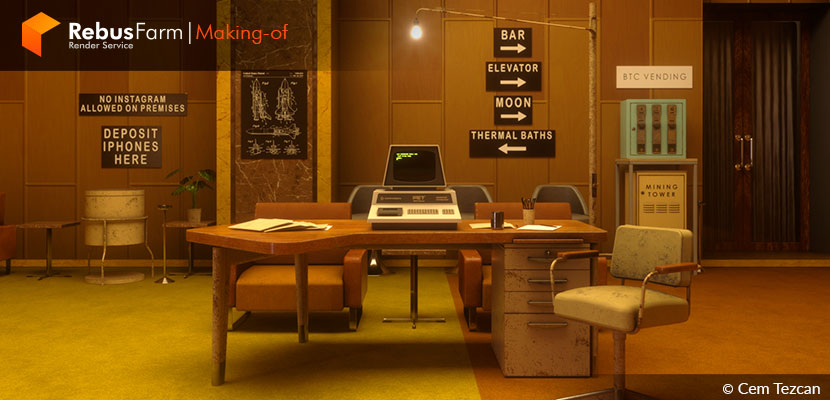
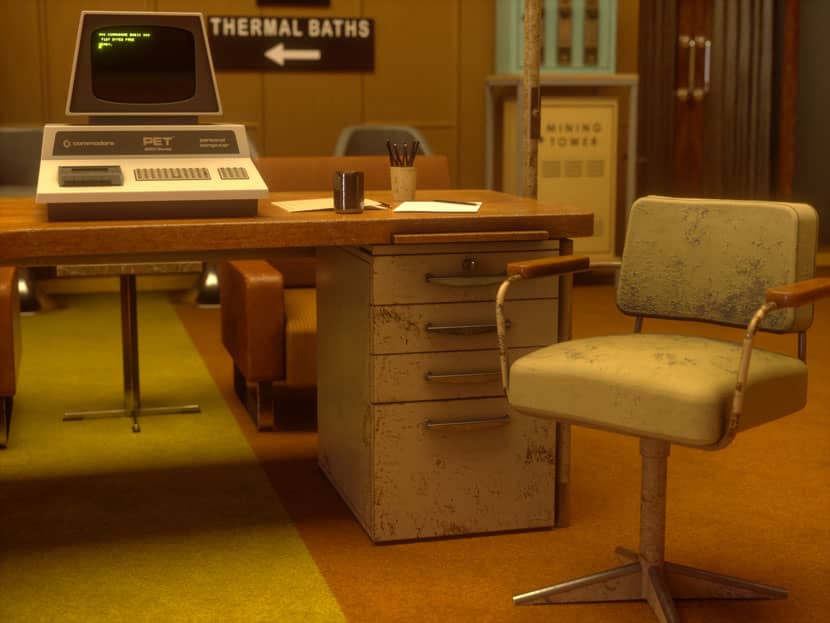
Wes Anderson aesthetics, retro vibes from the '70s, and a revolutionary message, all in Cem Tezcan's 3d recreation of a scene from 'The Grand Budapest Hotel' (2014). We will learn from his own words a bit about his inspiration for this very interesting project in which different elements intertwine to create a small world that features icons of cinematography, retro technology, french furniture design, and dabbles in the current block-chain media revolution.
Let's submerge into his small but very fascinating world and give the word to Cem.
Hi everyone! I am Cem Tezcan. I call myself a technical designer and retro electronics lover based in Turkey. I have mostly worked on CAD modeling, procedural texturing, environment design, photorealism, and real-time environments for around 16 years.
I started 3d modeling with 3ds Max in 2006, after a while I switched to Modo and as side progress, I developed CAD skills with Rhinoceros and Solidworks. I work with PBR textures on my models with the aid of Substance software and use Octane renderer and Marmoset Toolbag as finalizers.
My CAD background comes from a steel construction company that I worked in for 10 years, as a product designer at first and at some point got promoted to the project department as manager. After this long run, I quit my job and started working as a freelancer for 6 years by giving various services to both the game industry, and industrial product design companies.
I love retro computers, especially 8-bit computers from the 80s. In my personal projects, I love adding details of these computers and their timeline. Also, I do product design of 3d printable cases for the electronic assembles, I design them to work like retro computers too.
My "Space Age Office Design from the '70s" is one of these kinds of environment designs I like to do. Let's dive deep into it.
Idea and Inspiration
I created this scene at the request of Brendan Tadler whom I collaborated with on the idea for this scene. Our purpose was to show a change in the classic social media experience, from the mainstream to "blockchain-driven social media".
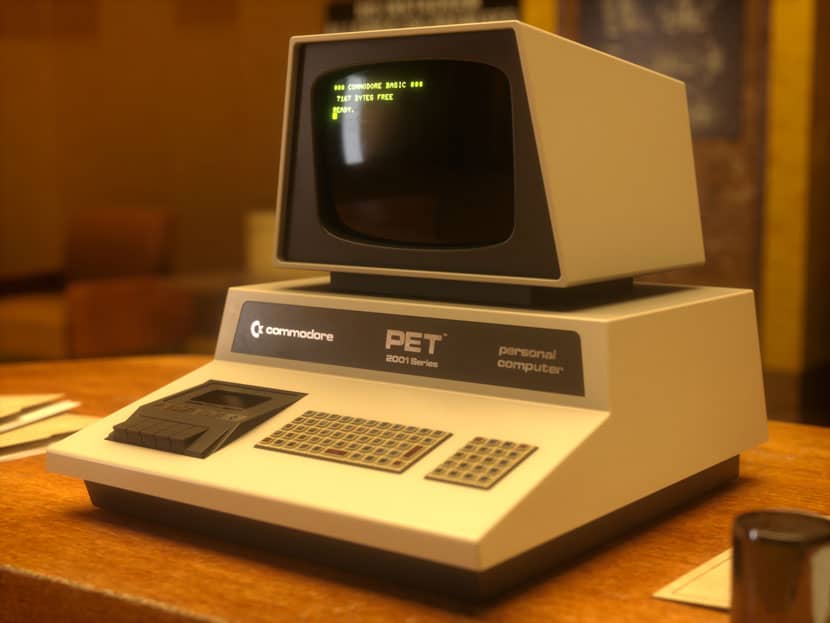
Brendan told me that he would like me to reproduce a scene from Wes Anderson's "The Grand Budapest Hotel". For the written details we wanted to show on the scene, I suggested adding the Commodore PET 2001 computer, which is a perfect match with the era. As for the design of the office, Brendan suggested an amazing office furniture design that belongs to Jean Prouvé (1901 – 1984) for me to create the 3d models.
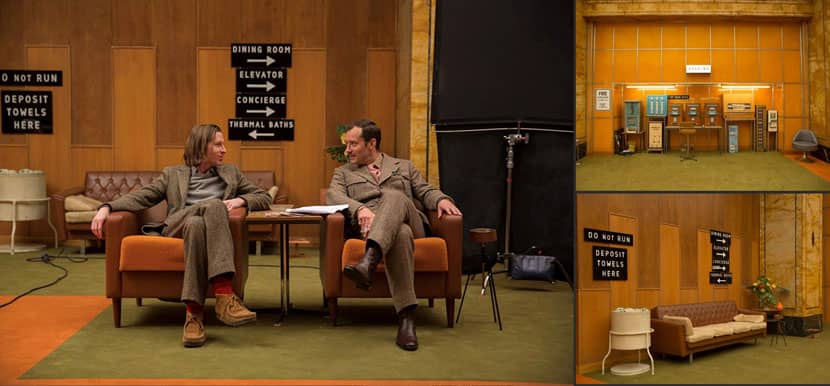 Wes Anderson at the 'Grand Budapest Hotel' scenery
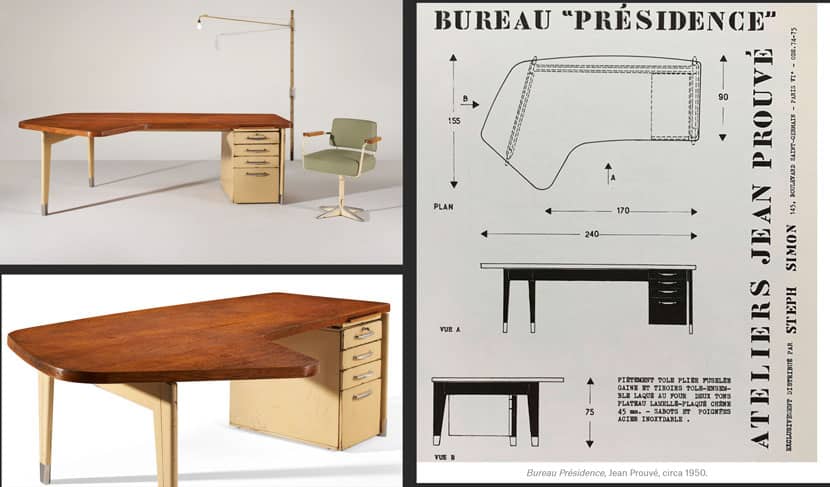 Furniture design - Jean Prouvé.
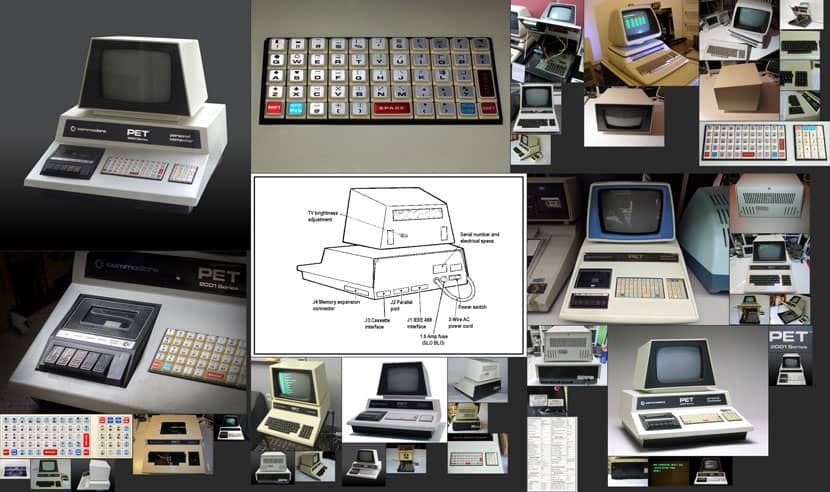 Commodore PET 2001 computer
Modeling
I started by modeling the PET computer. Normally, I use calipers and other kinds of measurement tools when I have the physical device in my collection to get the proper similarity, but since I don't have this one, I modeled it just by estimating the dimensions from the reference photos I gathered from the internet (of course using the main outer dimensions I got from Wikipedia as a starting point). I used Solidworks on creating the model and recorded a time-lapse of the modeling process.
My next step was to create the rest of the furniture and objects, I also modeled them with Solidworks.
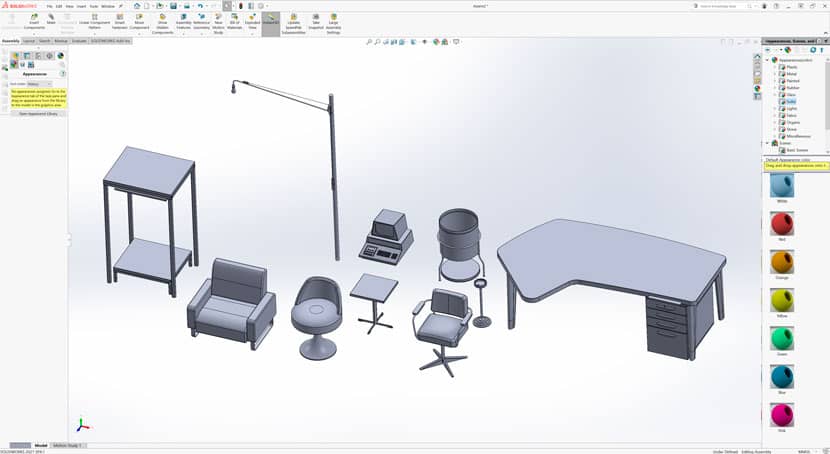 Furniture modeling with Solidworks.
Since these are CAD models and there are "surfaces" instead of "polygons", when I open the model in Modo, converted polygons won't let me create groups for specific parts of the model easily enough to assign different materials to them. That's why it is easier to assign material groups within Solidworks.
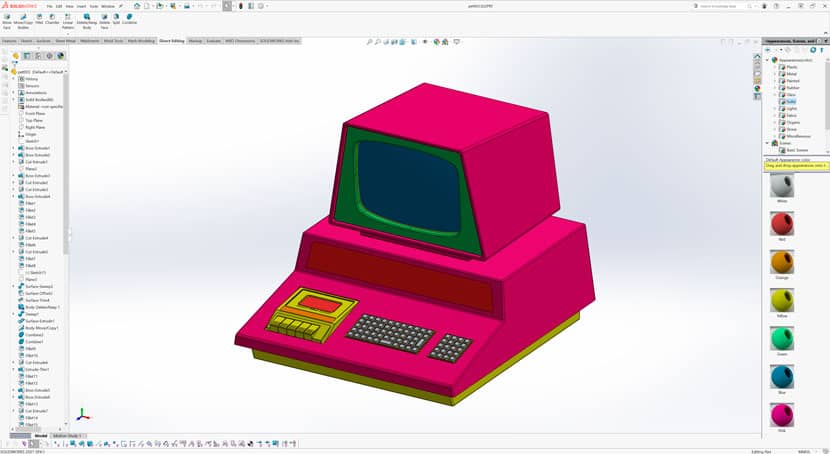 Material grouping within Solidworks.
Modo directly opens the Solidworks files if you have both software installed and licensed. So I imported the models into Modo and set up my scene by creating the rest of the details and the rest of the room with Modo's polygon modeling.
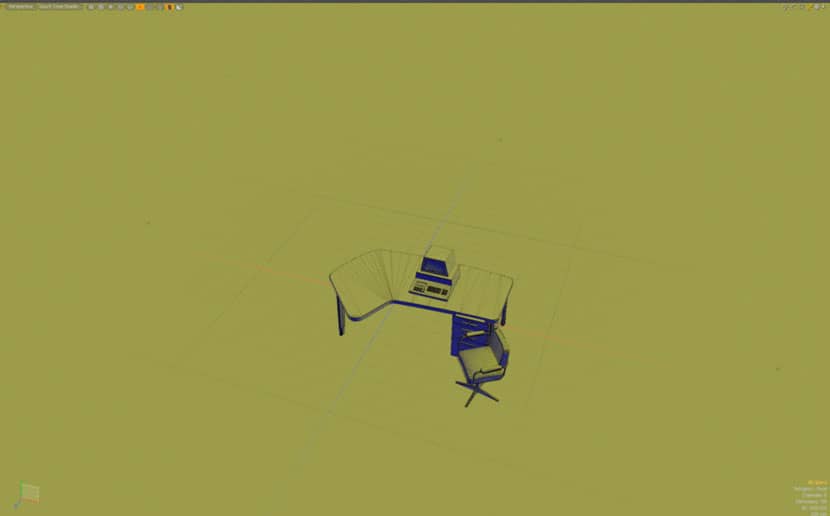 Steps for scene creation in Modo.
Next, I assigned materials in Modo and created auto-unwrapped UVs for each material set. If there is no need for intense tiling continuity like on the clothes or any other complex shapes, I do the unwrapping by "Atlas Projection" which is a one-click auto-unwrapping solution in Modo. Atlas projection creates a high number of UV islands according to the curvature of the object shape. It's obvious that these islands are not good for texture continuity, but I use triplanar projection on Substance 3D Painter to avoid this problem so I don't waste so much effort on UV unwrapping.
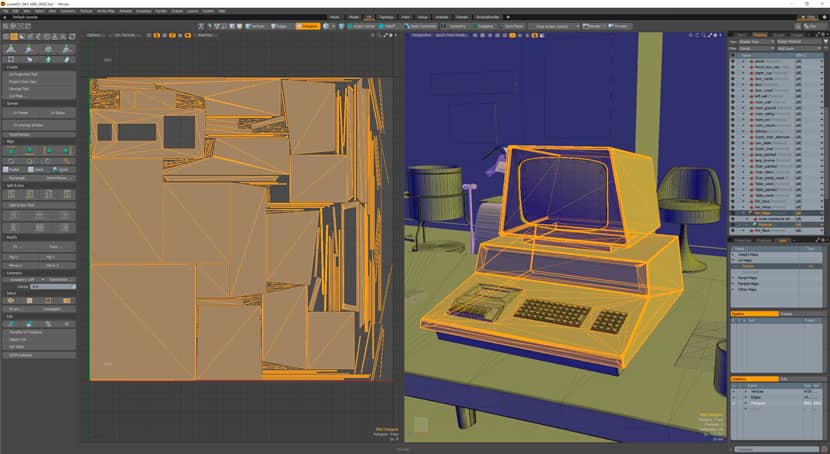 Auto unwrapped UVs.
Texturing
After creating every UV set for each material, I export objects one by one into Substance 3D Painter and create PBR materials within this powerful software.
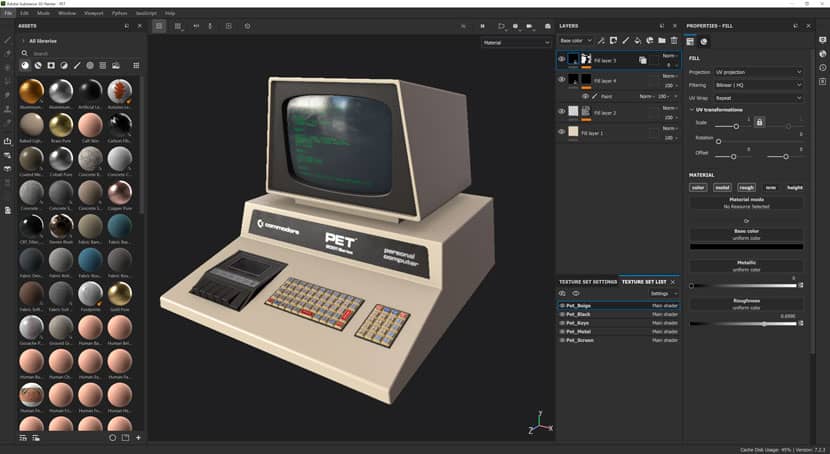 Commodore pet computer texturing.
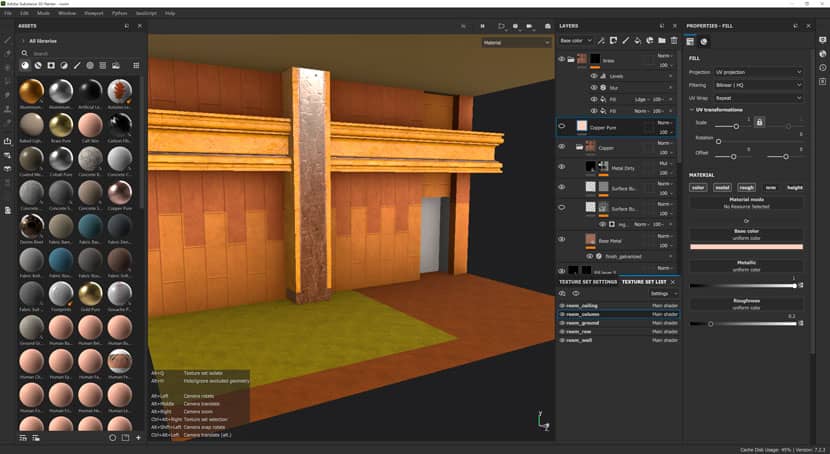 Substance Painter scenery texturing.
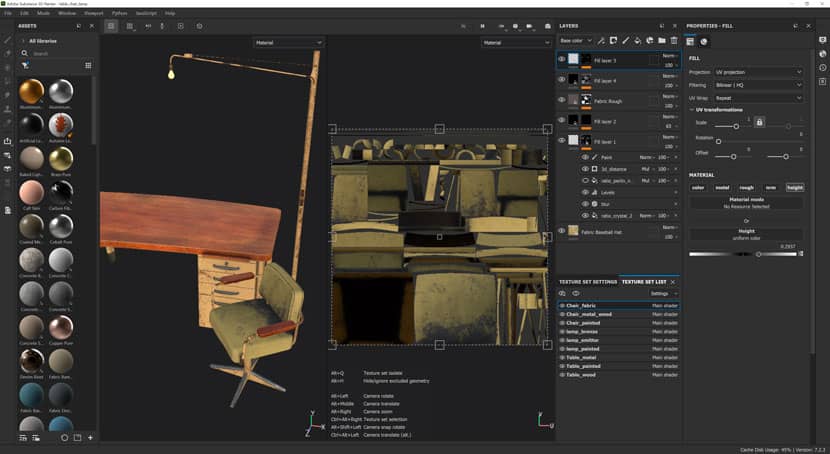 PBR materials within Substance Painter.
After texturing is done for these models, I export the materials as "PBR – Metallic/Roughness" standard, as textures vary from 1k to 8k resolution.
Height-Map Modeling
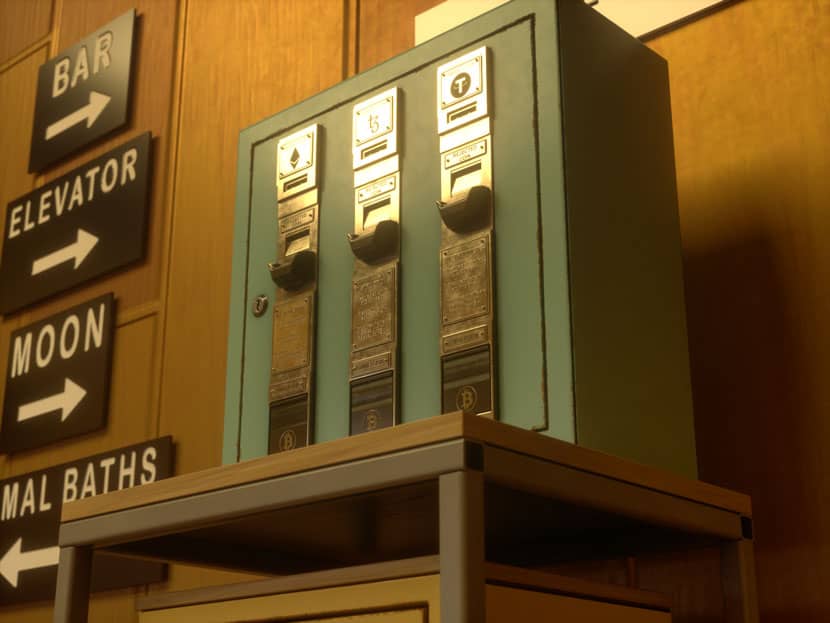
This was the workflow of how I created CAD/Polygon models and textured them. Yet, I used a very different workflow to create the BTC vending machine on my scene.
I use Substance Designer to create procedurally generated height maps to use them as a displacement map to form 3d surfaces and create 3d shapes. Since I create the heightmap in SD, it's also easier to create the rest of the material channel textures in the same software. This way, I create simple planes in Modo and I assign the complex textures on them to form the panels. In the following image, you can see how it works on a simple cube.
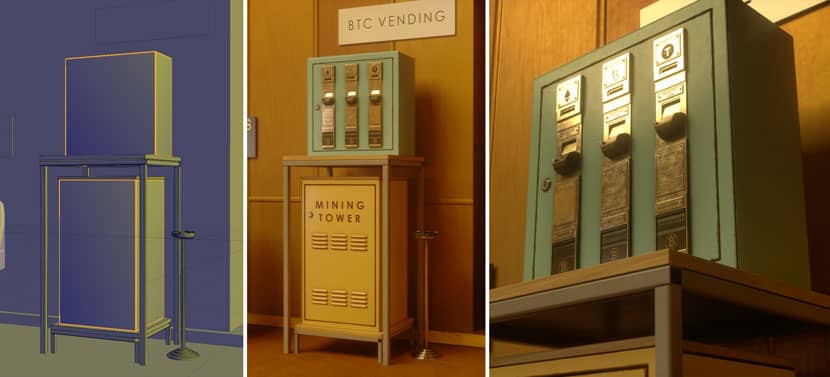 Height-map modelling.
CRT Screen Animation
There needed to be an animation of typing texts and some searching/loading sequences that I needed to show on the CRT screen. CRT screens have their way of showing the pixels and texts, they have a phosphor pattern and horizontal scanlines between each pixel. Also, I like the signal/frequency glitches on CRT screens, to get that effect I created this workflow:
A while ago, I developed an animated CRT / VCR filter for Unreal Engine which is available on Unreal Marketplace, and I created a low resolution, pixel-perfect animation of the screen that I want to show as text flow, in Davinci Resolve. And played the low res footage over my CRT filter and captured it back to use the new footage with TV effect in Modo.
Lights and Rendering
After exporting all the PBR textures and screen capture image sequences I got from Unreal Engine, I imported them into Modo. I use the Octane Render for Modo plugin to use Octane as a render engine. I use the imported textures into related material channels within Octane Render material graphs like diffuse (albedo), metallic, displacement, roughness, normal, emissive, etc.
This way, I get the same look of the materials as I see them in Substance 3D Painter.
Light setup on this scene was totally simple, I just lit the scene with a top-down warm area light and added a very dim fill light from the left side of the camera; Raytracing did the rest of the job. After the lighting was done I applied a direct centered moving camera with Wes Anderson's symmetry style and rendered the animation frames.
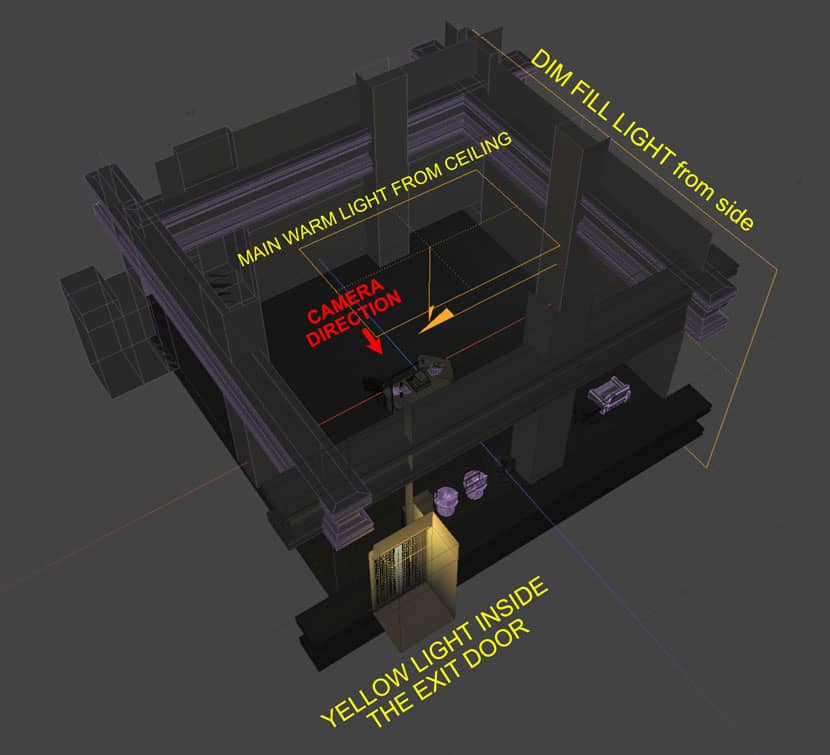 Lighting with Raytracing.
After all the frames are rendered, I composed them in DaVinci Resolve and added a sound I captured near my PC case as background noise, the clock ticking is a captured noise as well. I thought they were pretty nice for an abandoned office environment.
I hope you liked the whole creation process. Best to you all!
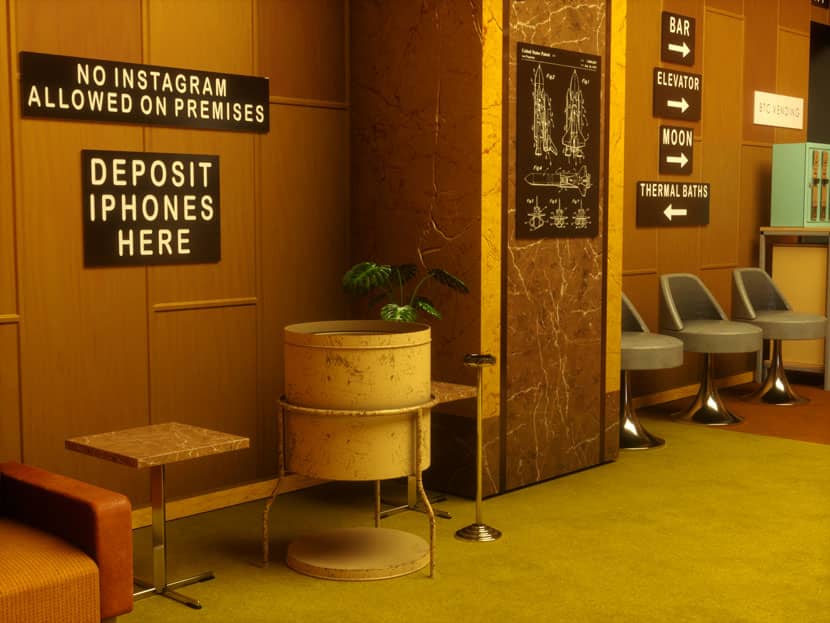
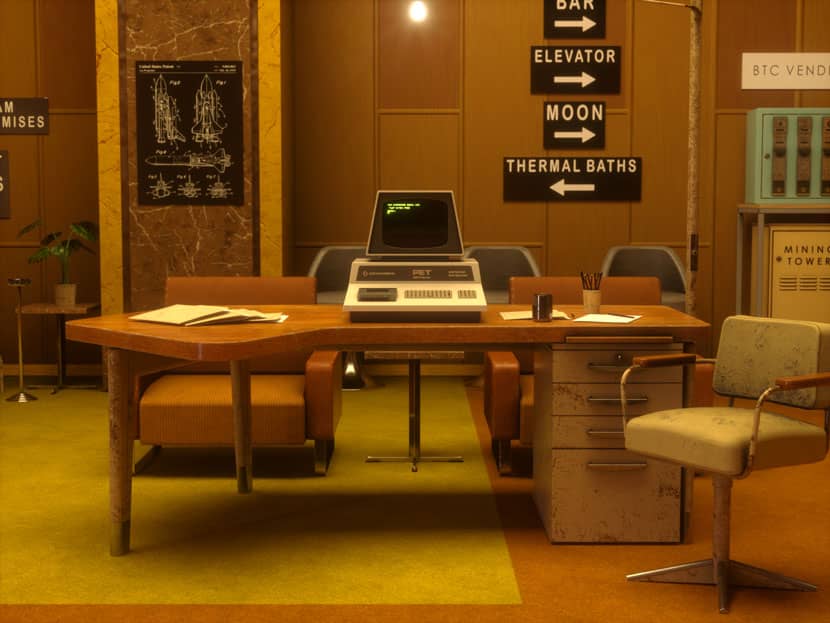
We thank Cem for giving us such an interesting insight into his creativity and inspiration for this fun and very visually pleasing project. Check out more of his work on his channels:
Want to share your work with our community too?
Contact us at This email address is being protected from spambots. You need JavaScript enabled to view it.and tell us about your favorite project.
>> Read more articles on our blog
