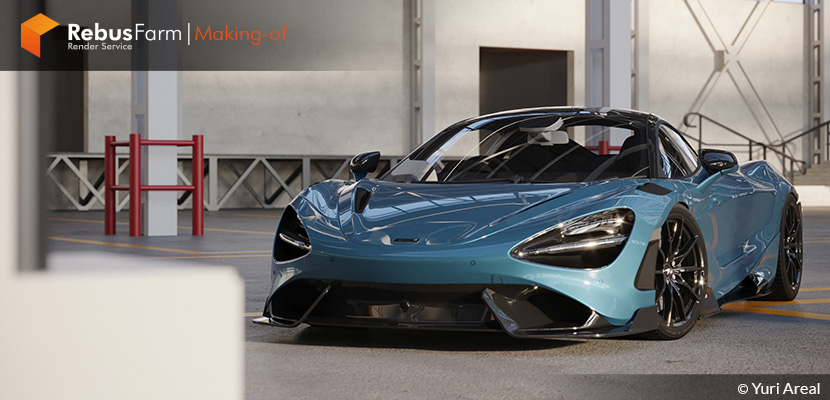
The most common query while seeing an automotive rendering is if the background is full CGI or just an HDRI map. Yuri kindly accepted to share with us a bit of his story, as a professional kart driver, and how he parked himself in the beautiful 3D world rendering cars. Enjoy!
About me.
Hello everybody,
I'm Yuri Areal, and I'm from Brazil. I graduated in interior design in 2019 but I've been working as a 3D generalist for 1 year. I always liked rendering so I decided to invest in a course to learn it better. Nowadays, I work in the architectural visualization field, but my great passion is cars & automotive rendering. I really love making automotive images look, at the same time, more and more realistic. It's a great exercise to improve my rendering skills and I highly recommended it to everyone!
Software Used.
I always use 3DS Max and Corona Renderer, for me they are currently the tools on the market that can deliver the higher possible quality and are easy to use. Before, I was working with SketchUp and V-Ray, but I couldn't get very good results easily, so then I migrated to Lumion and I also didn't have the desired result, until I learned 3DS Max and Corona.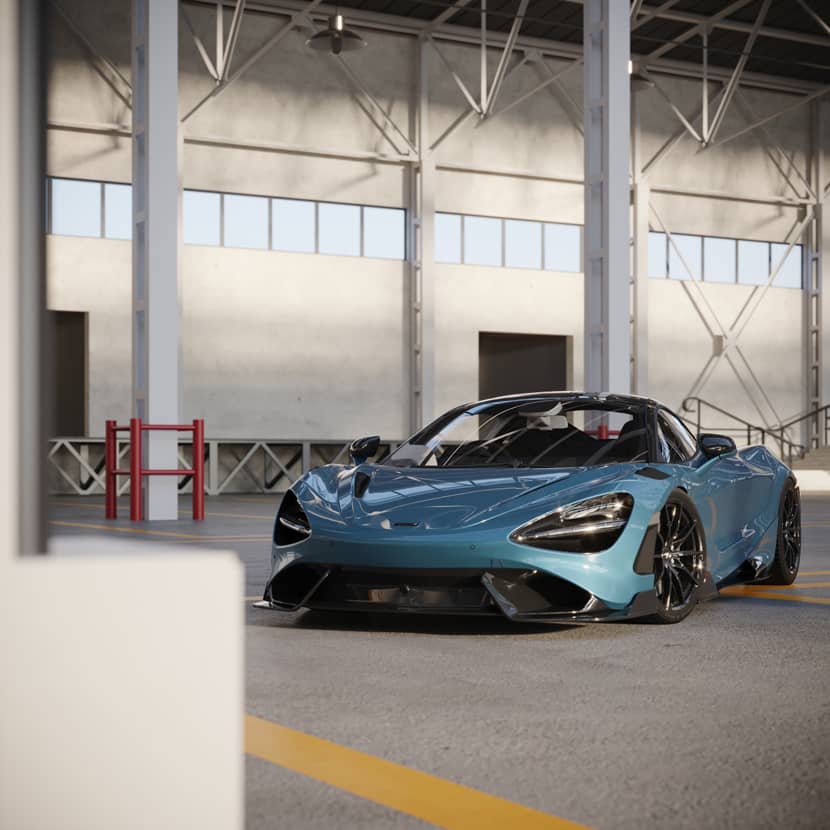
Idea & Inspiration.
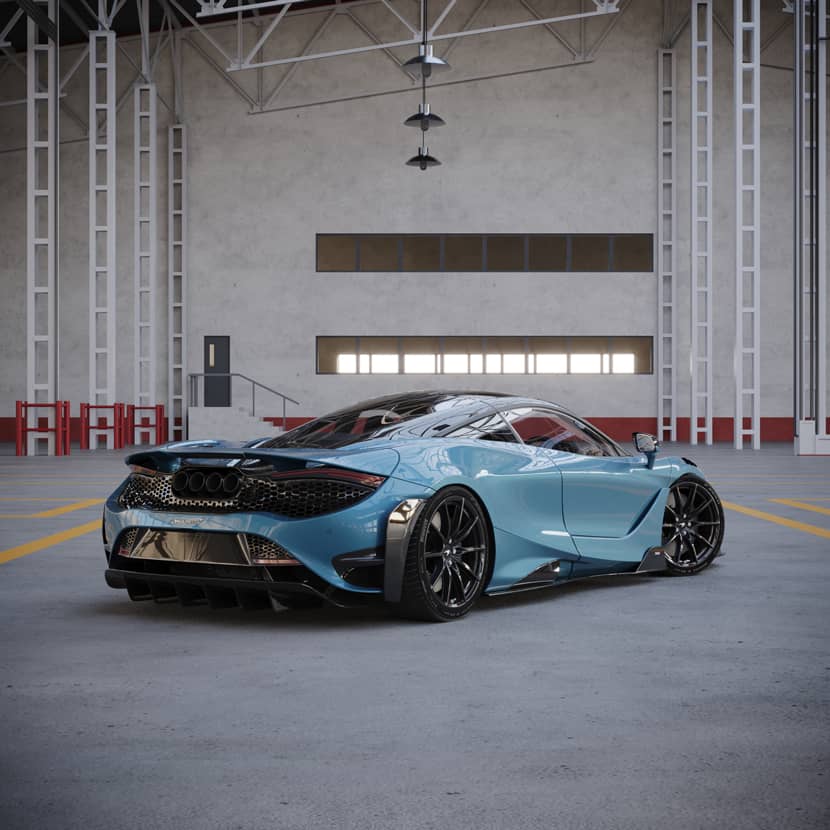
In fact, I didn't have any ideas or inspiration from seeing other images and actually, I created this image with my knowledge and taste of the automotive world. I gained this knowledge because as a child I was a professional kart driver, I raced for 10 years of my life and I always followed magazines and automotive photographs, bringing inspiration to be able to make automotive images, like this one of the Mclaren 765 LT.
Scene Setup.
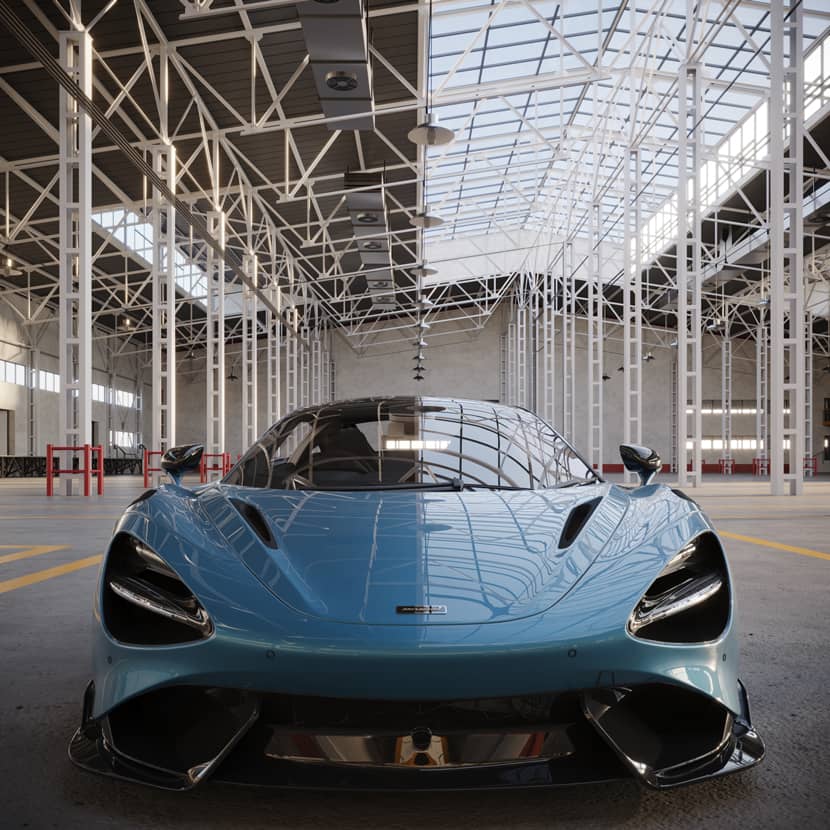
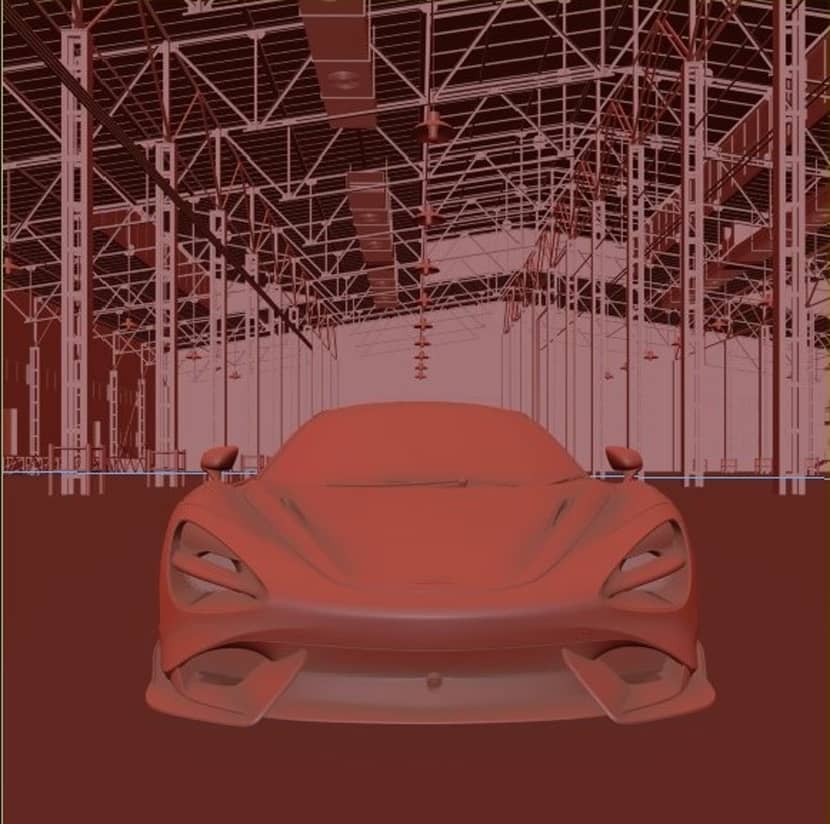
Many people thought this scene was made using an HDRI background template. However, it was completely modeled and created from scratch. I tried to create a shed as if it were a company parking lot on a non-working day. The car used is an asset from TurboSquid but I remade all the textures and materials.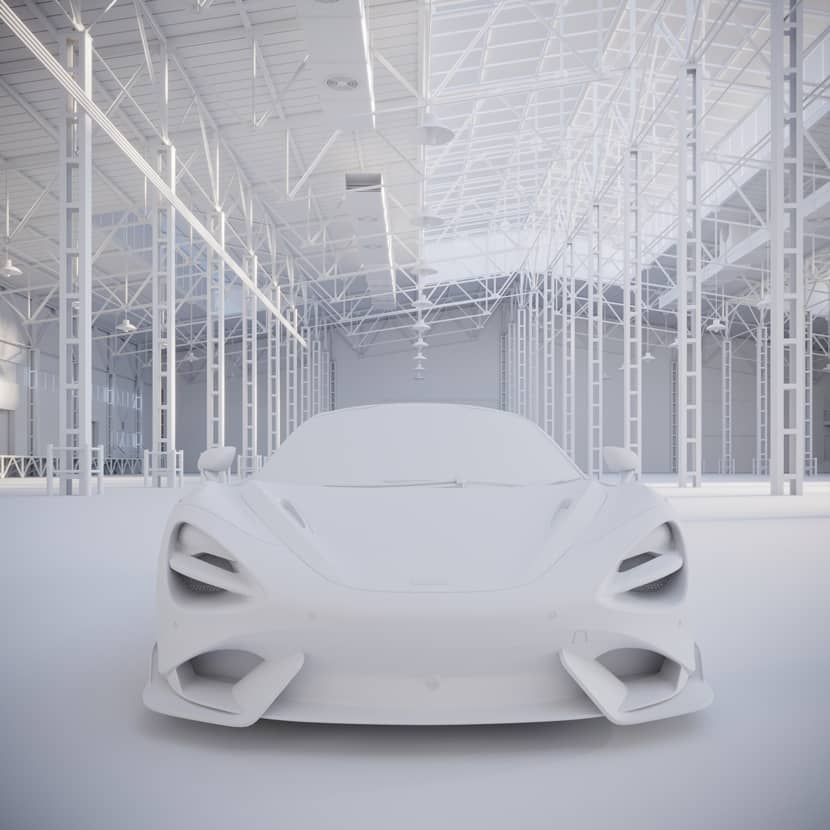
Lighting & Materials.
Lighting is nothing more than a Corona Sun + Corona Sky, with this simple lighting set-up you can achieve ultra-realistic lighting, and with Corona 9 it's even better, you can add clouds and get even more realistic. In terms of materials, I always use LotPixel and Quixel textures, which are the best. I textured the shed completely and the car already came with textures, but I remade them so that it was better and even more realistic. Below you can find two simple video tutorials that explain this specific lighting system very nicely.
Cameras.
This is a very important point for every good image. You need to know what you want and which lens to use. it cannot be a very wide lens that distorts the image and your subject. In car scenes, I always use more standard lenses, usually 70mm, as with this type of lenses you can better show the lines of the car. But don't limit yourself to that, test cameras and see which one is the best for your advertising purposes.
In this video tutorial below, you can find very some useful information and compare results according to the lens you use for automotive photography.
Rendering & Post-Production.
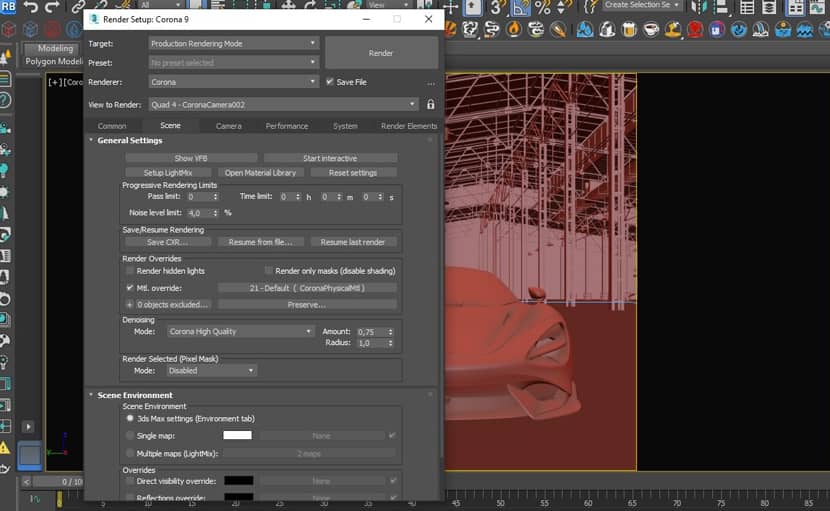
In this image, I used a Noise level limit of 4.0% and a Denoise (CORONA HIGH QUALITY ) of 0.75. For post-production, I usually use reflection maps and texmap (ambient occlusion).
Conclusion.
Thanks for the time you spent reading my article and I hope you found it helpful. Also a big thanks to the Rebusfarm Team for inviting me to join their making-of section. I also thank the VWArtclub community, and finally a special thanks to my teacher Ander Alencar, I was able to get here because of his course.
Want to see more images like this one? Follow me on my social networks!
Sincerely,
Yuri Areal.
Check more of Yuri's work on these channels:
Want to share your work with our community too?
Contact us at Cette adresse e-mail est protégée contre les robots spammeurs. Vous devez activer le JavaScript pour la visualiser. and tell us about your favorite project.

