
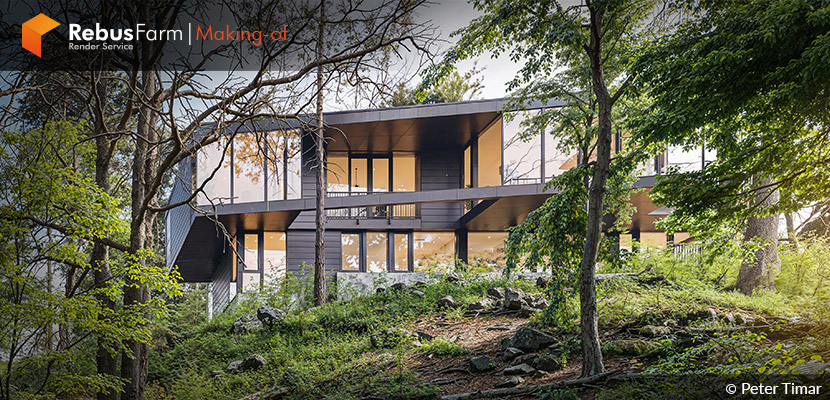
Transforming architectural concepts into emotionally resonant visual. In this making-of feature, Peter Timar invites us behind the scenes of Royal I. Residence, a modern home placed within a dense forest environment. Inspired by the original design by William Kaven Architecture, this personal project explores the balance between bold architectural forms and a softly moody natural setting. Let’s take a closer look at how this project evolved from reference to final render!
About me.
Hello everyone,
and welcome to my “Making of” for the Royal I. Residence project.
I’m Peter Timar, a professional 3D artist focused on architectural visualization. Although I graduated as a chemical engineer and spent a few years working in that field, I was eventually drawn to the creative world — particularly to the art of architectural visualization. I strive to push the limits of what can be achieved in Archviz with Blender, which continues to grow in popularity every day.
About The Project.
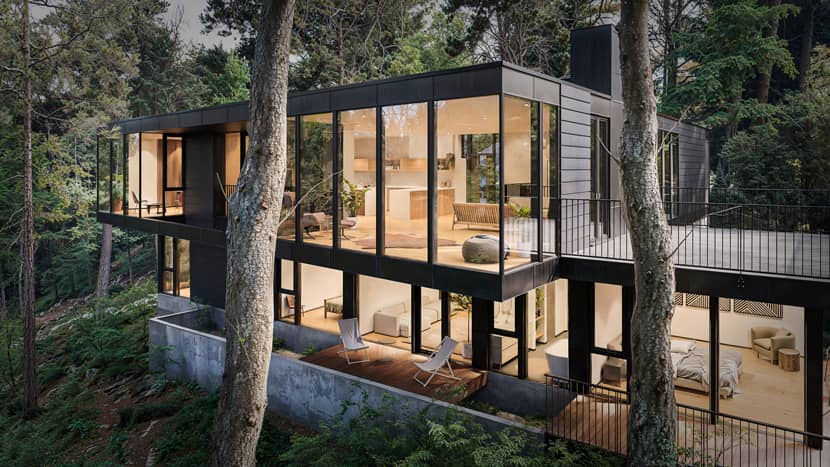
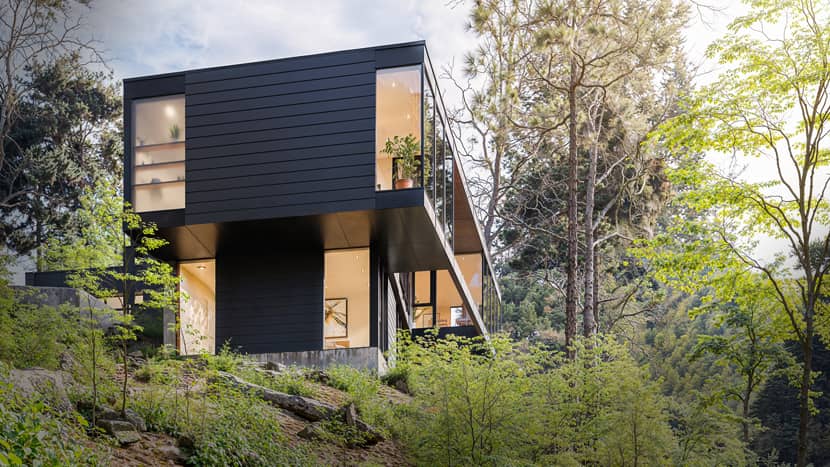
This was a personal project created to showcase and test my capabilities. I carefully chose the subject from among hundreds of publicly available architectural designs online. While browsing through different buildings, one immediately caught my attention — The Royal I. Residence by William Kaven Architecture. Its striking form, clean lines, and the way it sits within the forest felt like the perfect subject to explore in 3D.
I downloaded the available floor plans and technical drawings and began modeling the entire house from scratch.
Software Used.
As I mentioned, Blender is my primary software for visualizations. I find the Cycles engine extremely versatile and capable of delivering high-quality results comparable to other industry-standard render engines — with one big advantage: no monthly fees.
After rendering, I always move to Photoshop. Over the years, I have developed a step-by-step workflow that works for nearly every project and lighting condition.
Once I’m satisfied with the Photoshop results, I upload the image to Leonardo AI for some subtle final touches. However, 99% of the work is still done within the 3D software.
References.
Since the house I chose to visualize is a real, completed project, I had plenty of great references and real-life photographs to work with. My goal wasn’t to replicate every detail perfectly, but rather to reinterpret the design and explore its visual potential through my own perspective.
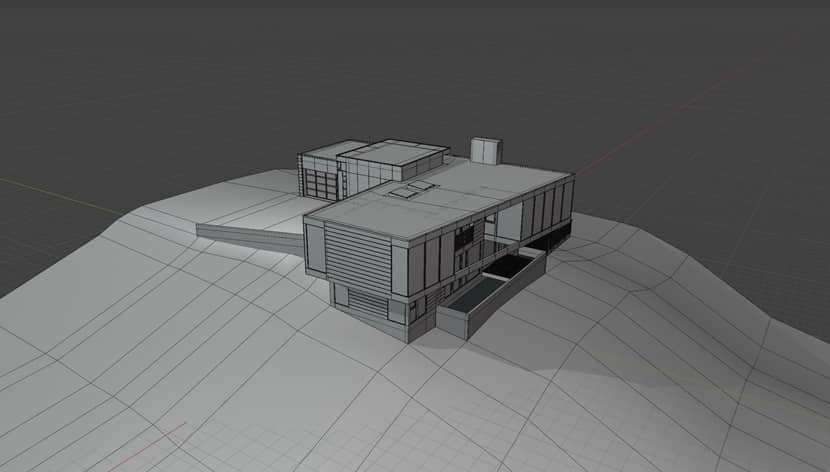
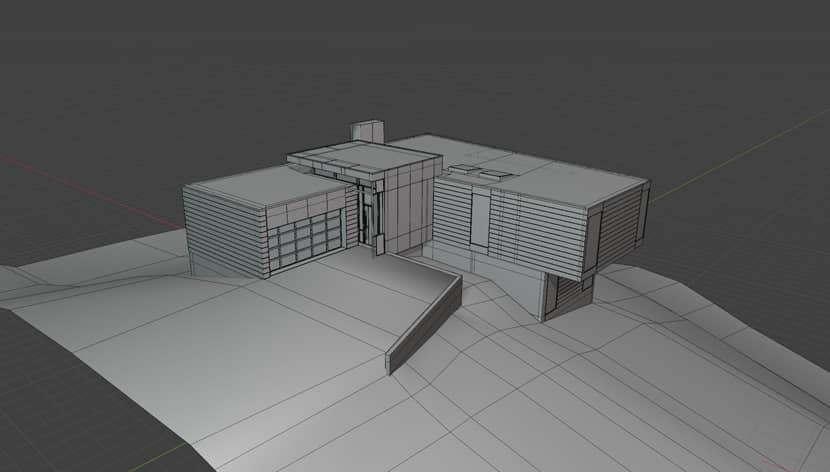
3D Modeling.
Once I had all the views and reference drawings prepared and set up in the scene, I modeled the entire house from scratch in Blender, ensuring that all proportions and details matched the real building.
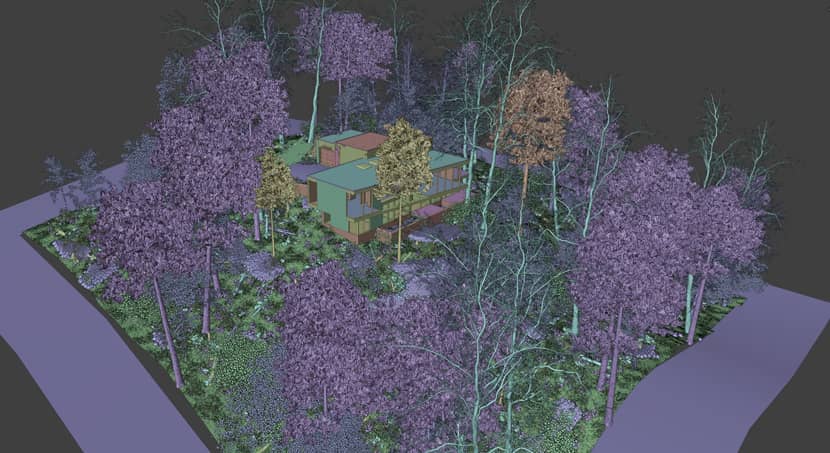
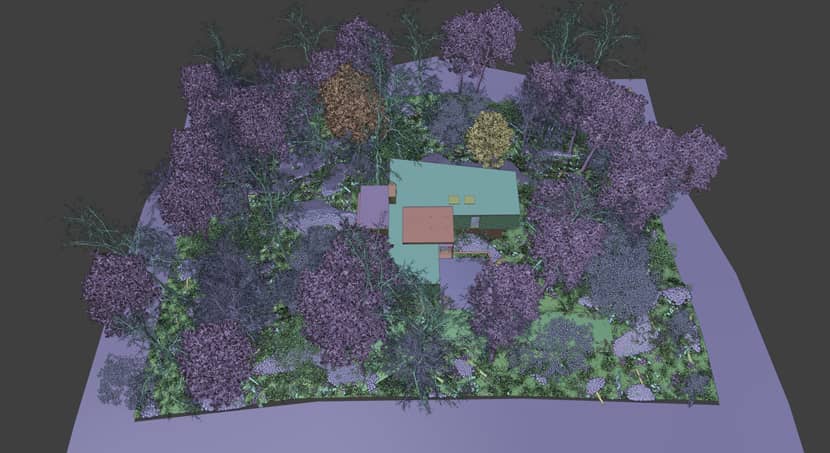
3D assets.
During the making this project, my main sources of foliage were Blenderkit and Geoscatter packs. The forest in the scene is combination of trees from Blenderkit database and the Evermotion 15th Anniversary Collection. Especially the second one mentioned has extremely high-quality forest assets, which i still use to this day.
For my latest projects, I have switched to the 3D Shaker Trees Collection, which I consider to be the highest-quality foliage available for Blender.
For other 3D assets like furniture, decorations etc., i relied on a combination of pre-made libraries mainly from Blenderkit, iMeshh and Poliigon. They needed some tweaks here and there but overall did great job for me.
Fixtures, such as the built-in kitchen units and cabinets, were modeled and textured by myself using real life references.
Materials.
I primarily rely on high-quality assets from Blenderkit and the iMeshh collection. So far, they have consistently delivered excellent quality without compromise.
When a project requires a custom adjustment or a very specific effect, I create my custom own node setups.
For example:
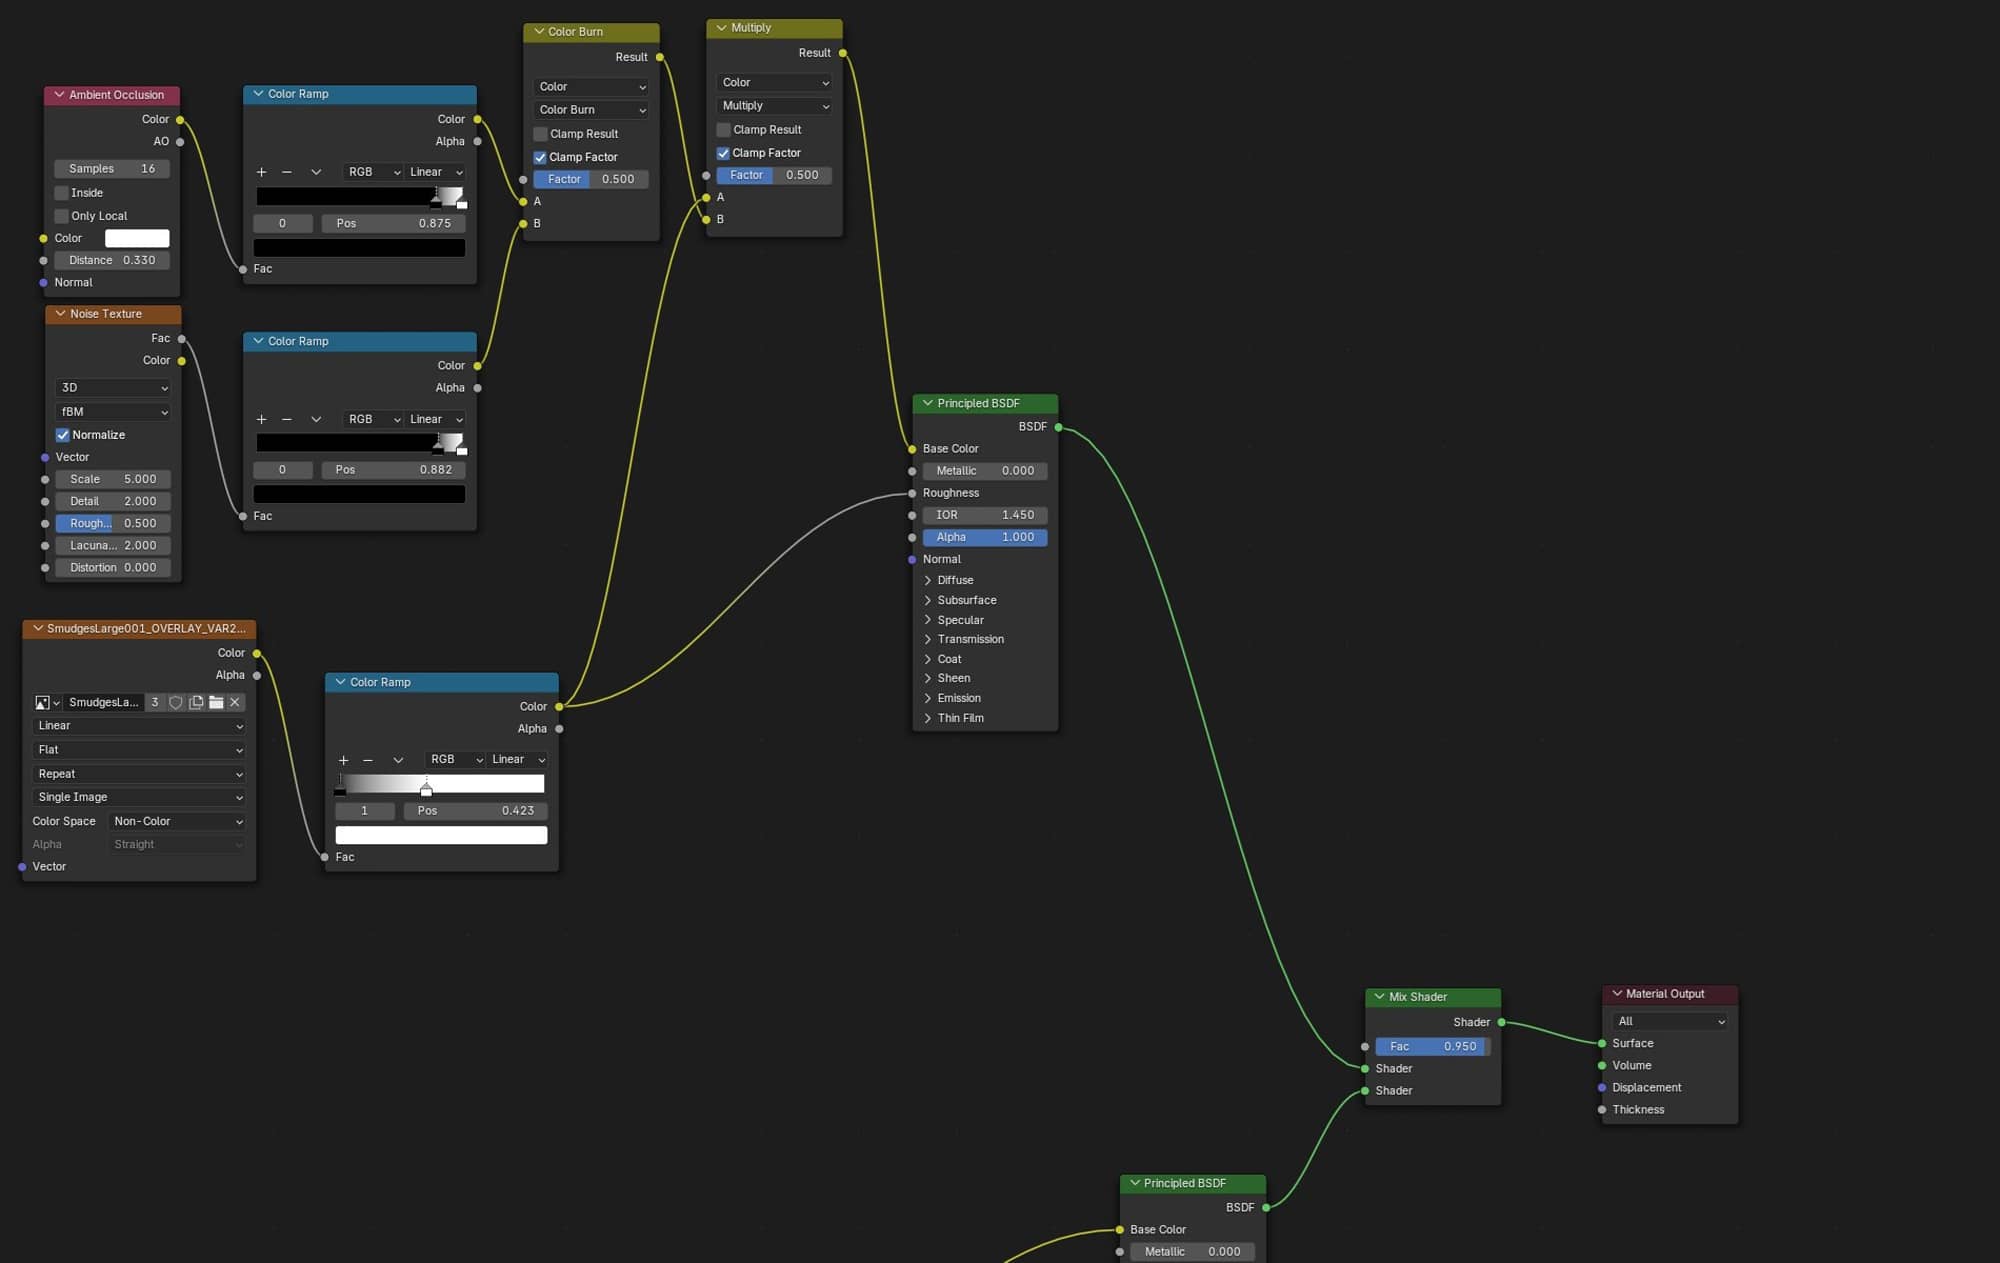
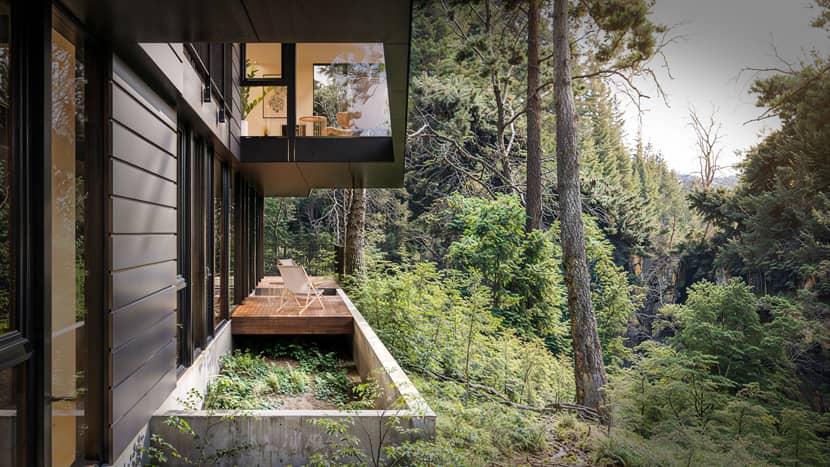
In this case, the black cladding of the house felt almost too perfect, so I added imperfections in the form of streaks and scratches to give it a more realistic look.
Below is an example of such effect node tree along with classic Principled BSDF node setup.
Lighting.
In my opinion the most important part often overlooked by so many artists. No matter how perfect a 3D model or materials are, poor lighting can completely erase its visual impact.
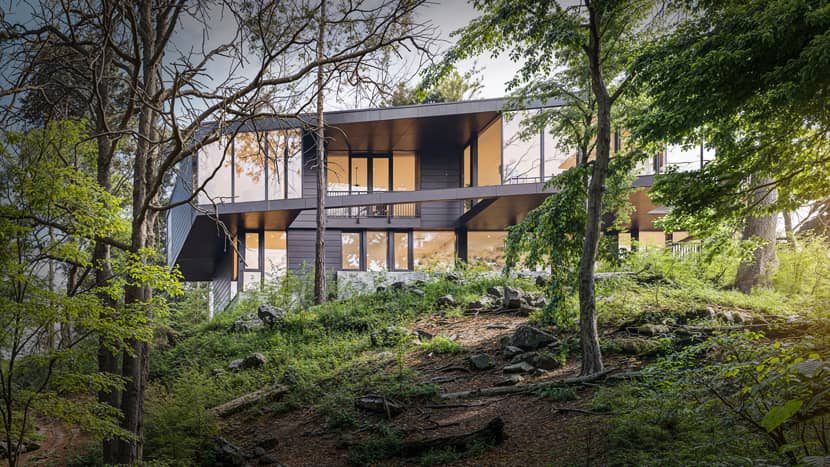
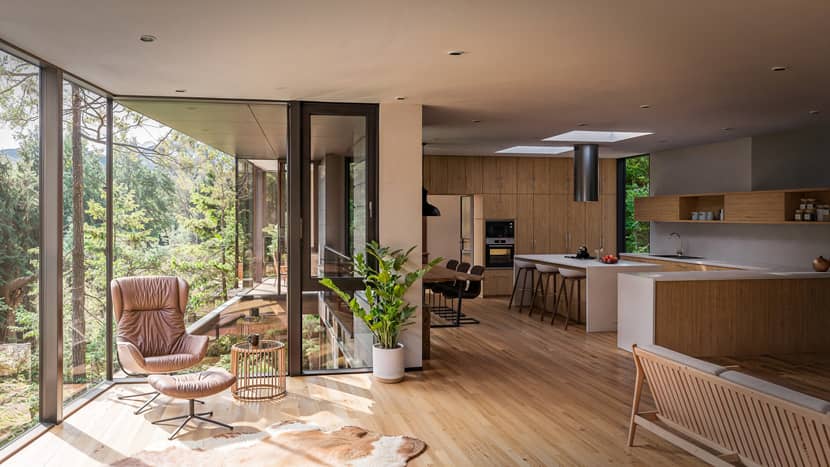
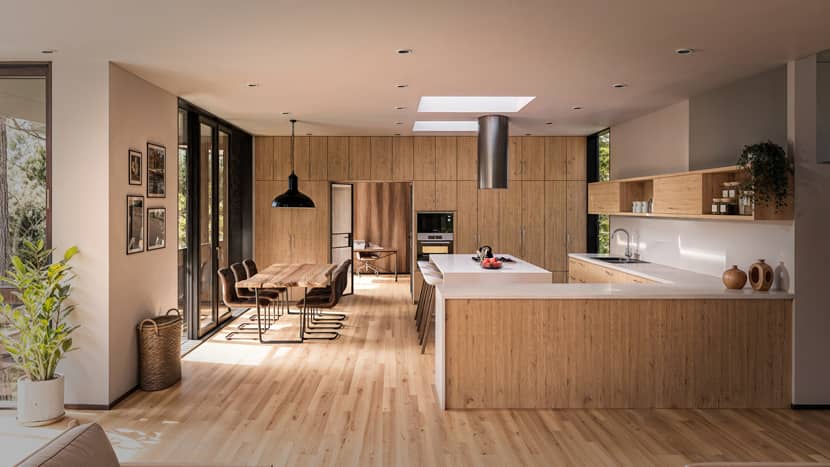
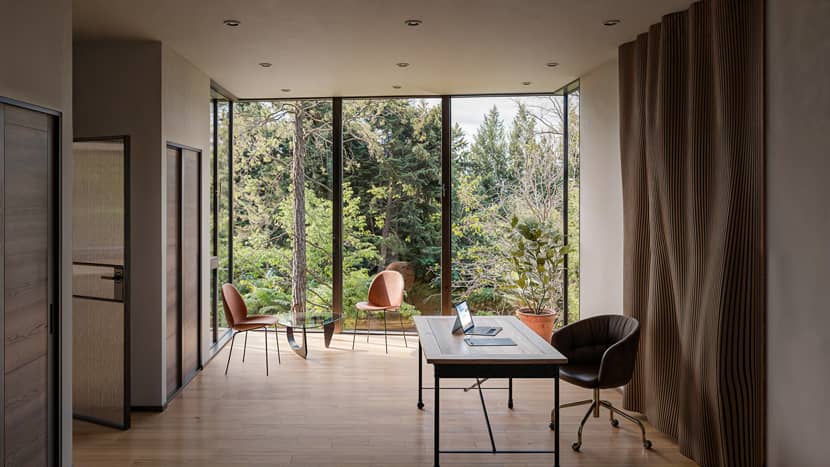
In this project, I wanted to capture a softly moody forest atmosphere contrasted with the warm, orange glow of the modern home interior. To achieve this balance, I selected an HDRi map from Polyhaven.com to serve as the primary lighting source for the scene.
A great trick to control the brightness of an HDRi map and the amount of light it emits into the scene at the same time is to set up the world nodes like this:
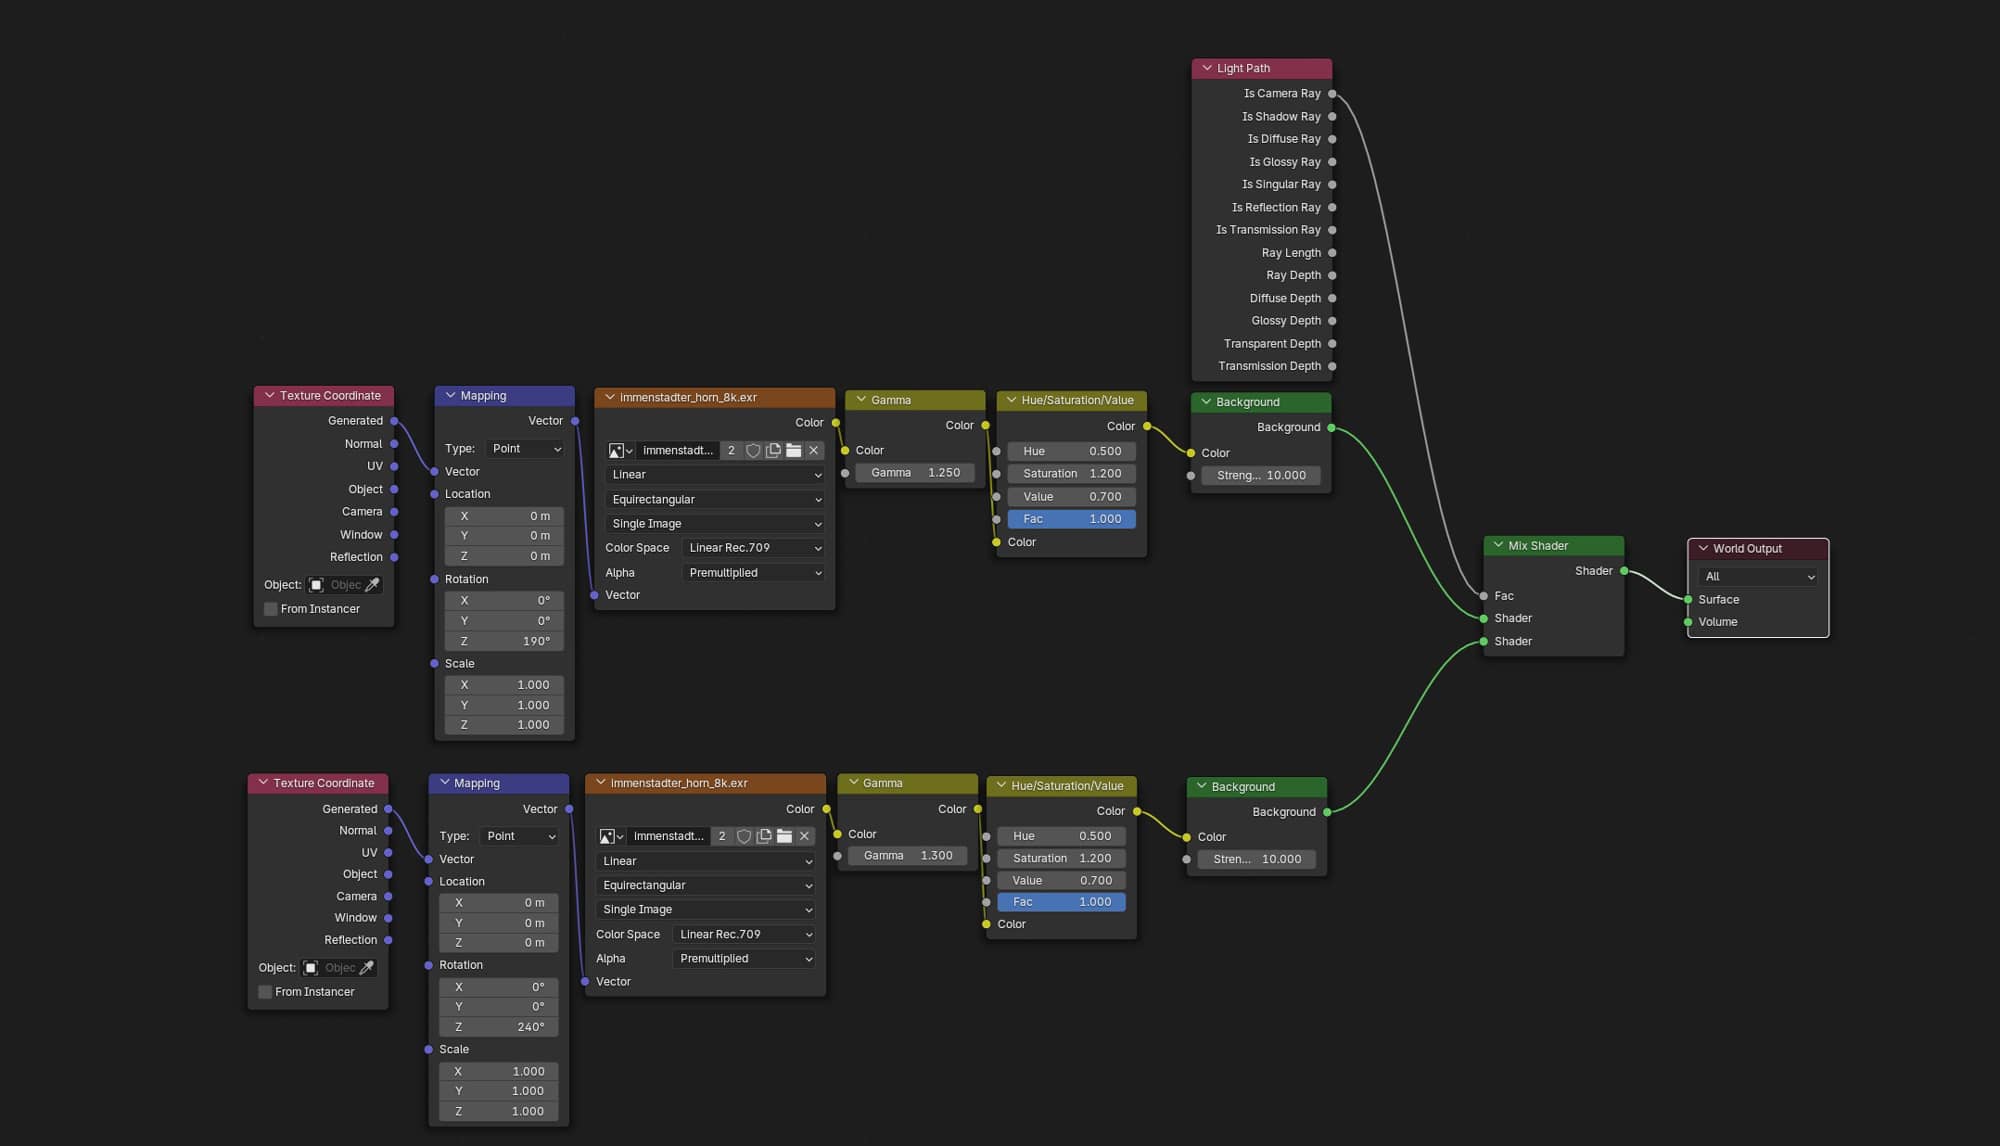
The upper node tree, combining a Light Path node with a Mix Shader, allows precise control over how much light the HDRi emits. This setup can let the HDRi illuminate the scene without being directly visible to the camera—or the other way around.
The lower node tree regulates the brightness of the HDRi image itself in the background. This way, the visual intensity of the backdrop can be separated from its lighting function, making it easier to balance atmosphere and exposure.
Post-production.
This is also a very important and often underestimated part of the process. My first steps in Photoshop involve compositing the mist layer and making color adjustments. I also apply my custom smart filters, which I have developed over the years of self-study and experimentation.
Once I’m satisfied with the result, I export the image to Leonardo AI for some final touches. I experimented with building my own local AI solutions in Comfy UI for final retouching and upscaling, but none of them delivered results comparable to Leonardo, so I stick with it for now.
The challenge with AI is that it often alters details I want to keep or excessively enhances others. That’s why, in the final step in Photoshop, I mask only the areas I want to use and discard the parts that don’t fit.
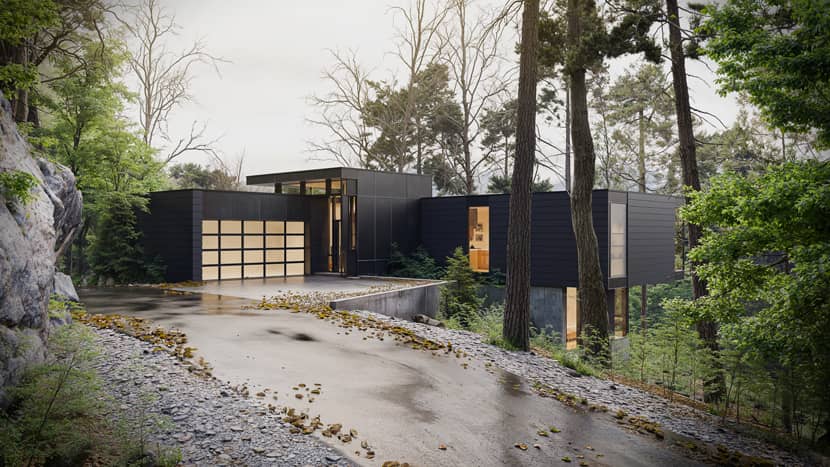
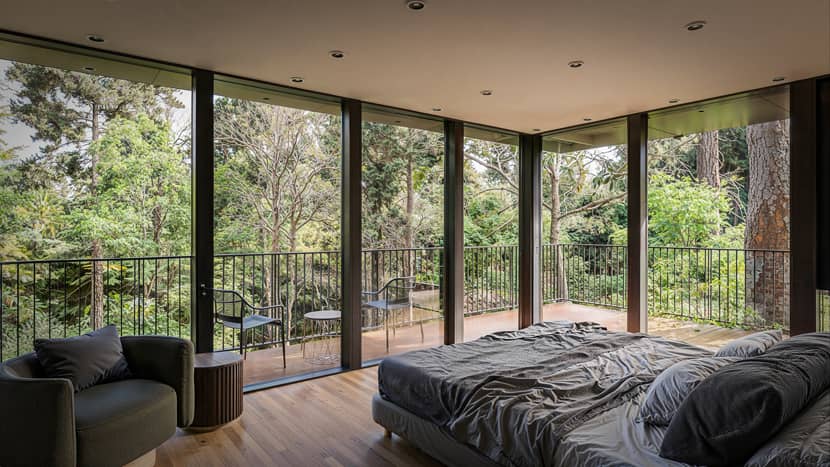
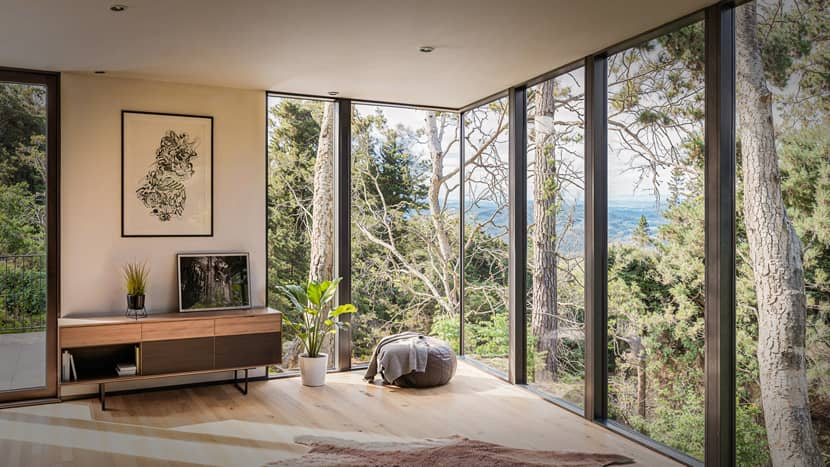
The results turned out impressively. Enjoy the remaining views below:
Thank you for joining me on this making-of journey. If my work resonates with you or sparks ideas or questions, feel free to reach out to me on my social networks. You are always welcome.
Wishing you all the best,
Yours,
Peter Timar.

About the artist
Peter Timar is a professional 3D artist specializing in architectural visualization, with a strong focus on Blender and high-end photorealistic workflows. Originally trained as a chemical engineer, he transitioned into the creative field driven by a passion for architecture and visual storytelling. Through continuous self-study and experimentation, Peter has developed a refined pipeline that combines precise modeling, atmospheric lighting, and detailed post-production. His work often explores modern architecture placed within natural environments, aiming not just to replicate reality, but to reinterpret architectural designs through his own visual perspective.