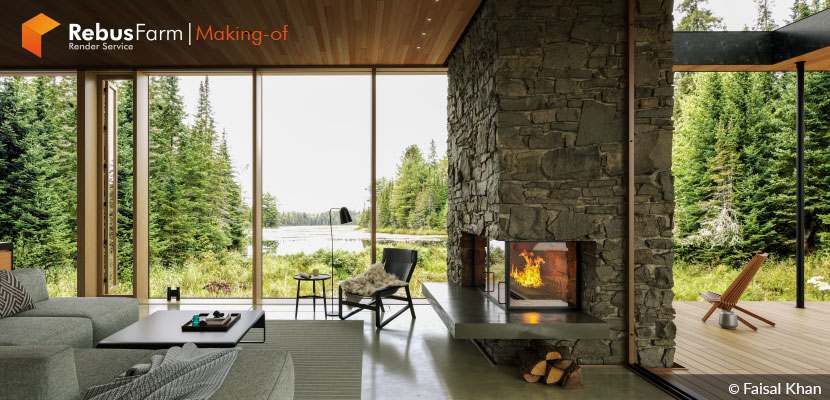
Mohammad Faisal Khan, a talented 3D artist from Bangladesh, shares the creative process behind his recent project developed as part of his professional course reflecting his dedication to improving his visualization skills. With a focus on modeling, lighting, materials, and post-production, Faisal offers a detailed walkthrough of how he brought the scene to life, using a combination of references, industry-standard software, and personal artistic insights.
About me.
Hello everyone,
My name is Mohammad Faisal Khan. I’m a 3D artist from Bangladesh. I completed my bachelor's degree in the Department of Multimedia and Creative Technology. My 3D journey started in 2014, during my university education, but I began my professional career in early 2017. Over the past several years, I have worked with several companies both on-site and remotely as a visualizer and modeler. I’m currently working as a freelancer.
About The Project.
Today, I'm excited to share the making-of article for my project, ''Whidbey Island Farm Retreat'', and thank VWArtclub and Rebus Render Farm for this great opportunity!
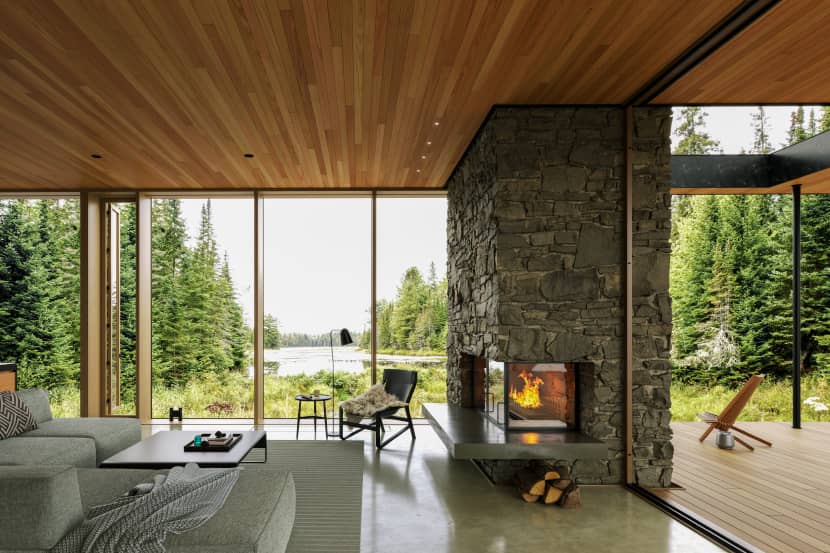
This is an educational project. After working for many years, I felt that I needed to improve my skills, so I decided to take a professional course at Render.Camp in early 2023. This project is one of my course lessons. Inspired by that, I decided to do this project for learning and to build my portfolio. Finally, I successfully completed it.
Software Used.
I use 3ds Max for modeling and scene development, Corona Renderer for rendering, and Adobe Photoshop for post-production.
References.
As a 3D Artist, I start each project with references. I gather and arrange references from various websites using PureRef, an exceptionally useful tool.
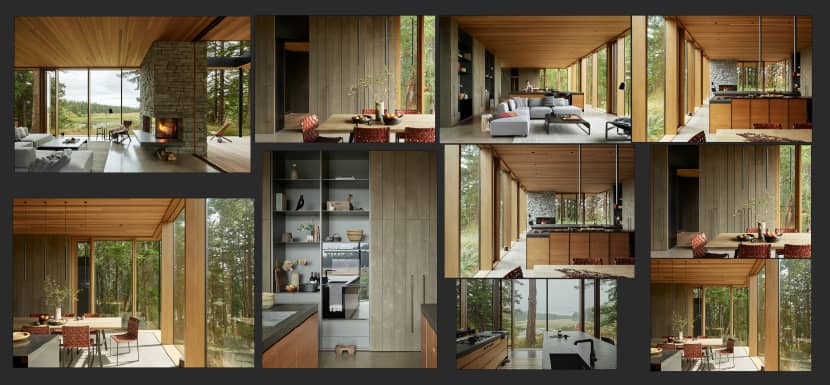
I think references are the most important part of visualization. When we start working with references, we can see our visualization goals. Without references, we can't achieve our desired outcomes. Starting with references allows us to develop a general feeling or mood board quickly and helps enhance our visualization skills. When I decided to do this project, I initially had only one image as a reference, which was the first one. Then, I collected additional images and began my work based on these references.
Modeling.
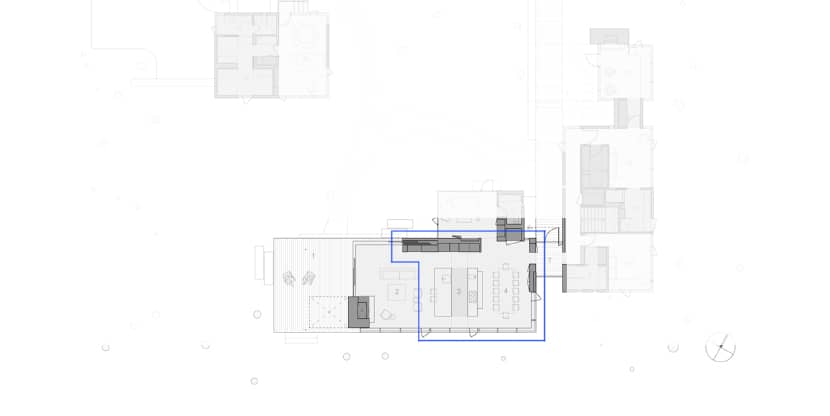
This scene was initially created by one of my course mates. He made this scene according to the first picture of reference. Based on the floor plan, I created other portions and modified some of the scenes to produce additional high-quality renders. I changed some parts of the plan to make my work easier. Some models I bought online, some I collected from open-source platforms, and some I made myself.
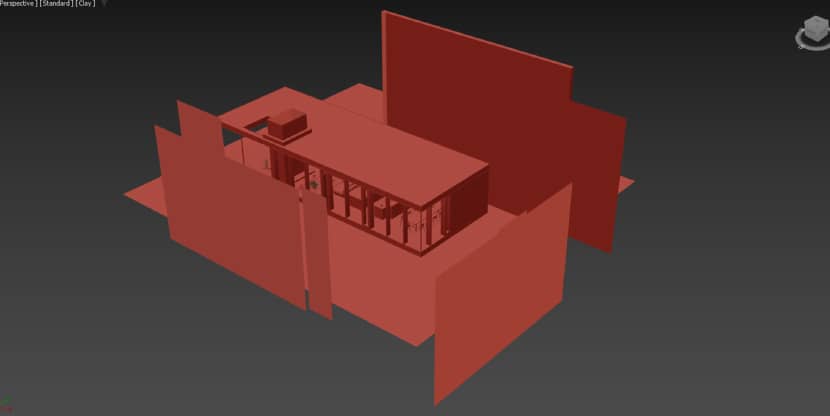
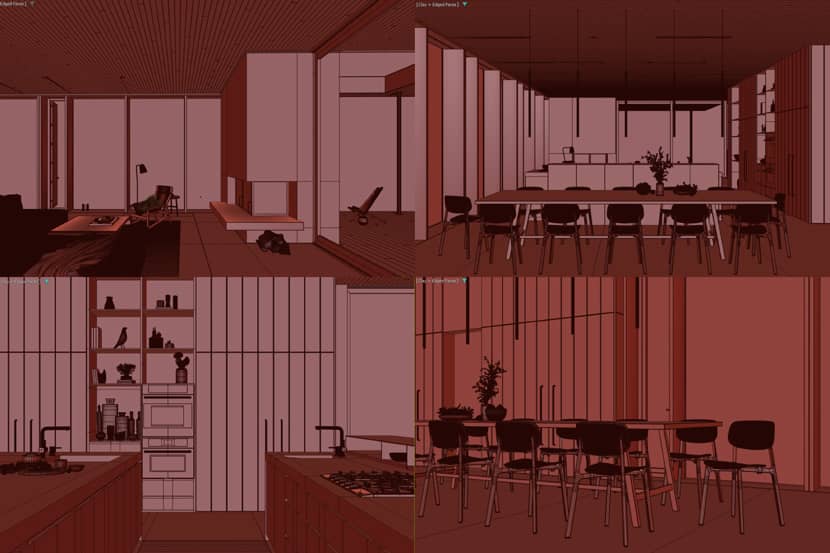
Lighting.
After finishing the modeling, I focus on the general lighting. I begin by overriding all materials except for the glass and light sources. Then, I adjust the light intensity and work on the shadows.
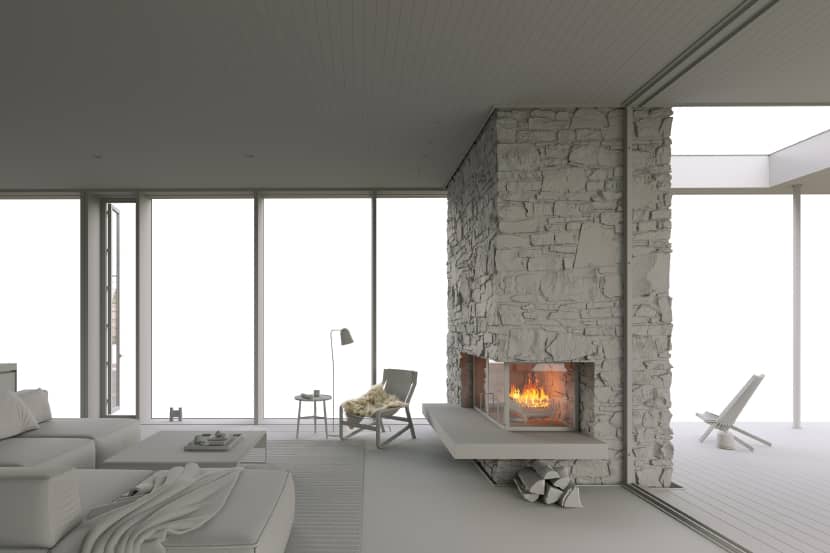
I started lighting with HDRI to match my reference lighting and shadows. I tried using overcast HDRIs and finally achieved my desired result with one of them, which I downloaded from PolyHaven.
Materials.
After achieving my desired result in the lighting part, I start working with materials, using primary colors to create a general feeling/mood board. Starting with basic colors makes it easier to achieve my desired general feeling.
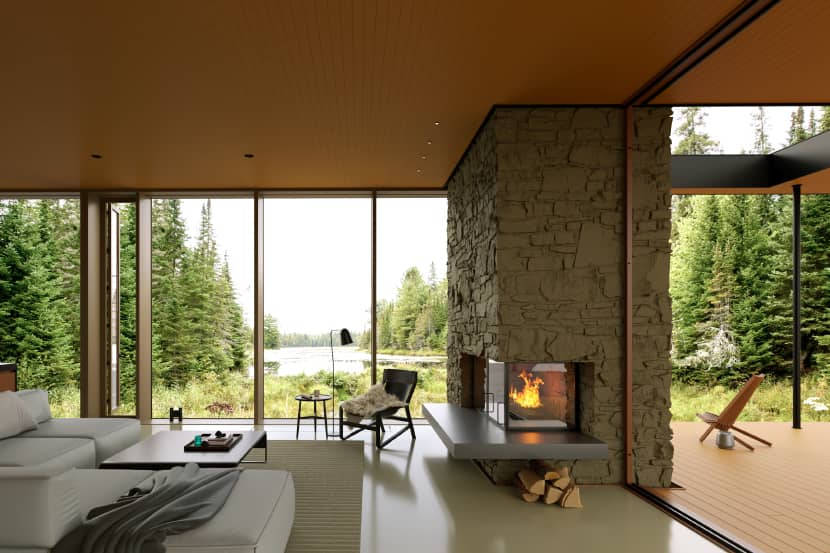
Most of the textures I used were collected from open-source platforms, and some were purchased from texture.com. I start my texturing process with larger objects and finish with smaller ones. For example, in this scene, I began by texturing the ceiling. Then, I proceeded step-by-step to texture the rest of the scene. Below, I share some screenshots of my texturing methods.
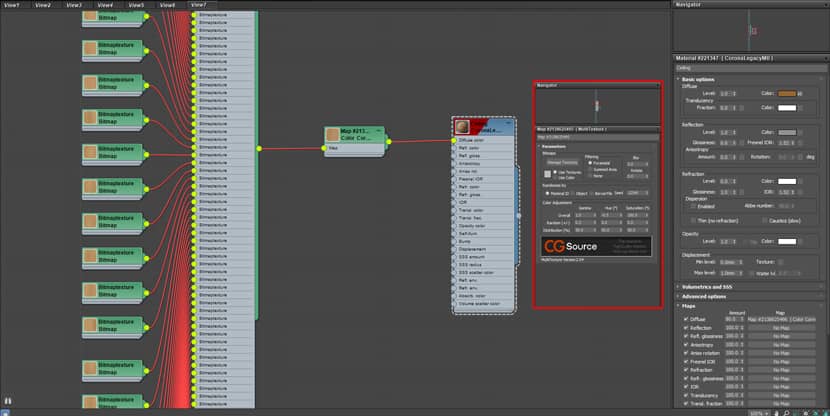
For the ceiling texture, I used multi-texture and a color correction map. In the multi-texture, I adjusted the gamma and hue to create differences. I used the same material for the floor but adjusted the color correction map.
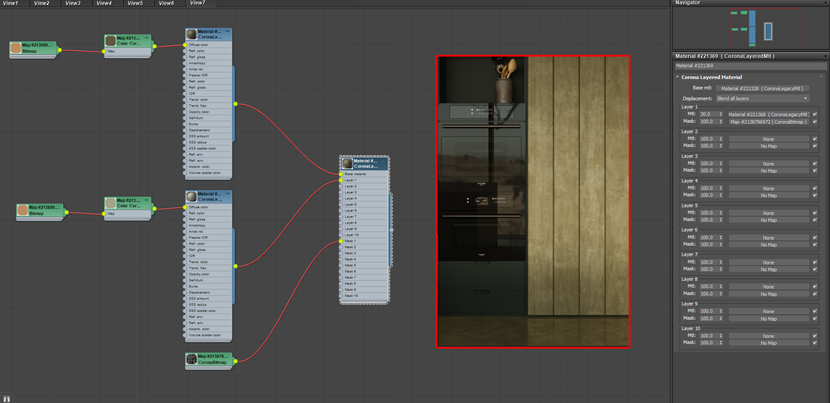
For panel textures, I used Corona Layered Mtl to blend between two different textures. I used a dirt texture to mix both materials randomly.
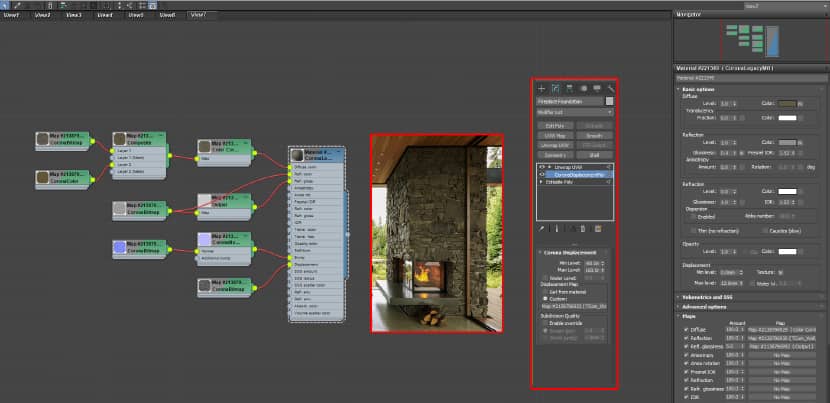
I used PBR textures, which I bought from here, and Corona Displacement to create a bump that looks like a 3D object. I also used a composite map to mix colors and a color correction map to match my reference.
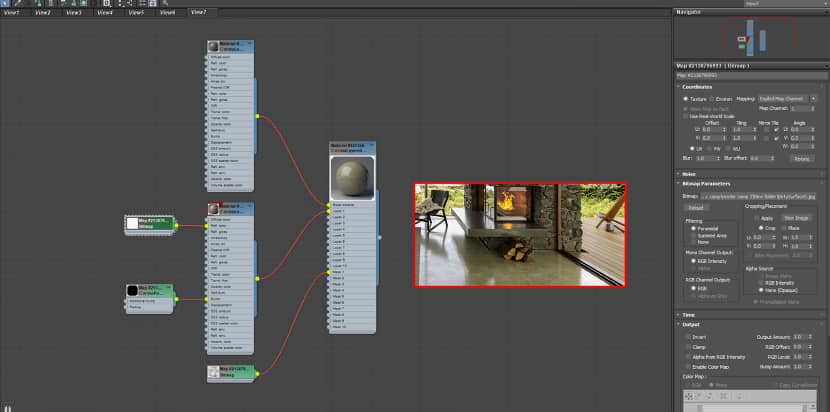
Here, I used Corona Layered Mtl to blend between two different colors. I used a dirt texture to mix both materials randomly, which gave me a good result.
Post-Production.
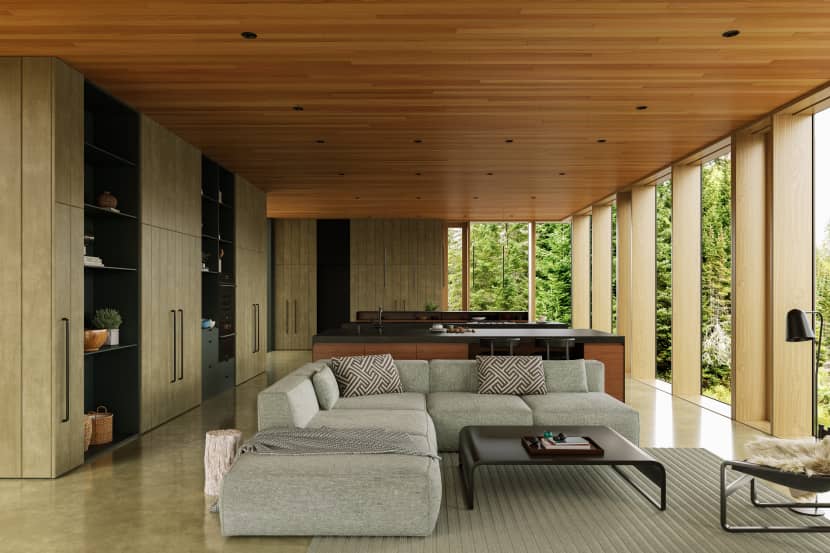
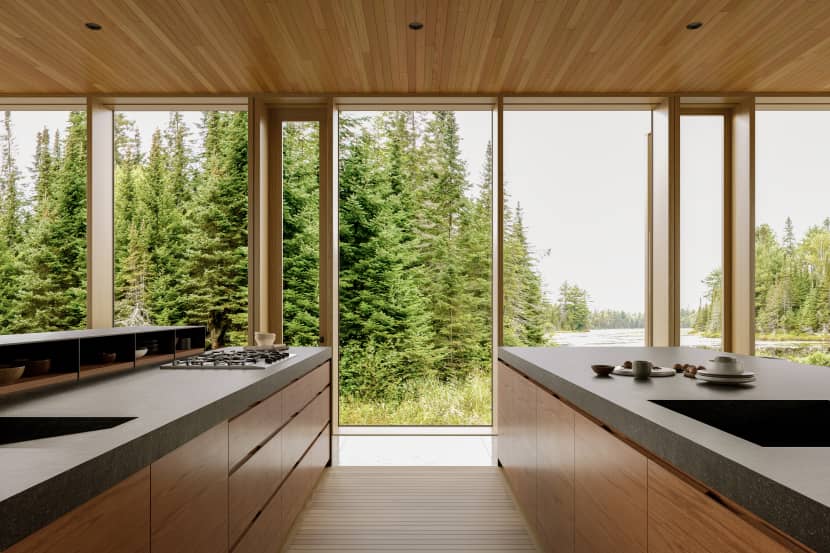
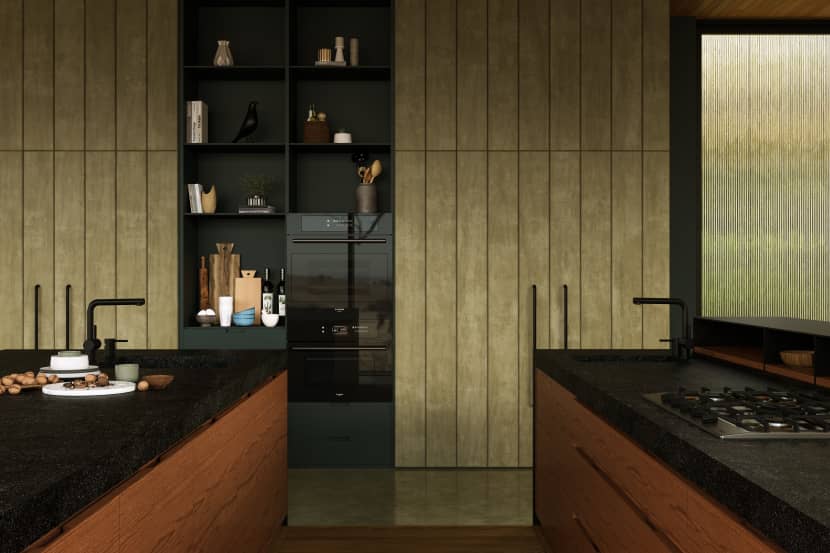
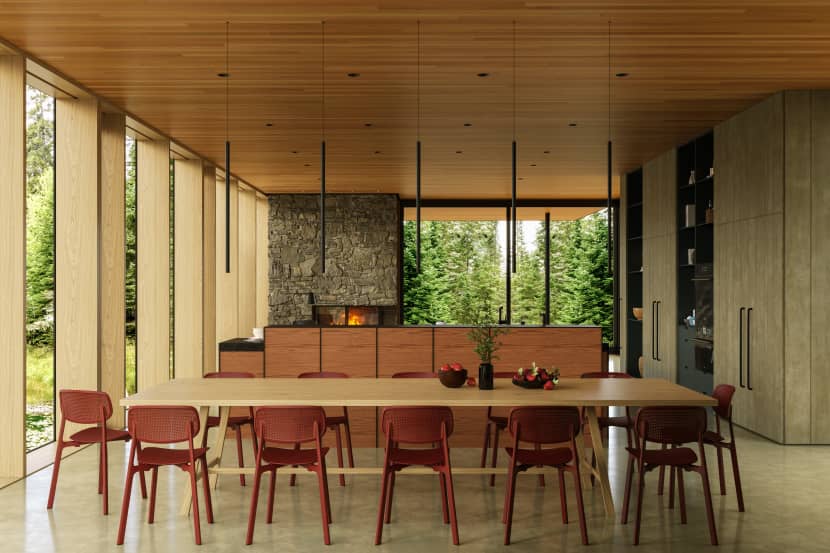
As always, I work with the materials in a way that minimizes the effort needed for post-production. I do post-production directly in Corona VFB. Then, I opened the final image in Photoshop, where I usually used the Camera Raw filter to make final adjustments. I adjust the brightness and contrast because it offers more settings than VFB. Here is the final result of my project.
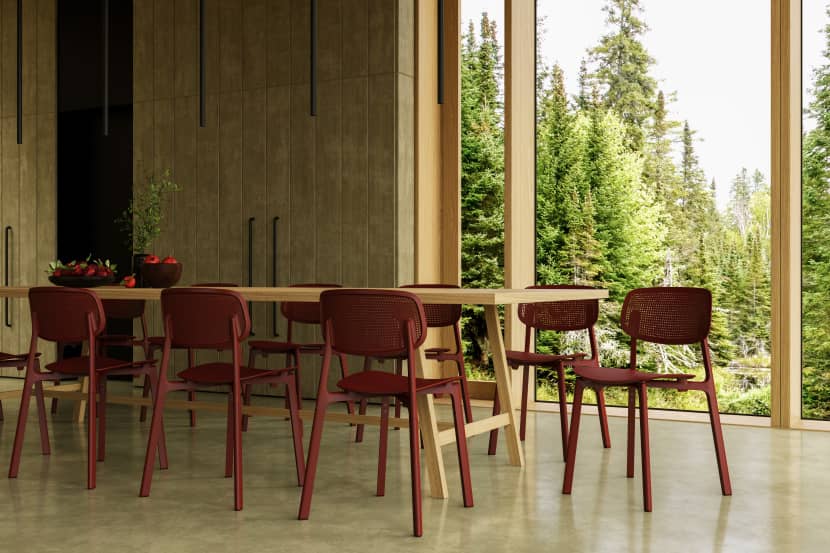
Thank you very much for reading my article. I appreciate your time and interest. Feel free to explore more through the links below.
Kind regards,
Mohammad Faisal Khan.

About the artist
Mohammad Faisal Khan is a skilled 3D artist from Bangladesh with a background in Multimedia and Creative Technology. He began his 3D journey in 2014 during his university studies and has since built a professional career as a visualizer and modeler, collaborating with various companies both on-site and remotely. His work reflects a deep commitment to continuous learning and skill development. Currently working as a freelancer, Faisal is known for his meticulous attention to detail, blending creativity with technical expertise in projects that showcase his passion for architectural visualization.
