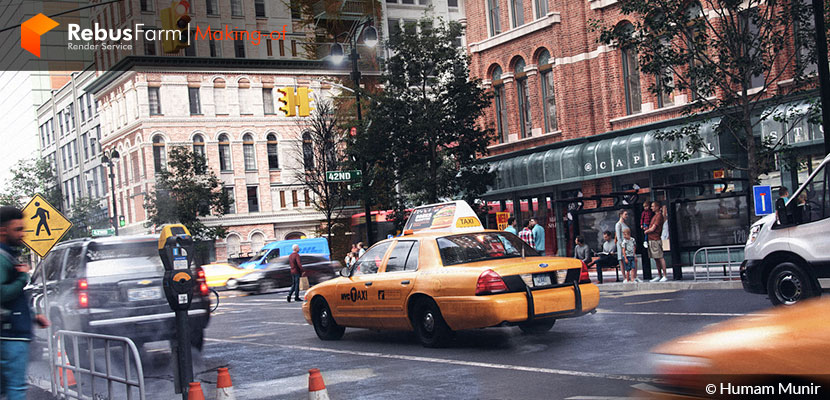
Every artist needs to challenge himself from time to time, learn something new, and expand his portfolio. Inspired and motivated by other great 3D artists, Humam Munir, an Iraqi 3D artist, shares his workflow with all of us. Take a look and grab the tips of this informative breakdown!
About me.
My name is Humam Munir and I'm a 3D artist from Iraq. I started my career in 2008 working as a freelancer in ArchViz and a hard-surface modeler as well. I've always been passionate about making hard-surface models for almost 14 years. My favorite tools that I use in my daily workflow are 3DS Max, ZBrush, Photoshop, and Quixel. For now, I'm still a freelancer hoping to find my place and get a role in the future films and Gaming industry.
Idea and Inspiration.
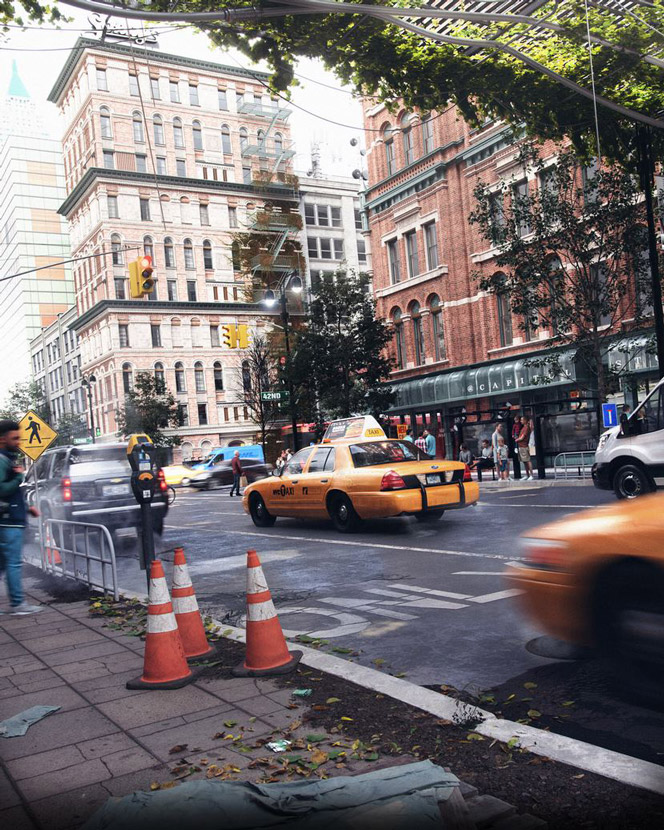
Throughout the years of working in 3D, I think every artist needs to challenge himself from time to time, learn something new, and for sure expand his portfolio. I aim to challenge myself to create CG Art regularly and post it across all the important social media platforms.
Crowded places and projects with tons of polys are always the things that I'm passionate about. NYC meets all things that I like to create, hard surface objects combined with fascinating Archviz. For sure, NYC recreation is not new in 3D. In fact, if you search online you can find a lot of related 3D scenes. But there is always something special, every artist creates it from his point of view and his unique style. So I decided to recreate it.
Like in any project in my daily practice, I start with a massive search for all aspects of the project, and I also look to other artistic creations to get inspired and motivated. Artists like Ander Alencar, Efim Armand, and Egor Goray actually inspired me to create this scene. Below you can see some of my references, not only for assets but also for lighting style and final mood and inspiration.

Software used.
The project was modeled using Autodesk 3DS Max and for rendering, I used Corona Renderer with a little post-production work in Adobe Photoshop. Tools like Quixel Megascan, Bridge and Zbrush were useful to add more details and enhance the final image.
Modeling.
I started modeling the main street intersection, then blocking out the building. This is the first thing to do by blocking out large models down to smaller ones. After blocking out the buildings and streets, I started playing with both lighting and camera.
Environment & Assets.
There are a lot of web pages where you can find great assets. For this project, I mostly used Quixel Megascans for leaves, stones, garbage, decals, Maxtree for the plants, and 3DSky for a couple of 3D assets. To handle such a big scene with lots of models, I used CoronaProxy to speed things up. Below is a short, simple, and informative tutorial that can help you understand how to use proxies in an efficient way.
To be honest, the most important according to my opinion is composition and lighting. I consider them as more important than modeling and for this reason, I was focused on camera setup, lighting, mood, and materials.
If you want to take a look at some professional seminars related to Lighting and Composition then visit Creative Lighting and learn more about its Masterclass & Workshops.
You can also watch the video below, created by Pedro Fernandez, the founder of Arqui9 Visualisation, exploring some basic but really important composition tips.
Lighting Tip.
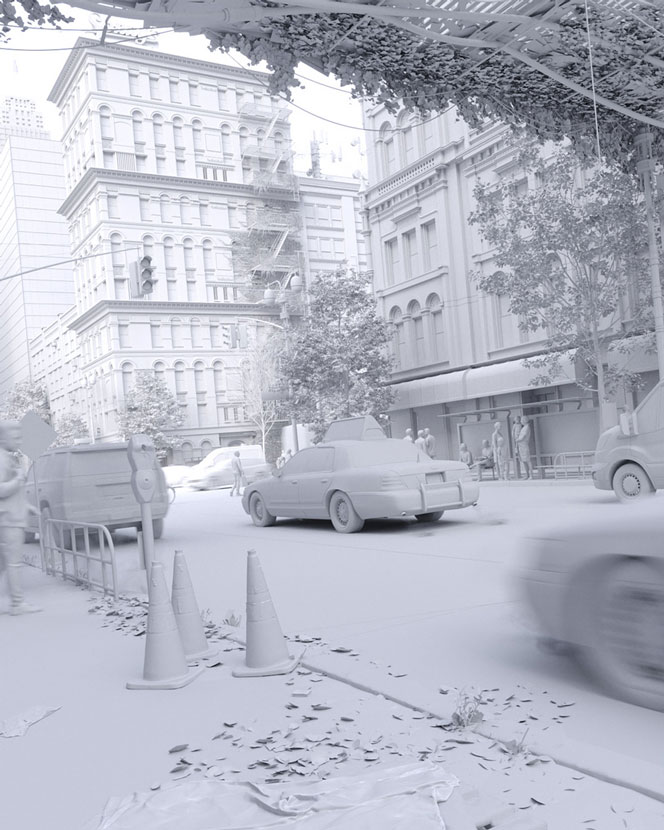
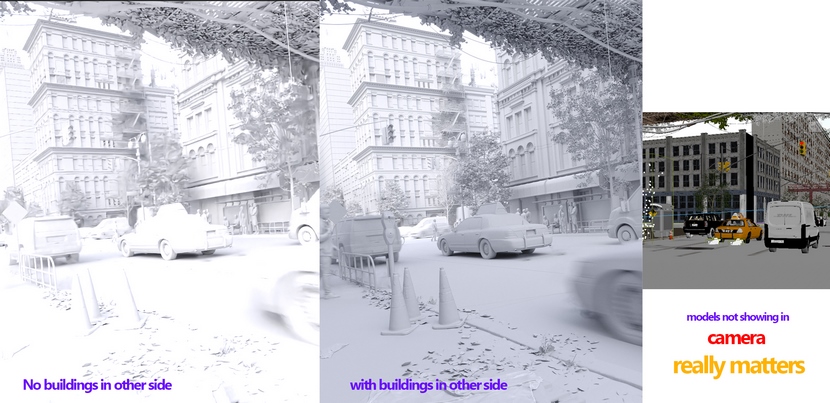
We, 3D artists, are used to doing our scenes based on what appears through our camera only, but it makes sense to think about some possible reflections or even shadows that are cast from objects which are not visible to the camera. My best tip here is to take care of the models that are probably placed on the other side of the road to get more photorealistic lighting, reflections, and shadows. For this scene, I used only Hdri for main lighting and some Corona lights to illuminate cars' headlights. As an image usually speaks a thousand words, below you can notice the difference between the two types of lighting, without and with my tip applied.
Smoke and Fog.
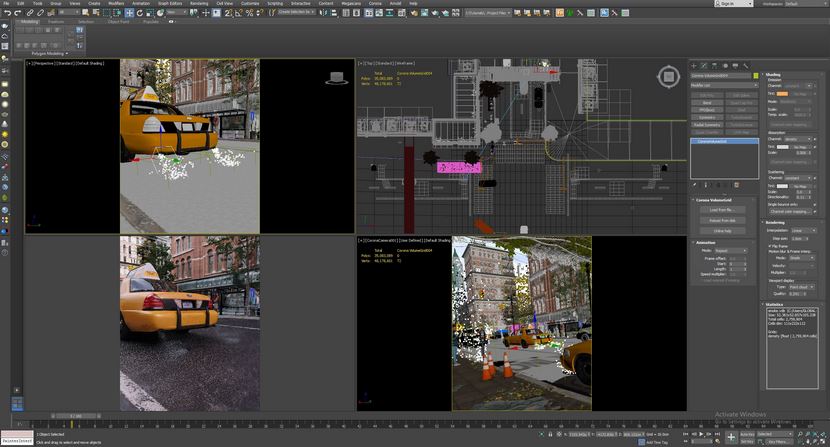
I used the OpenVdb file in CoronaVolumeGrid to create the desired effect and reduce post-production work to get maximum control.
Rendering & Post-production.
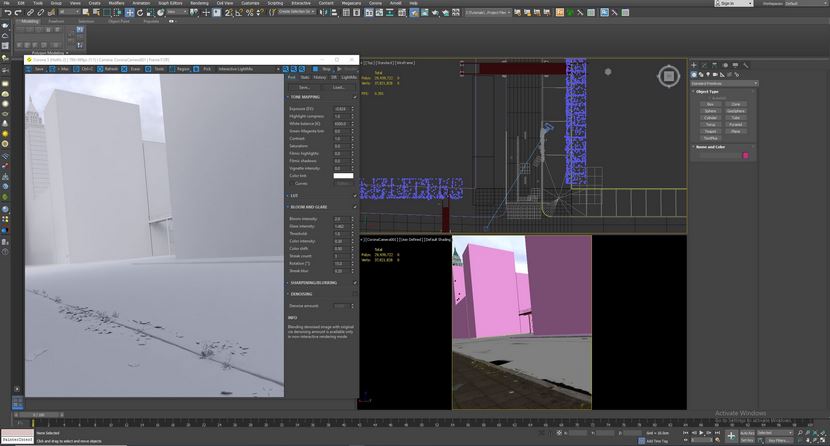
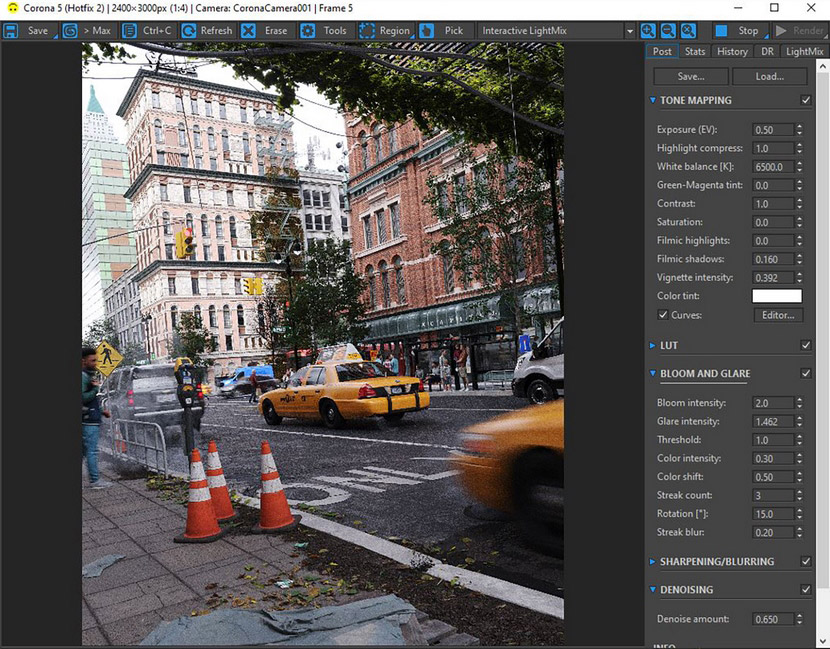
The final rendering was made with Corona Renderer, which is from my perspective, a very powerful, intuitive, and user-friendly render engine. For this scene, I used the Corona High-Quality denoiser with an amount of 0.65/ radius 1.65, and let the noise level limit at 5%.
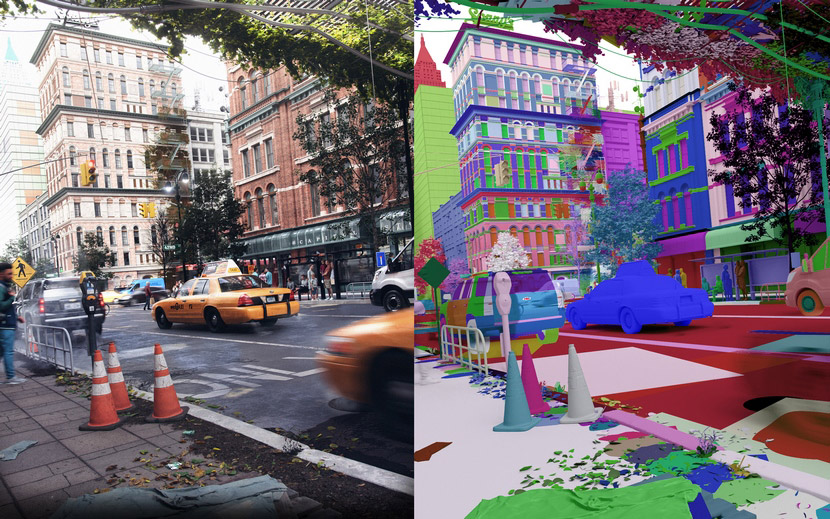
In the frame buffer, I added LUT to create the desired mood. Then a couple of Render Elements were added later on making some post-production adjustments in Photoshop regarding reflections, shadows, and color balance.
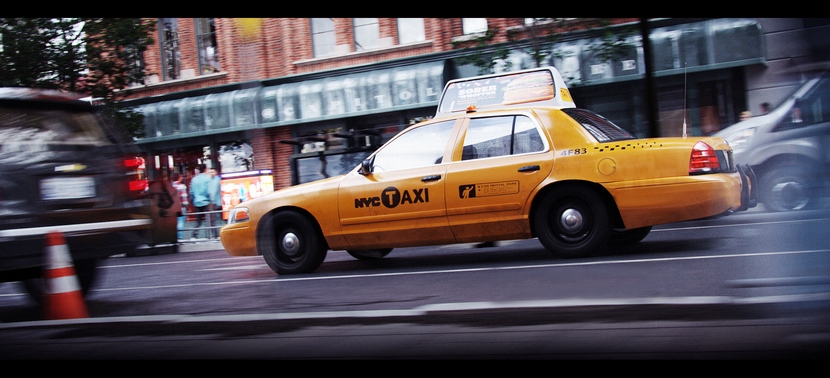
Below you can see directly from 3DS Max what the render looks like.
Thanks to the RebusFarm team for giving me the opportunity to share my work with this amazing and growing community.
With kind regards,
Humam Munir.
Check more of Humam's work on these channels:
Want to share your work with our community too?
Contact us at Questo indirizzo email è protetto dagli spambots. È necessario abilitare JavaScript per vederlo.and tell us about your favorite project.
Get started with your own renderings
