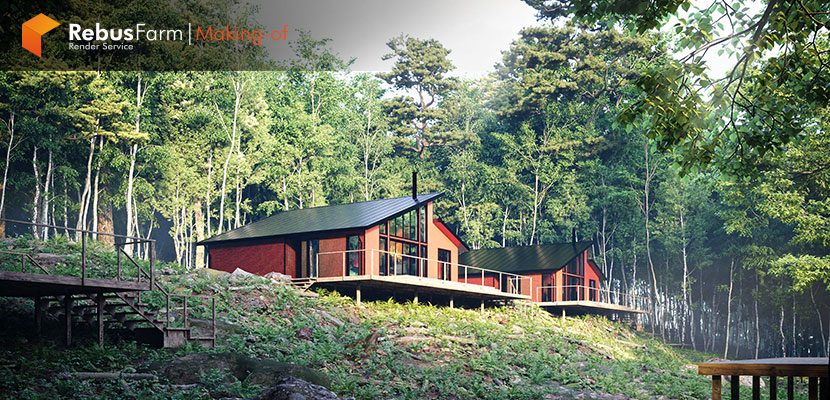
The landscape views that “green” scent altogether become the perfect getaway to retrieve oneself. A project created by the Indian 3D Artist, Aayush Verma, and inspired by true and direct contact with nature. A vision of total escape space hidden in the woods. Enjoy the article!
About Me.
Hello everyone,
My name is Aayush Verma, a 3D artist from India specializing in architectural visualization. I have been practicing this field for over 9 years now providing 3D services to clients around the globe. I never flinch away from creating something that crosses my eye, the project “Hideaway In The Woods” is one of them. Keeping up with industry-level skills and my abundant interest in imagination, I remain diligent in my career.
Software Used.
I use 3ds Max for modeling and scene development, Corona Renderer for rendering, Chaos Scatter for the distribution of various vegetation, and Photoshop for post-production.
About The Project.
The project “Hideaway In the Woods” has been promoted on the VWArtblub TOP10 and TOP5 series of *Contests. I would like to thank Rebusfarm and the VWArtclub Team for allowing me to share with you the making of this recent personal project.
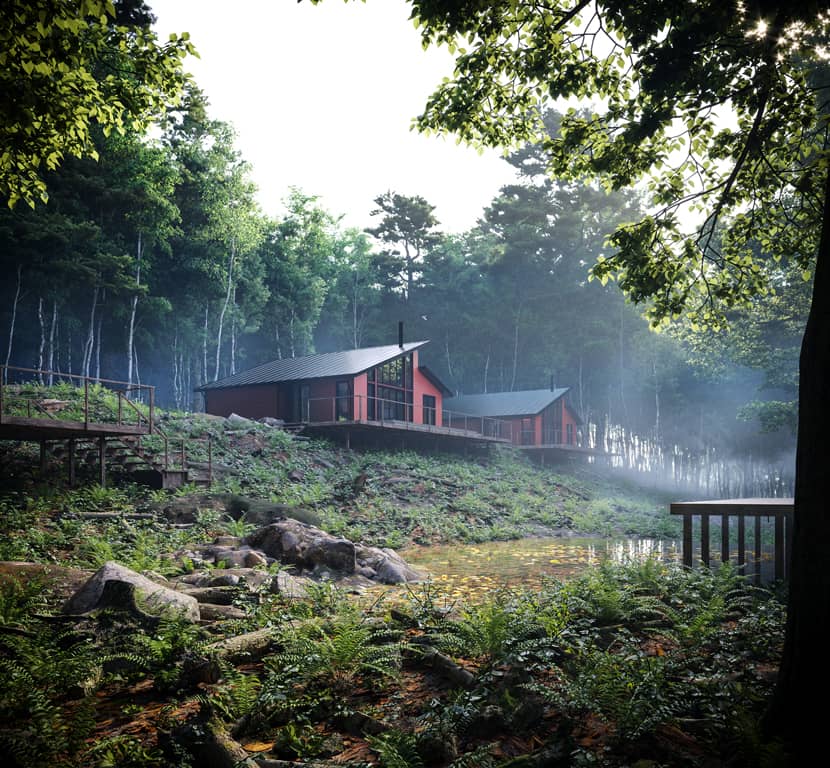
While I stumbled upon a bunch of references, they took me back down memory lane of the multiple brief vacations I have had on North Indian Terrains. The landscape views that “green” scent altogether become the perfect getaway to retrieve oneself. Hideaway In the Woods is a project inspired by true and direct contact with nature. A vision of total escape space hidden in the woods. 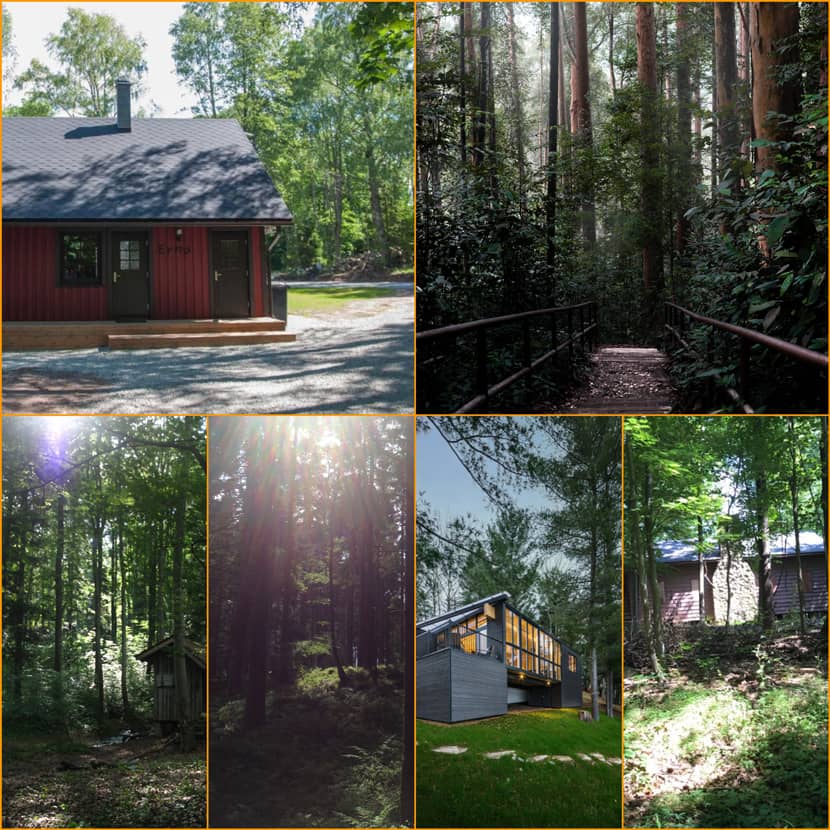
To clarify this kind of vision further, I dug deep into the R&D part and collected more references of environment, landscapes, color grading, etc. Above and below are some of the references I used for materializing my memories.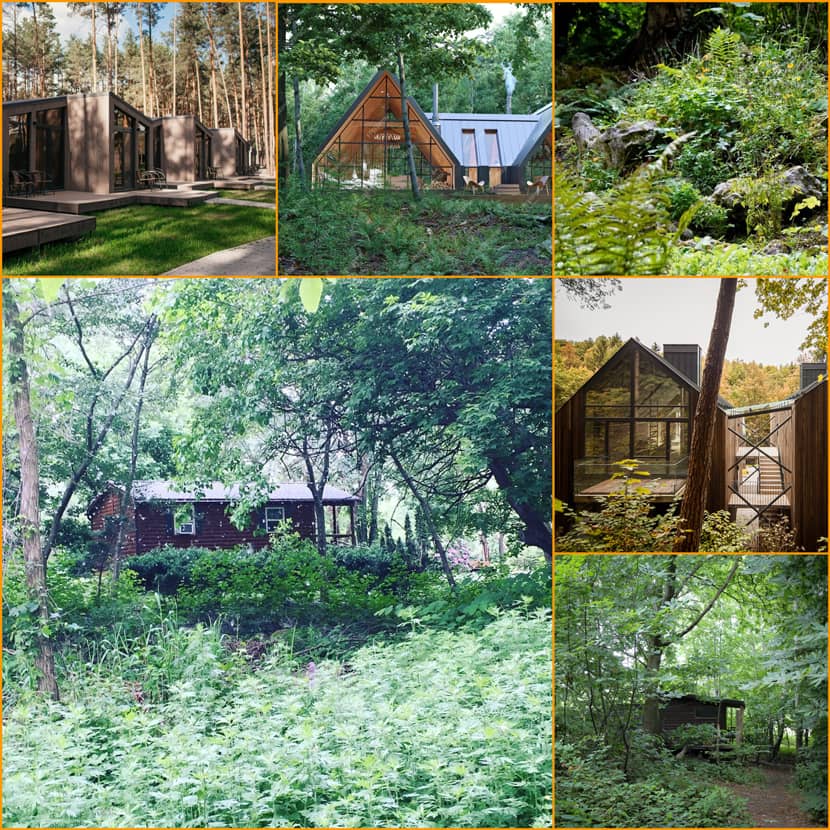
Modeling.
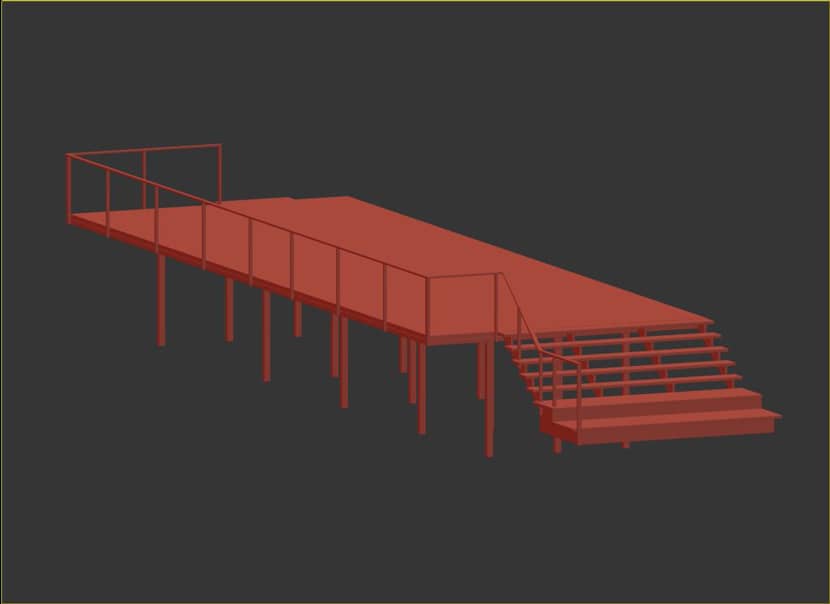
For the modeling part, I used a freebie model of a cabin available on 3dsky.org (credit due artist)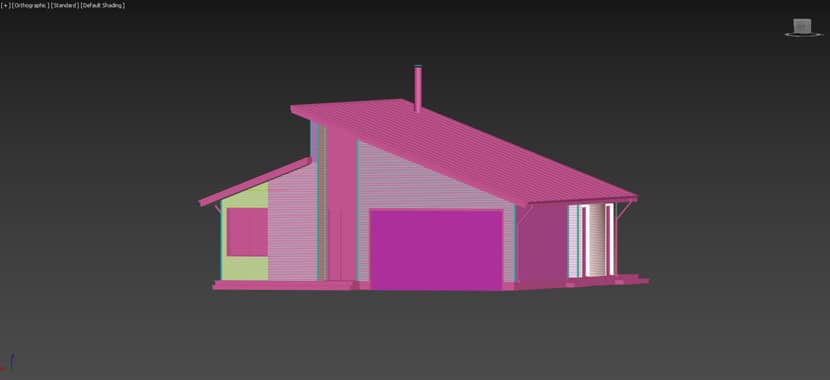
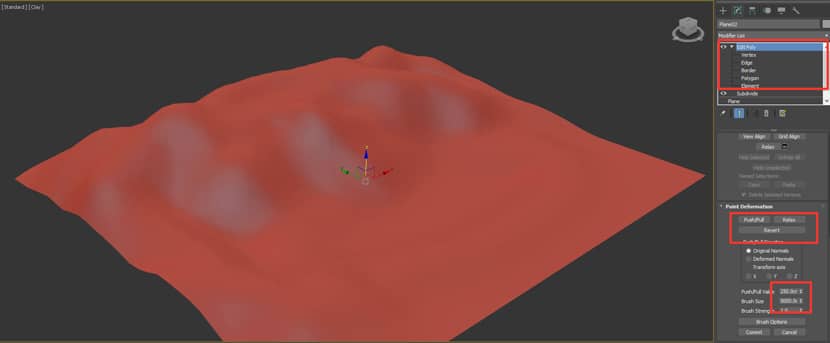
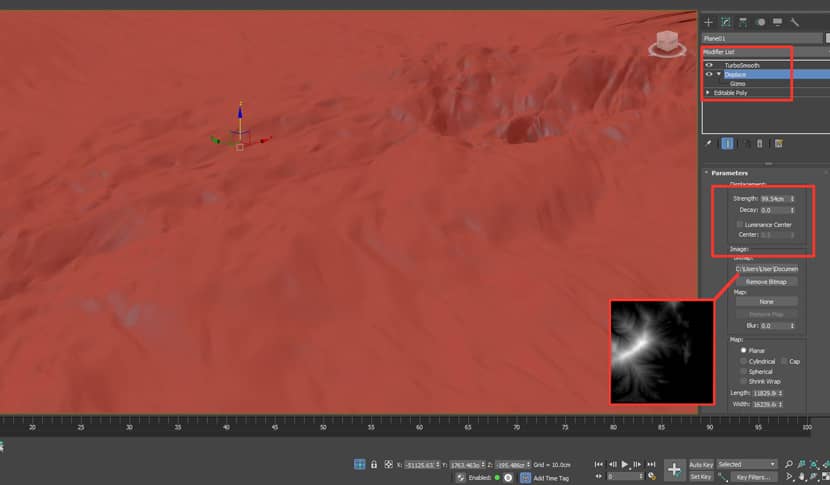
Now that I had the base, I refined the model as per my preferred visual of the subject. Reference images play a great role in developing CGI. Talking about the site modeling, I used the Subdivide modifier to paint the polygons manually and to create the terrain, using mapping with the Displace modifier to enhance the tiny details which goes hand in hand with the manual painting of the poly(s).
3D Assets.
As far as the subject is important, the environment in which the subject has been displayed plays a great role in any visualization. I used a PBR model for rocks, wood logs, etc. A PBR scanned model is what interacts with light as it would in the real world. That plays a crucial role in making any CGI look realistic and interesting.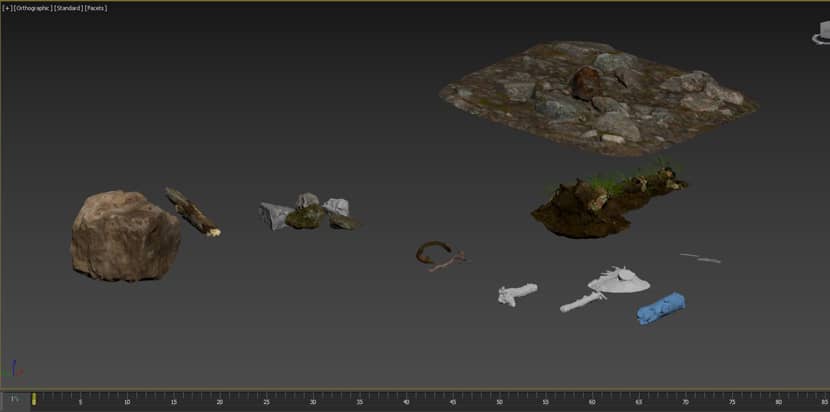
Correct placement and use of assets for instance birds, cars, etc make the places look active, live, and interactive and this is the most popular yet necessary addition while creating architectural visualization.
Vegetation.
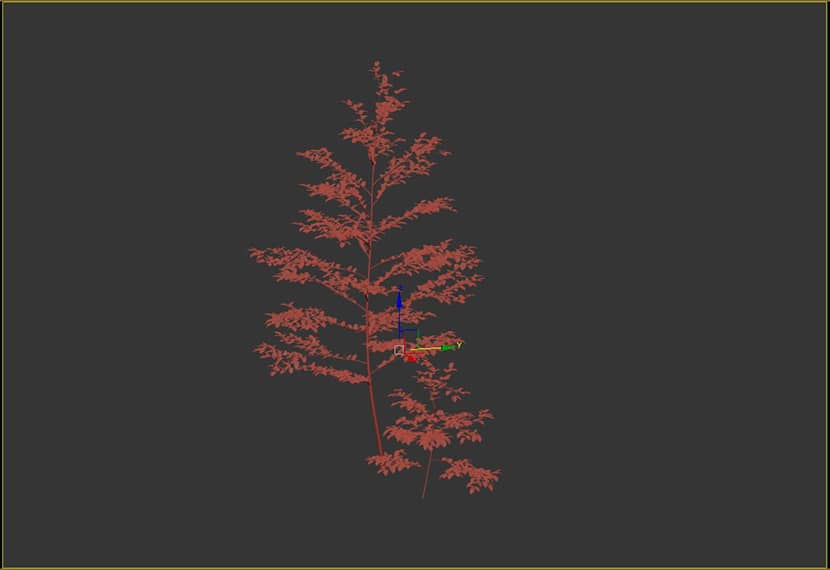
For trees and shrubs, I used models available on Evermotion and Maxtree which are shown below.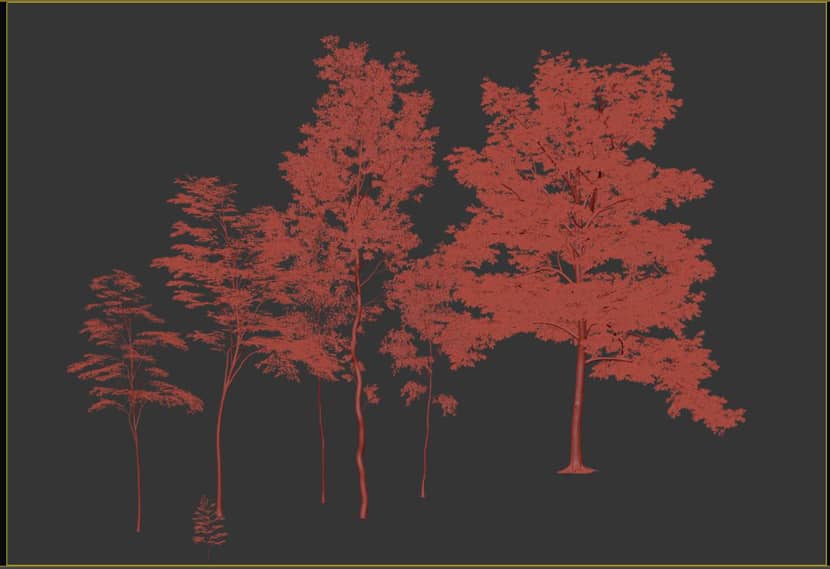
So to distribute these on the terrain I modeled, chaos scatter comes in handy. The key right there is that I used multiple Chaos Scatter(s) and not in just a pair or two. If I recall this scene has more than 20 Chaos Scatter(s) which makes sense if observed in a forest area having dozens of varieties of vegetation in a single little region. Hence to mimic real life, imperfection for perfection in scattering these plants went overboard.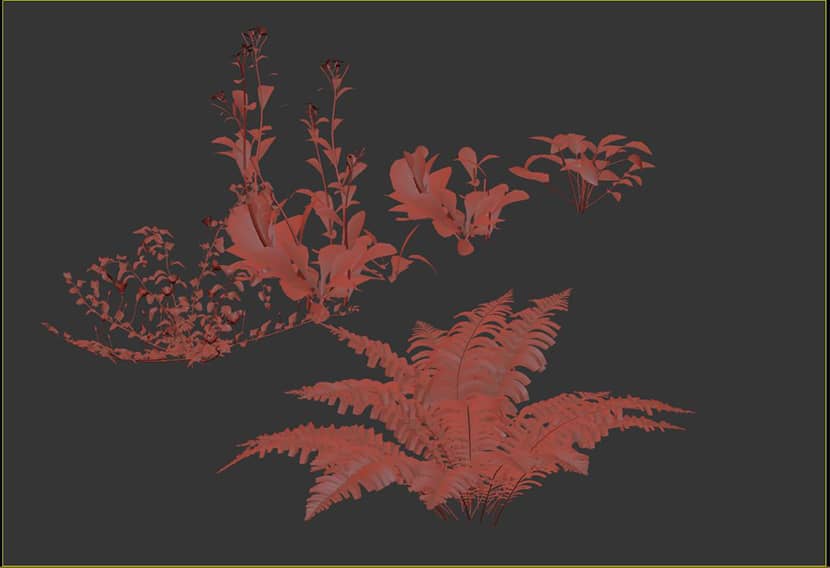
Materials.
I used scanned textures from Polyhaven.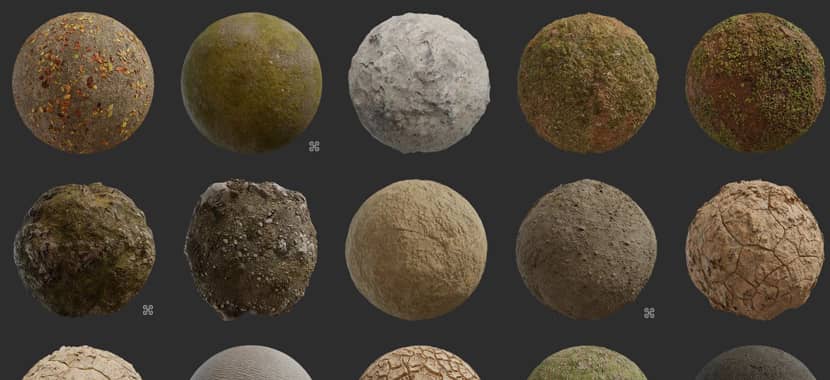
Other than that I like to create my very own textures by painting many available online textures to create a single customized texture. And use these in Multi-Material, CoronaLayeredmtl by Corona Renderer.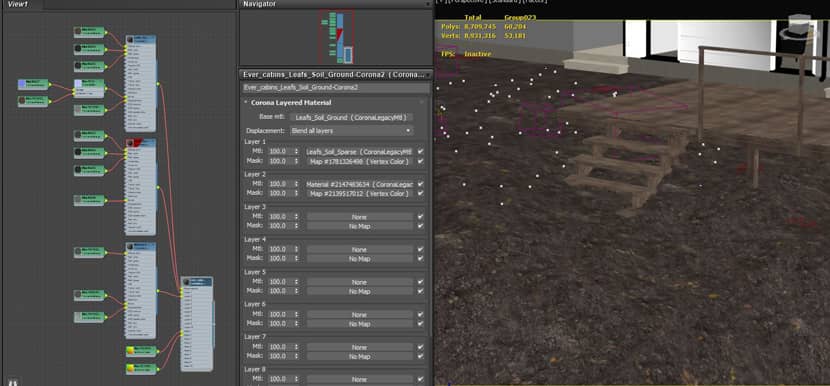
Another technique I used is Vertex Paint. Without having to worry about unwrapping my models and resizing maps, I like to vertex-paint something quite practical and convenient to use. Although using this might make the scene heavy as it uses a big amount of vertices for more refining of the texture painting leading to good file management.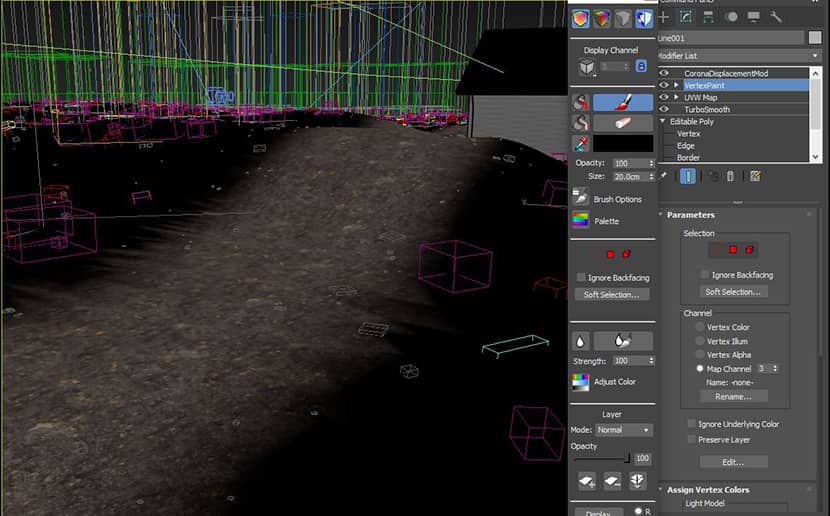
Cameras.
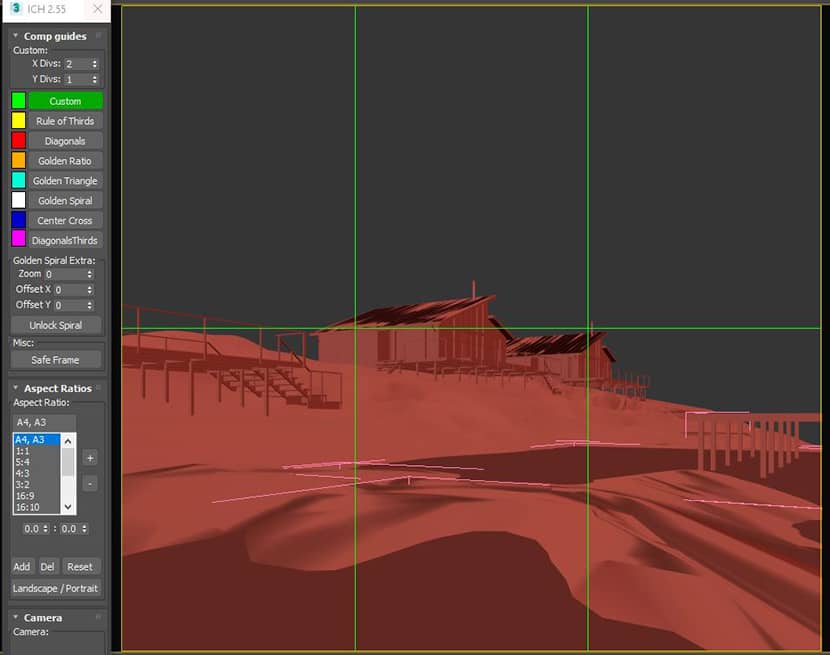
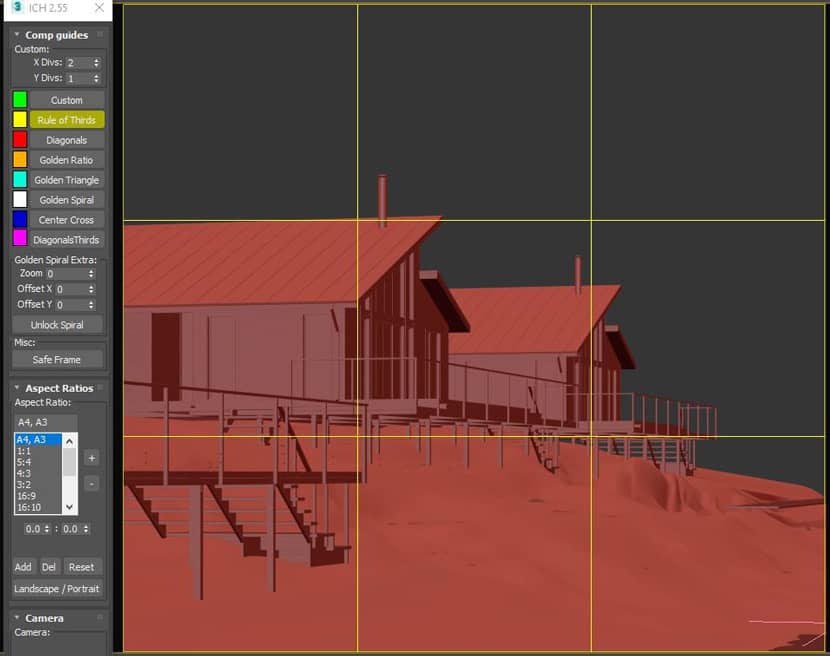
To give real-world photography accuracy in my images, I used the "Imagecomphelper script" to prepare several different compositions. The different rules of photography like the golden spiral, and the rule of thirds, and their implementation in the scene are shown below.
Lighting.
I like to give perception of realism into my visualizations and for that reason I again look into the real-life references observing different parts of how light and shadow come into play in highlights, midtones, and shadows of the various subjects and objects in an image. Just to have a clear understanding of the sky and sun at a given particular time of the day.
My personal preference is for the bright and positive side of showcasing architectural visualizations. However, sometimes creating a mood environment is what a CGI needs. I used the Corona SunSky model or HDRI for lighting, the typical and common way.
Post-Production.
I didn’t use any specific post-production technique here, just adjusting a bit the Curves and Levels of the raw rendered image more specifically in Photoshop. However, the rain effect shown in the CGI is indeed created in Photoshop.
Final Images.
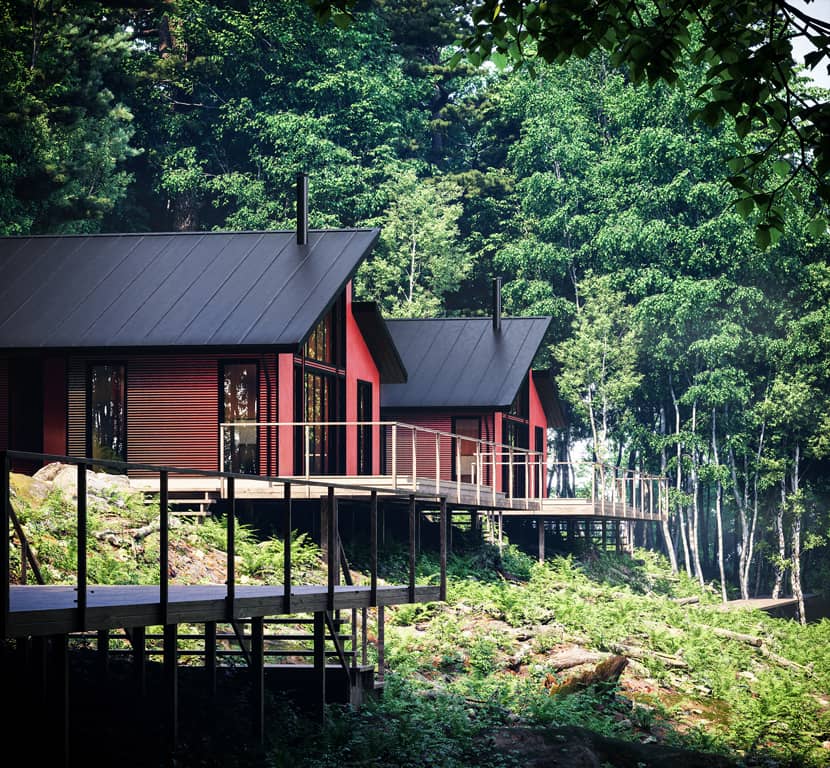
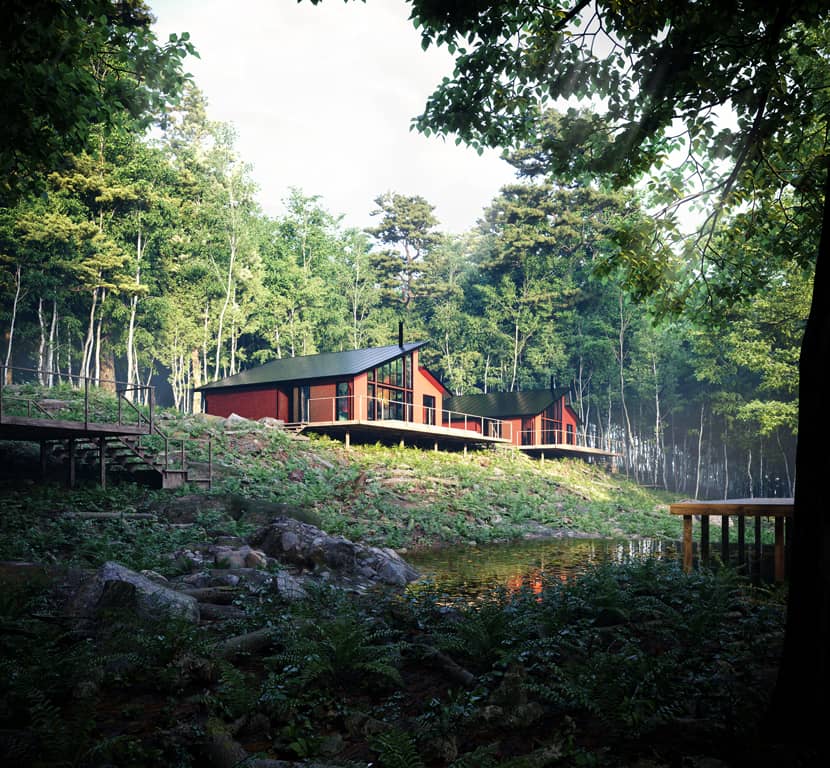
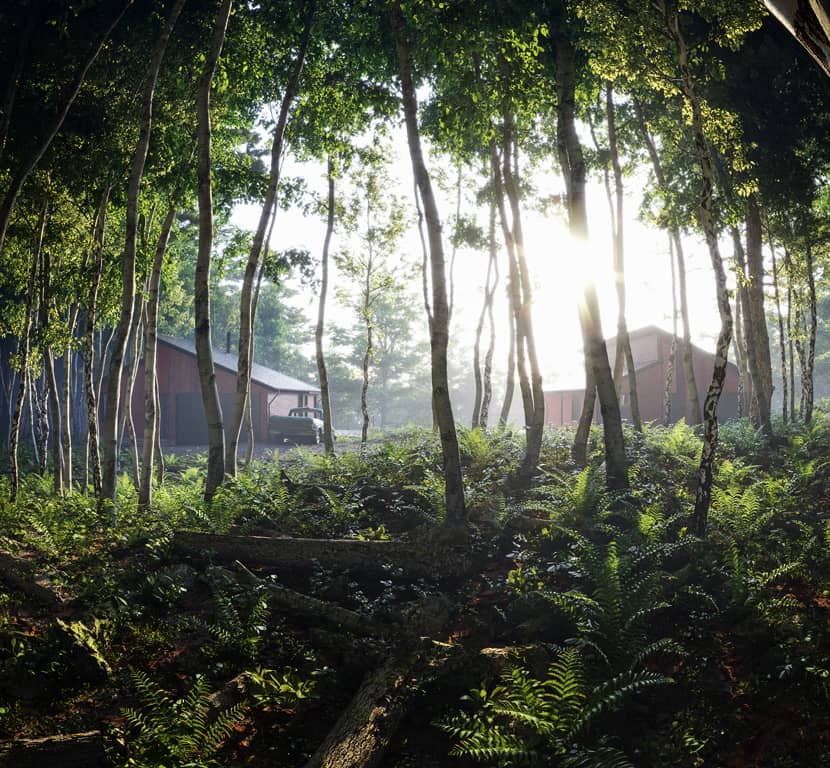
Below you can see all the final images together.
Summary.
I hope these insights into making of “Hideaway Into Woods” were beneficial adding to your knowledge. I would like to hear a feedback regarding project and the article connect with me on my socials as:
Kind regards,
Aayush Verma.

About the artist
Aayush Verma is a 3D artist from India specializing in architectural visualization for over 9 years providing 3D services to clients around the globe. He never flinches away from creating something that crosses his eye keeping up with industry-level skills and his abundant interest in imagination remaining diligent in his career.

