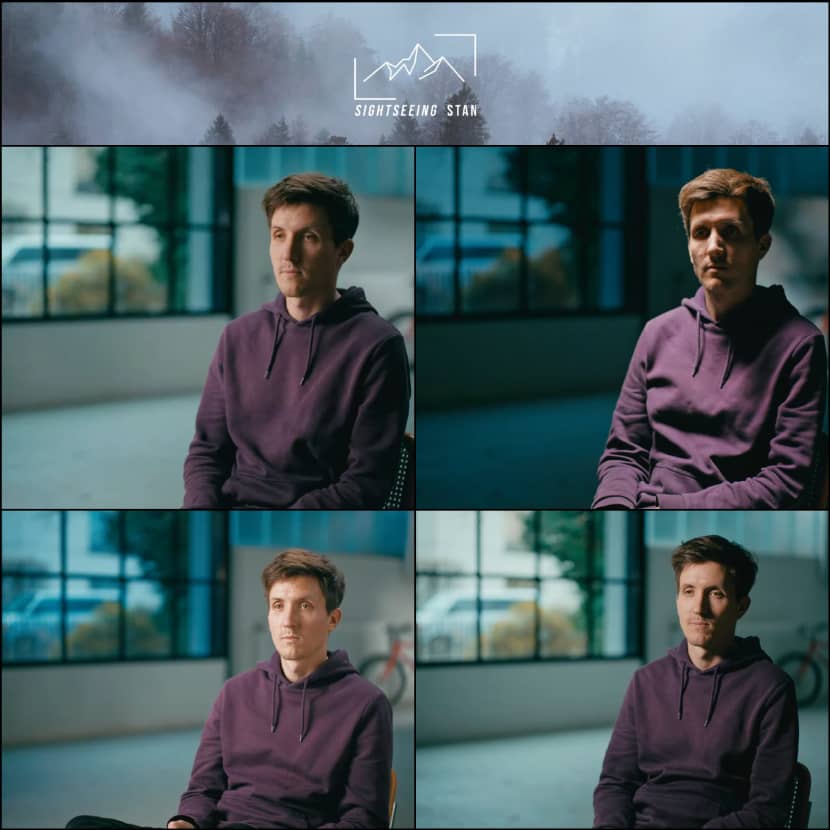
Understanding lighting principles is essential when crafting 3D visualizations with a cinematic touch. Sightseeing Stan's insightful video tutorial serves as an excellent resource for learning how to achieve realistic and dynamic lighting setups. Check out this inspirational video tutorial!
This guide explores his comprehensive approach, ranging from fundamental setups to advanced configurations for creating both moody and high-key aesthetics.

Step 1: Location and Framing.
Before introducing any equipment, Stan emphasizes the importance of selecting the right location.
Step 2: Basic Lighting Setup.
For beginners or those on a budget, Stan demonstrates a one-light setup using the Nanlite Forza 300C. This versatile light with a quick-deploy softbox is an excellent starting point.
Step 3: Advanced Techniques for Low-Key and High-Key Looks
Low-Key Setup:
High-Key Setup:
Step 4: Specialty Setups.
Stan also introduces a top-down lighting configuration for a moody, dramatic atmosphere.
This setup is ideal for crime documentaries or intense storytelling scenarios.
Tools of the Trade.
Stan highlights the Nanlite Forza 300C's capabilities, including its portable design with V-mount batteries, softbox compatibility, and remote control via the Nanlite app. These features make it a flexible solution for interviews in diverse environments.
Conclusion.
With Sightseeing Stan's expert guidance, you can transform your interviews into compelling narratives. Whether you're working on a tight budget or seeking advanced cinematic effects, his step-by-step approach ensures your production stands out.
Watch the video below to learn in deatail his cinematic lighting techniques from basic to advanced:
Stijn Borgers, known online as Sightseeing Stan, is a Belgian filmmaker and photographer celebrated for his expertise in cinematography and photography. His YouTube channel, Sightseeing Stan, offers a wealth of tutorials, behind-the-scenes content, and gear reviews, attracting over 104,000 subscribers.