Wednesday, September 29th, 2021 by Elizaveta Ivanova
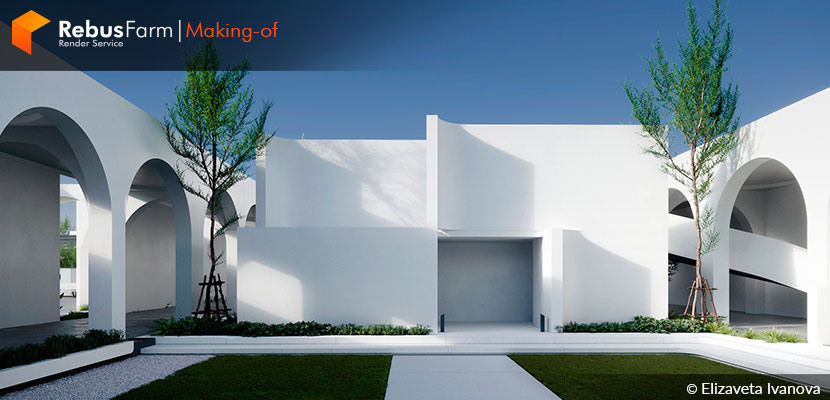
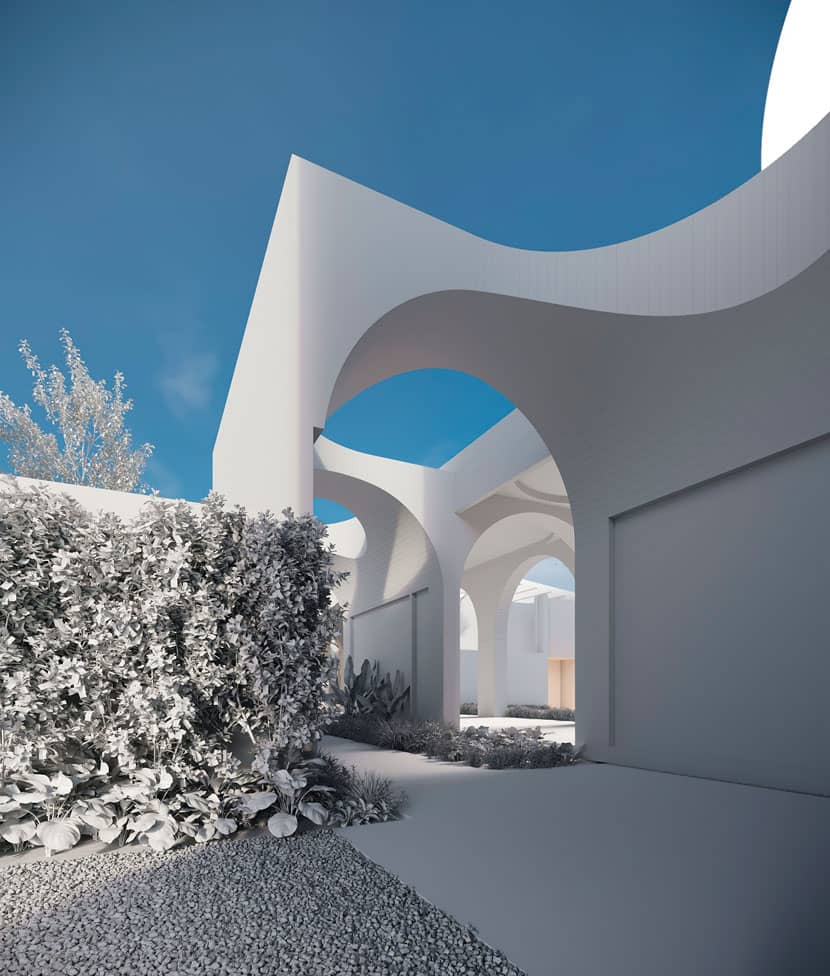
What better place to celebrate love than Thailand's Aube Wedding Venue? A clean, beautiful white space filled with simple curves and lines that seem to give movement to the space without taking your attention away from the breathtaking elegance and simplicity of its architecture.
Russian architectural visualizer, Elizaveta Ivanova, gives us a step-by-step on how she recreated this traditional ceremonial space, let's hear her out.
Hello everyone, my name is Elizaveta and I am a 3D visualizer. I have been working as a freelancer for three years now, my main specialization is architectural visualization.
To begin with, I would like to tell you about the building. This building is located in Thailand and is the venue for wedding ceremonies. The elegance and beauty struck me, and I immediately wanted to replicate it in 3D.
 |
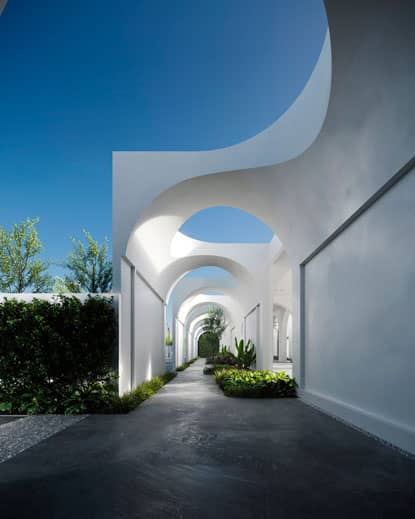 |
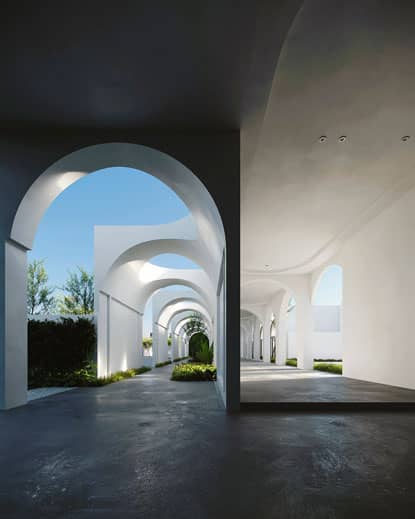
The boldest design element of Aube is the Khan Maak walkway, ending in the engagement room.
I modeled only part of the complex - the Khan Maak walkway, the courtyard and the interior spaces are the main (wedding) hall and the engagement hall.
You can notice that the half-arch modular elements are the main repeating elements. The modular elements reformed after rotation on different axes, clearly give the building a modern image, open to interpretation. The arches forming both the exterior wall of the main hall and the cloistered structure overlap each other, again creating a feeling of movement.
Modeling
To begin, let's break down the walkway (the Khan Maak walkway), my main modeling software is 3ds Max.
Frankly speaking, my polygonal modeling skills are far from perfect, so I actively used Boolean operations. As you can see, the track is formed by a series of repeating elements, so the first thing I did was to model one module.
The main module of the Khan Maak walkway.
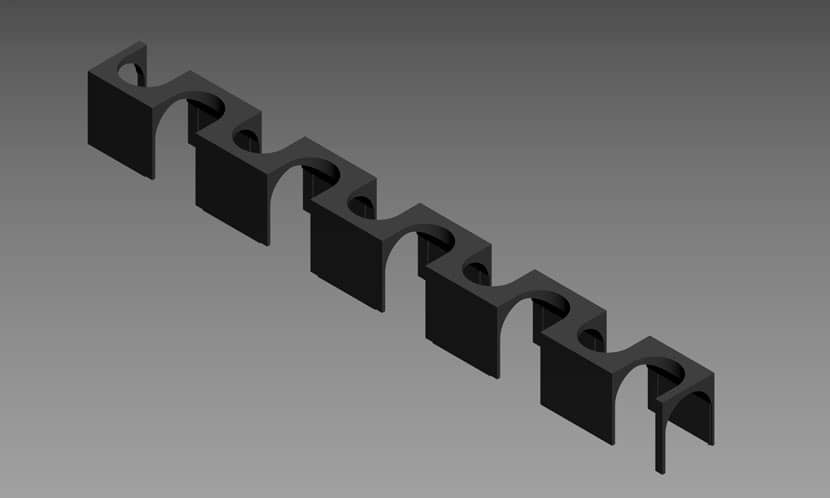 Polygonal modeling with Boolean operations.
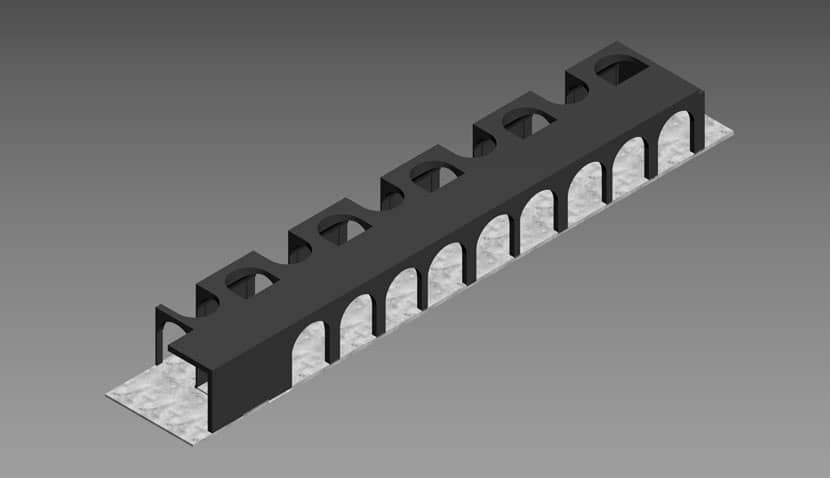 Repeated elements based on the main module.
I don't think it's worth detailing the modeling of the other parts of the exterior, since the modeling there is extremely simple.
 |
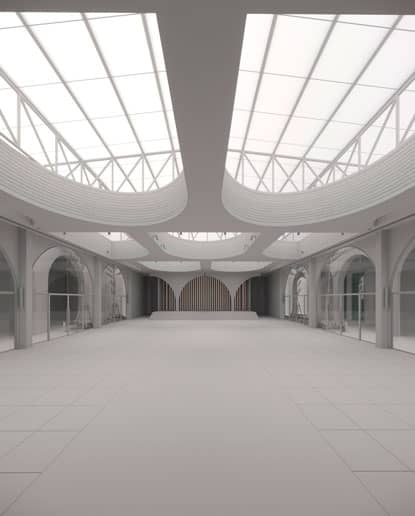 |
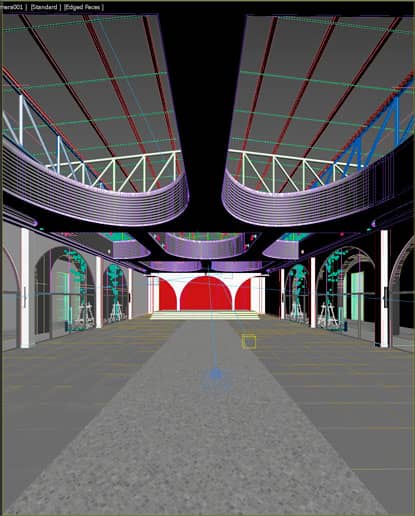
Modeling of the main hall's ceiling and arches.
The interior spaces are light and minimalist. The curves are scaled down in the cornice of the arch-shaped skylights in the ceiling of the main hall and this cornice element is re-appropriated as the finish to the wall behind the stage.
The ceiling design in the engagement hall is particularly interesting.
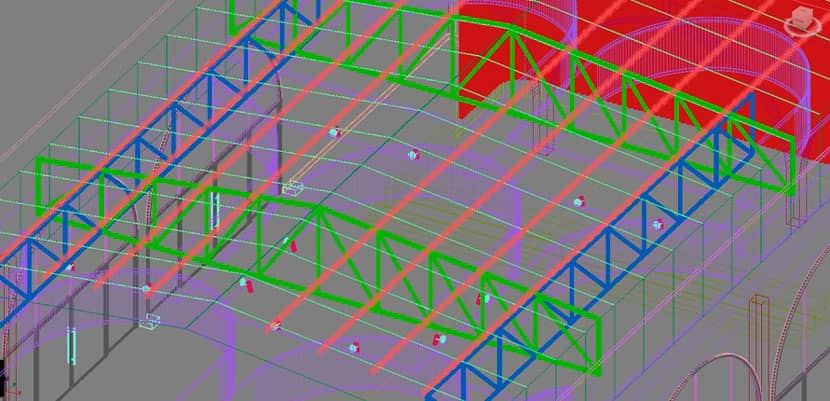
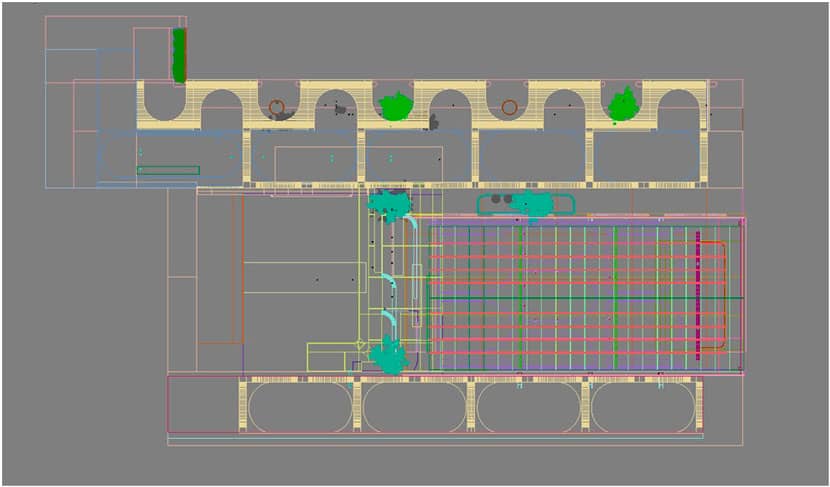 Engagement hall's ceiling geometry.
The main hall space. Curved walls and cut-outs, along with soft curtains, create a memorable, sensual space.
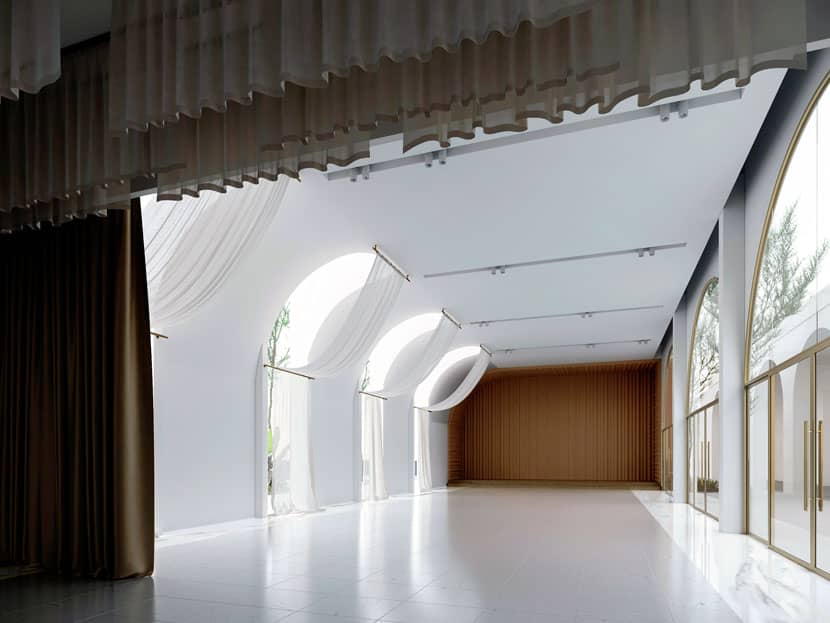
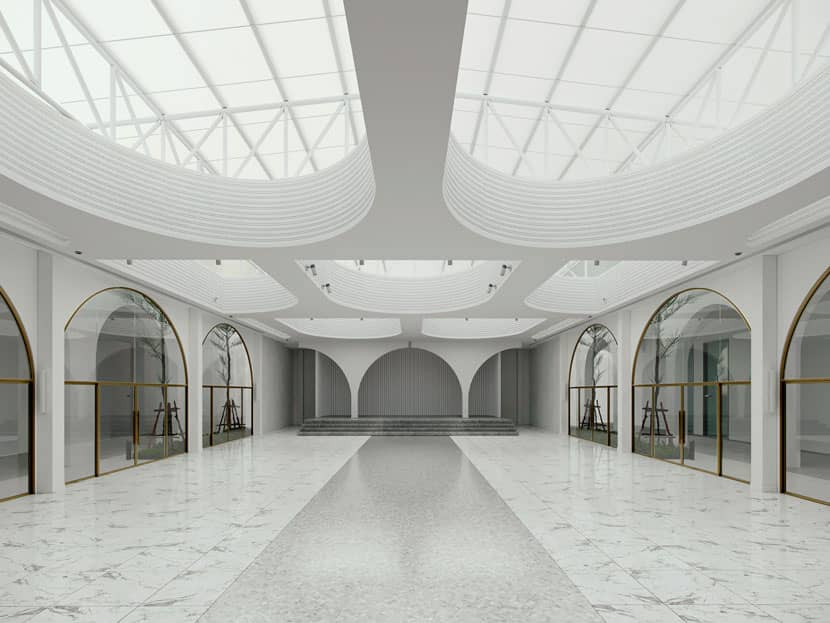 Final renders of the main hall space and wedding venue.
I used the Dynamo plugin to model the curtains. This plugin performs fabric simulation and works faster than the standard cloth tool, but this plugin is no longer relevant for the latest versions of 3ds Max.
Fabric simulation with Dynamo plug-in.
Lighting
The main software in my work is the Corona Renderer, the latest version of the software is currently Corona 7. The lighting of this scene was done with the standard Corona tools - Corona Sky and Corona Sun.
I used several suns in the scene, it's not physically correct, but this way I can control the result. The sun with a large size creates basic lighting, while the sun when set to a small size value, creates more artistic shadows. I adjusted different angles and intensity values for almost every view, but otherwise, all the settings are the same.
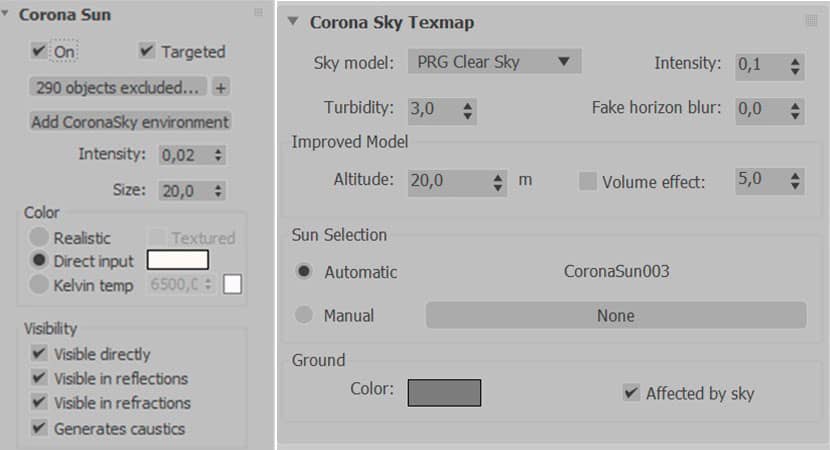 Lighting with Corona Sun and Corona Sky.
For one image I used an HDRI from Poliigon, HdrSkyCloudy005. This is one of my favorite HDRIs and I often use it in my work.
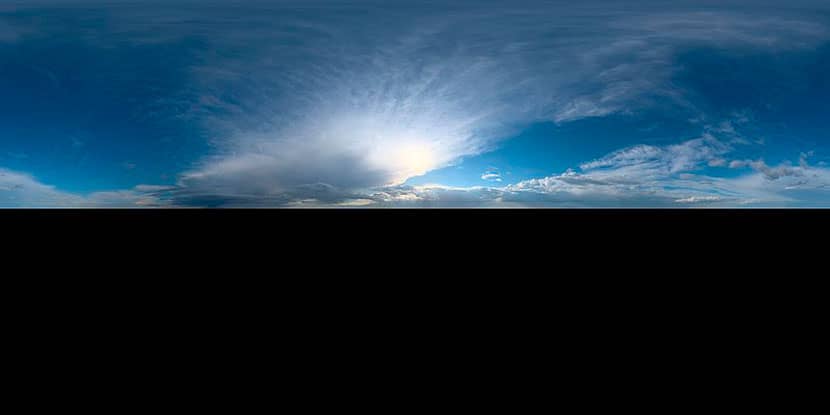 Poliigon's HDRI: HdrSkyCloudy005.
Texturing
I'll focus more on a breakdown of the creation of some of the materials. I'm using the latest version of Corona, Corona 7, and all materials are made with Corona Physical Material.
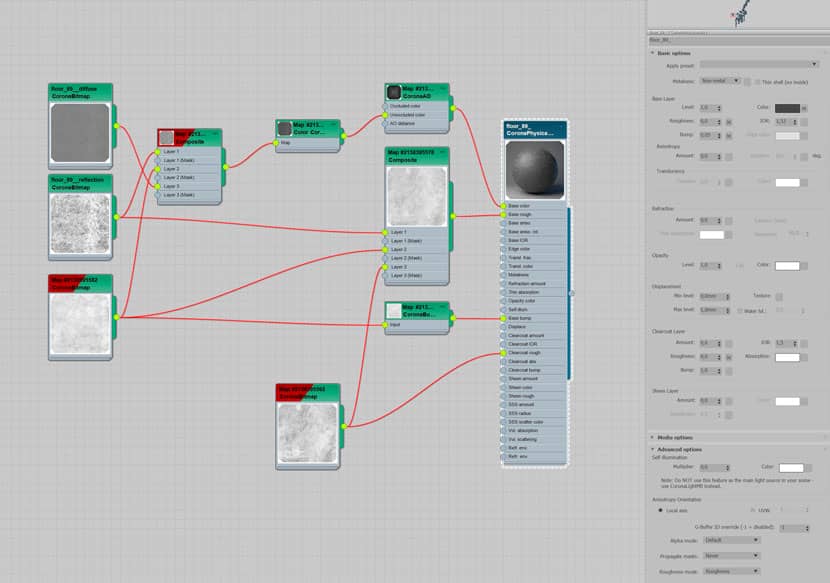
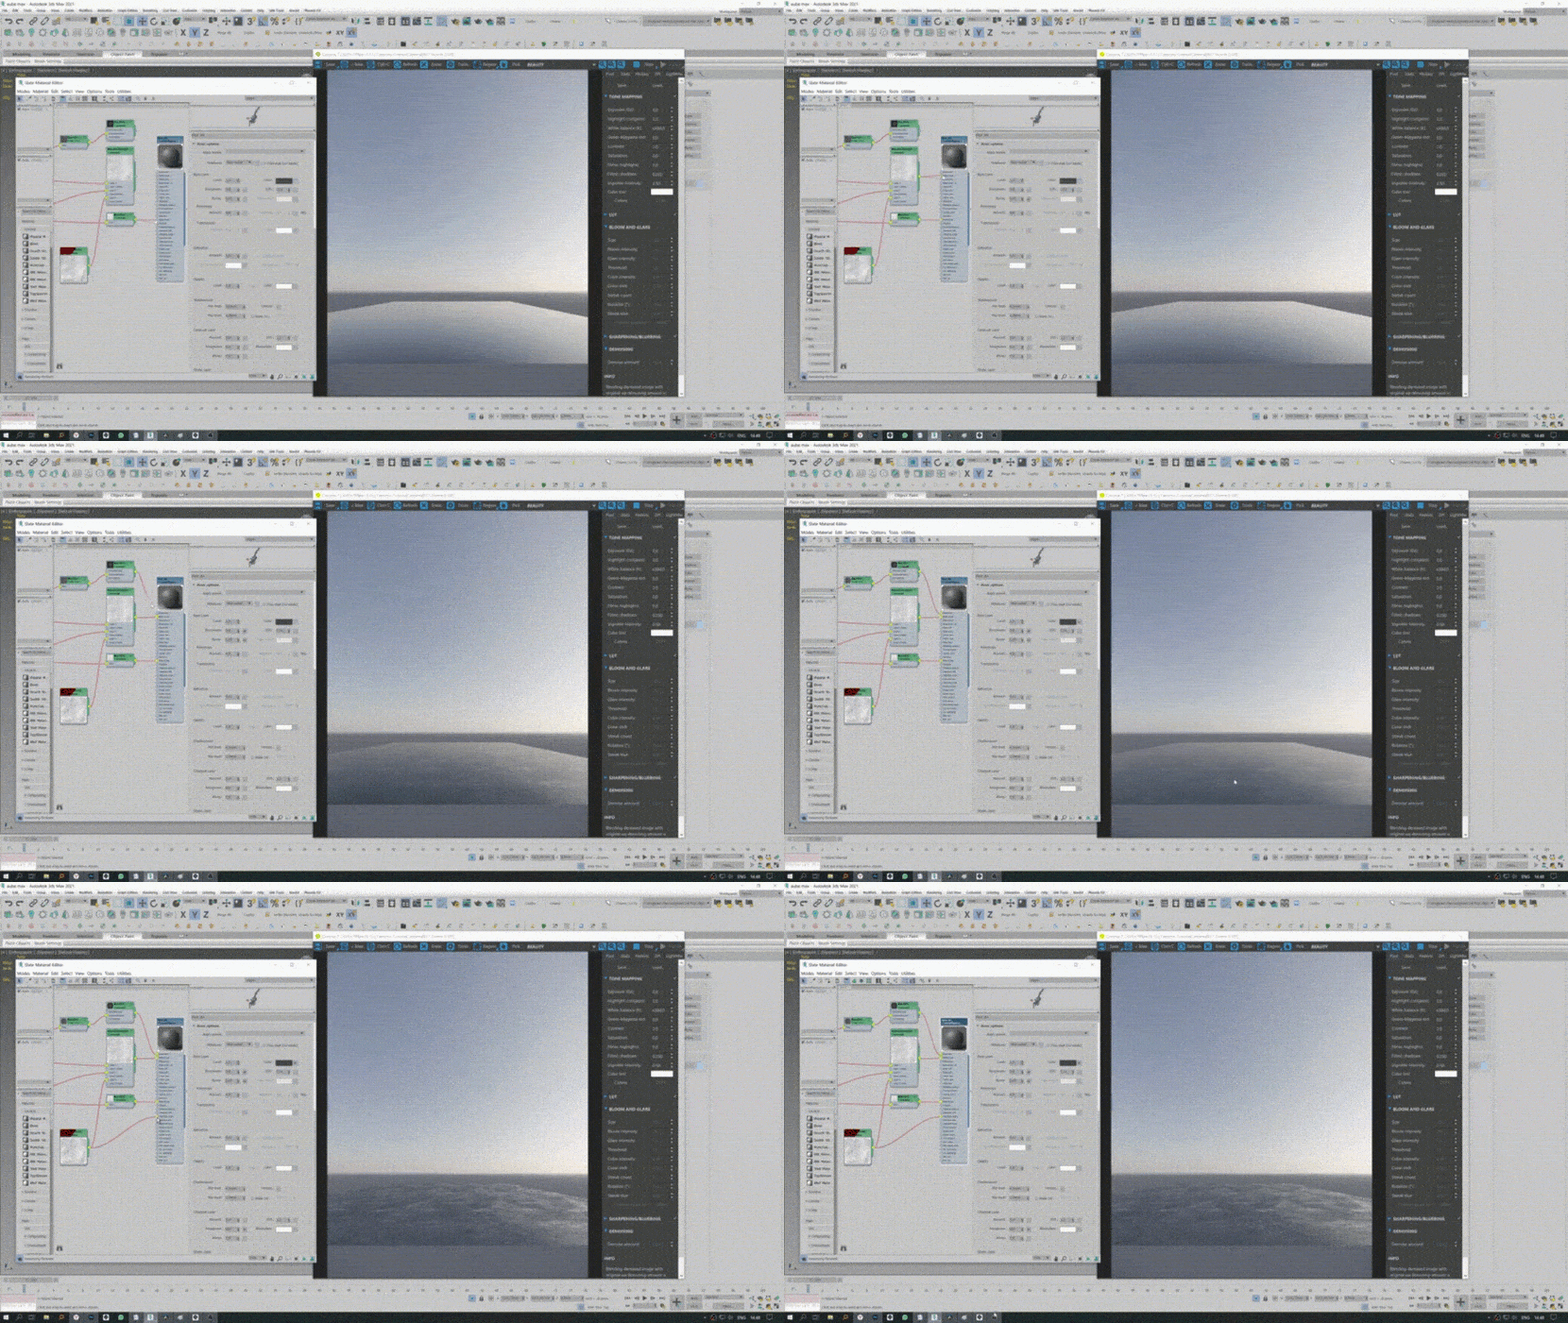 Using the physical material of Corona to get the floor material.
I used several textures to get the floor material. By mixing through the composite card, I got the result I wanted. I have moved slightly away from the original reference images to a more contrasting result, otherwise, all the materials would've been very simple. I used the Corona Round Edges Map to create the chamber.
To create relief on the skylights in the ceiling, I decided to use a gradient map. This saved me time because I didn't have to model this relief manually, I made all the reamers with the UV Tools plugin.
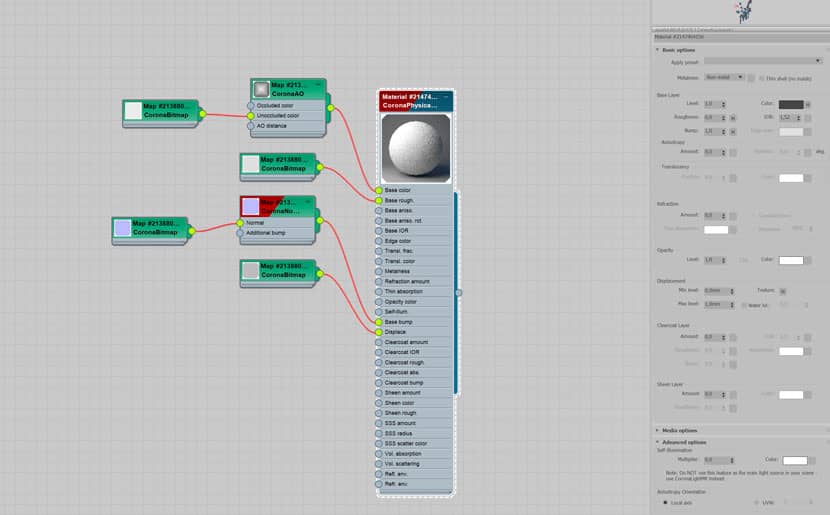
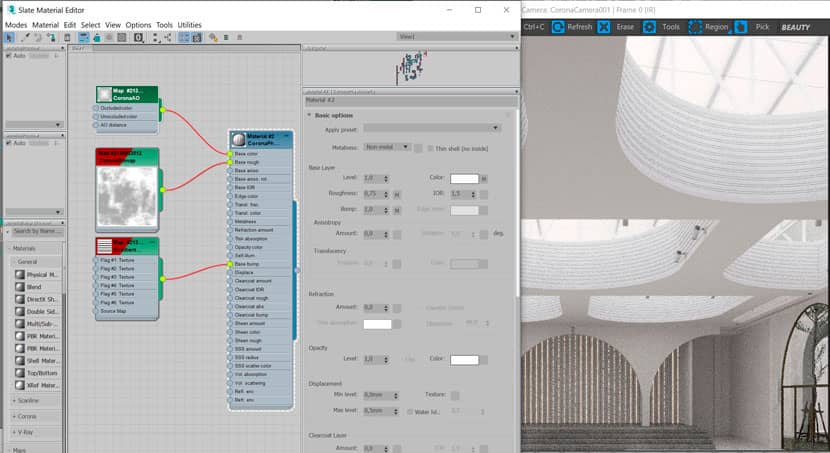 Gradient map with UV Tools plug-in.
Vegetation
I used Maxtree collections in this project. These are excellent plant collections. The MT Plant Models 81 and Plant models 10 collections were the most useful for my project.
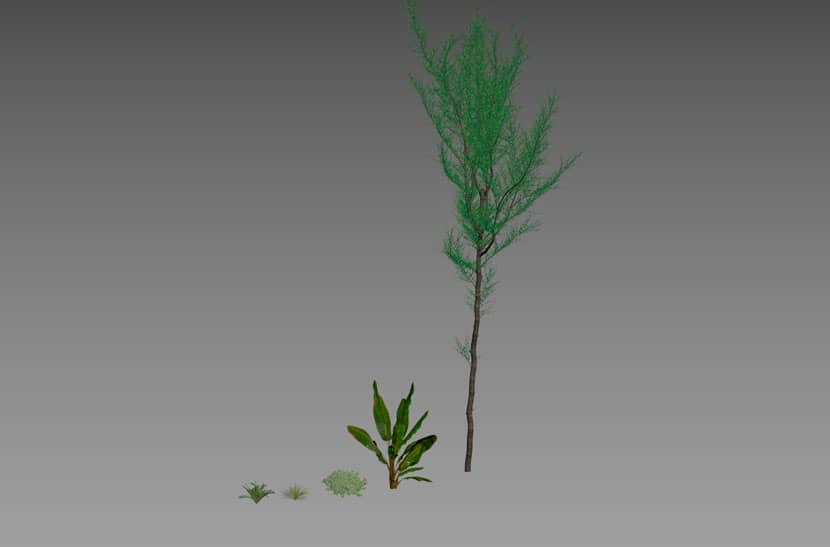 Plants from the Maxtree collections.
Overall, I'm quite happy with the result given the fact that the work is quite simple and it took me little time to do the routine. This allowed me to focus on realistic materials and lighting, which is a favorite part of my work as a visualizer.
We thank Elizaveta for sharing her process on this beautiful project with our Rebus community. Check out more of her work on her different channels:
Want to share your work with our community too?
Contact us at Este endereço de email está protegido contra piratas. Necessita ativar o JavaScript para o visualizar.and tell us about your favorite project.
>> Read more articles on our blog
