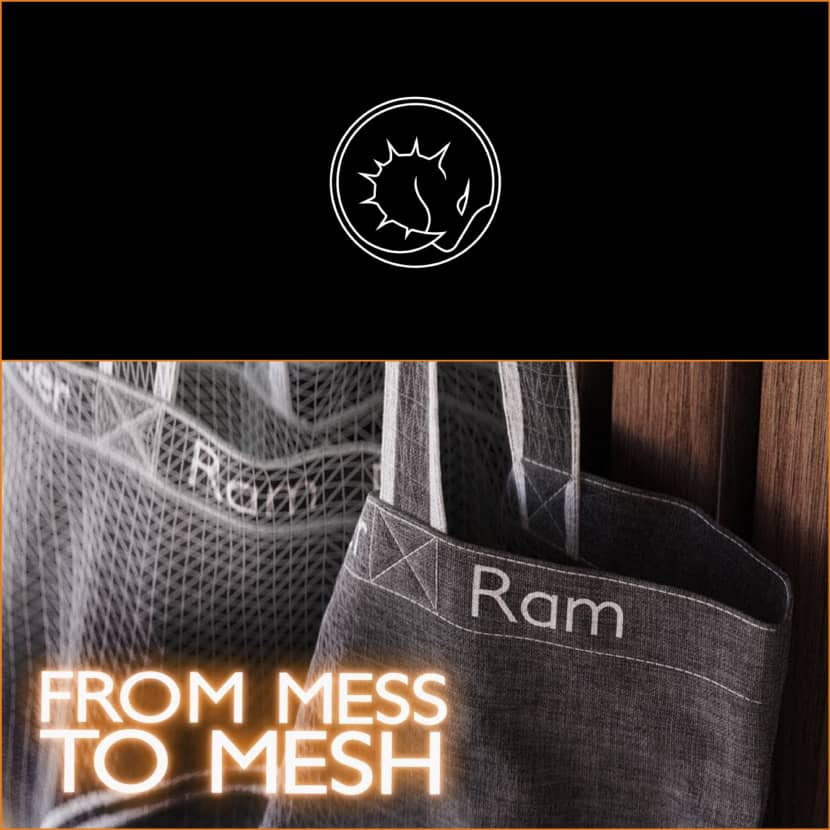
Retopology is a critical aspect of 3D modeling that helps reduce polygon counts, making models lighter and easier to work with. In a recent video, Vjeko from RenderRam demonstrates a manual retopology workflow using just two features in 3DS Max, Extend and Conform. Watch this informative video tutorial and learn much more!

While automatic retopology can quickly generate results, manual retopology offers precision and control, allowing artists to achieve cleaner and more optimized model meshes.
The tutorial begins by explaining the differences between manual and automatic retopology, emphasizing the importance of the process for creating a structured mesh that fits the specific needs of the project. The object in focus is a scanned bag with a complex, high-poly mesh of around 40 million polygons. Using 3DS Max, Vjeko simplifies this geometry with only the Extend and Conform tools, resulting in a cleaner, more optimized topology.
Here’s a brief overview of the retopology process used in this lesson:
In a few words, by learning how to manipulate these simple yet powerful tools, Vjeko demonstrates how you can achieve excellent retopology results without relying on additional plugins or software.
For a more detailed walkthrough, including all the essential shortcuts and tips, you can check out the full video below:
RenderRam is a YouTube channel with useful tips, tricks, and tutorials.