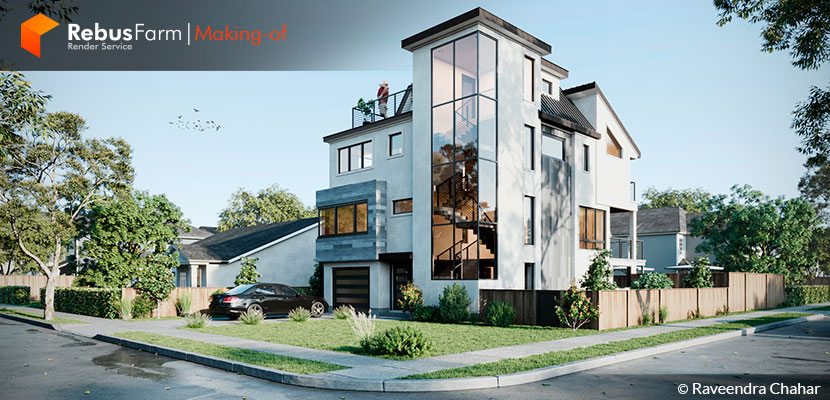
We are usually impressed by many personal projects we see on the forums created by great 3d artists. But what about the daily commercial projects which usually have short deadlines. Can we keep a good quality as well?
Raveendra from 3D Architectural Designs drives us to a simple but full of examples and references making-of article which totally worth your time. Check it out!
About me.
Before introducing you to the making-of article for the "Villa in USA" project, I would like to thank the Rebus team for inviting me and giving me the opportunity to share my work and workflow.
My name is Raveendra Chahar and I'm an Indian architectural visualization artist working in this industry for about 10 years. I am currently running "3D Architectural Designs" studio alongside my very good friend Tarun Madan. I'm a self-thought person, I'm still learning and I still have a long way to go!
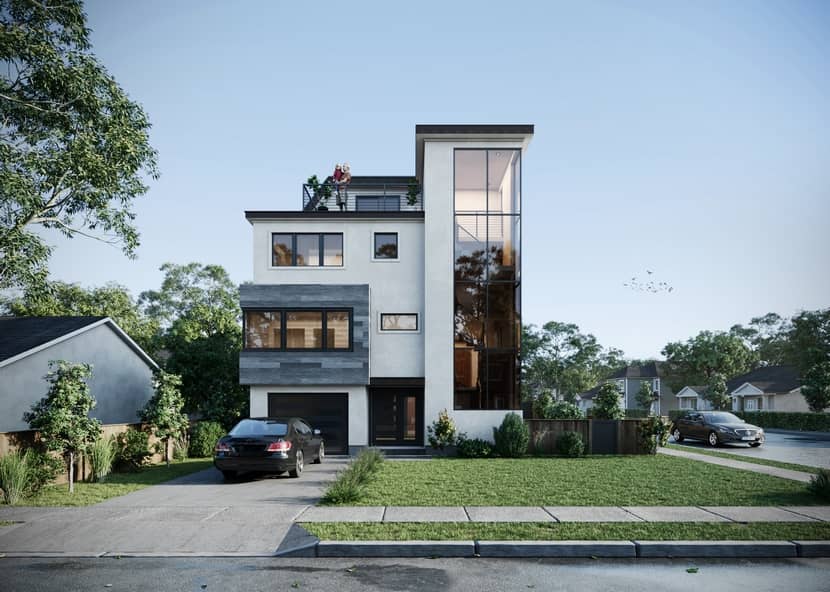
The project.
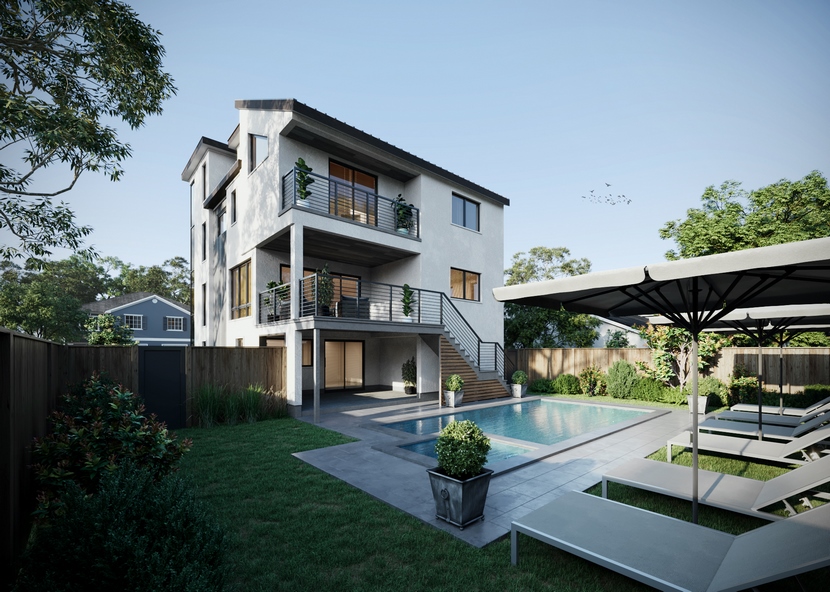
The "Villa in USA" is one of our latest commercial projects. Thanks to Chris Efthymiou and Richard for giving us the chance to materialize this beautiful residential project and they trusted us to work on the production of several shots instead of a typical one-main shot project. Working in different shots of the same project is a process that we really enjoy a lot as we always try to create a similar mood/look in order to offer our clients a pleasant presentation. Below you can see the rest images that we delivered.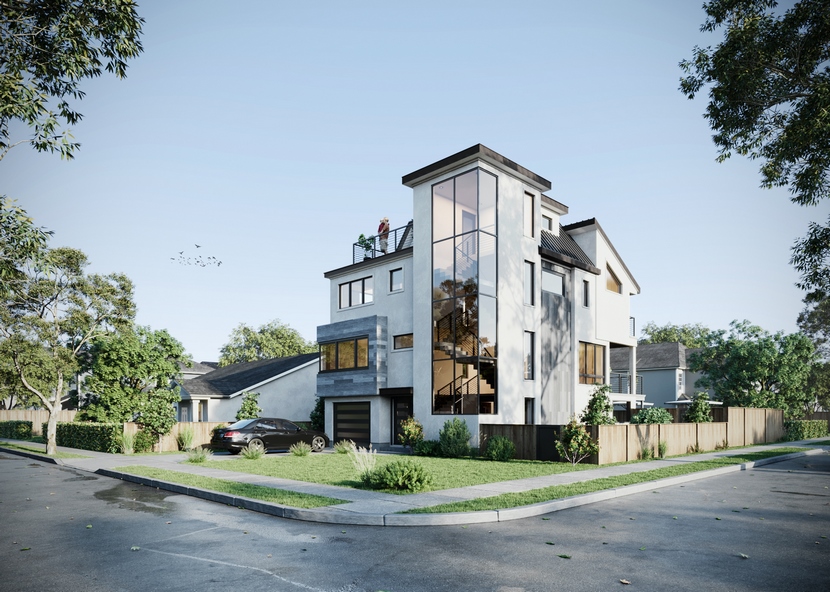
Software used.
The project was modeled using Autodesk 3DS Max and for rendering and Corona Renderer with subtle post-production work in Adobe Photoshop. This is a very typical workflow in the architectural visualization industry and if you are a beginner, we enforce you to use it as it will significantly help you to create beautiful images and easily collaborate with other artists or studios around the world.
Modeling.
We did the modeling of this villa on the basis of drawings in PDF format which was given by the client.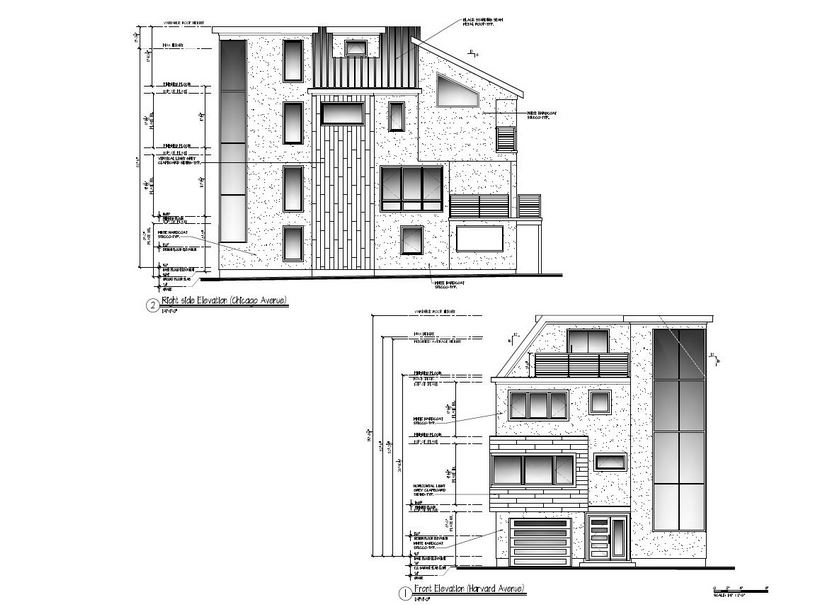
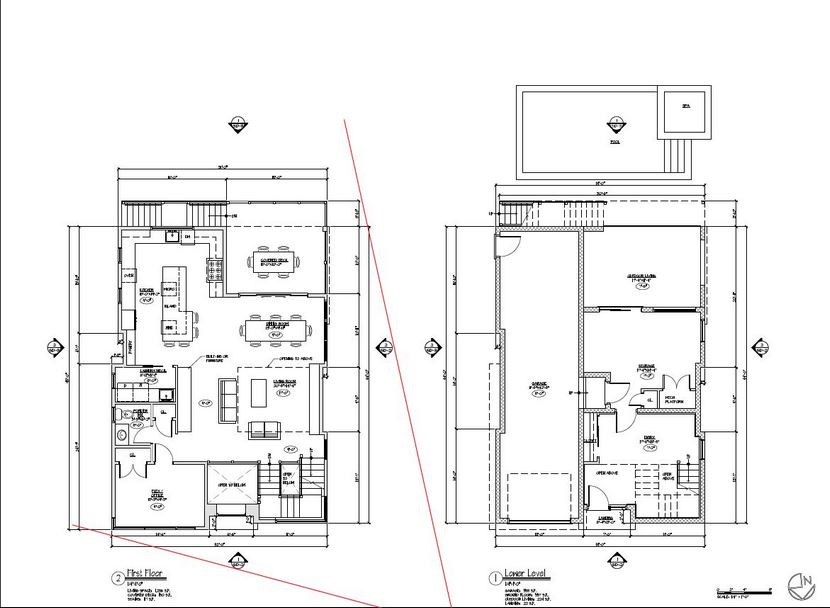
In the modeling process, I had the help of my partner Tarun Madan. We first started modeling the building, and later the main site.
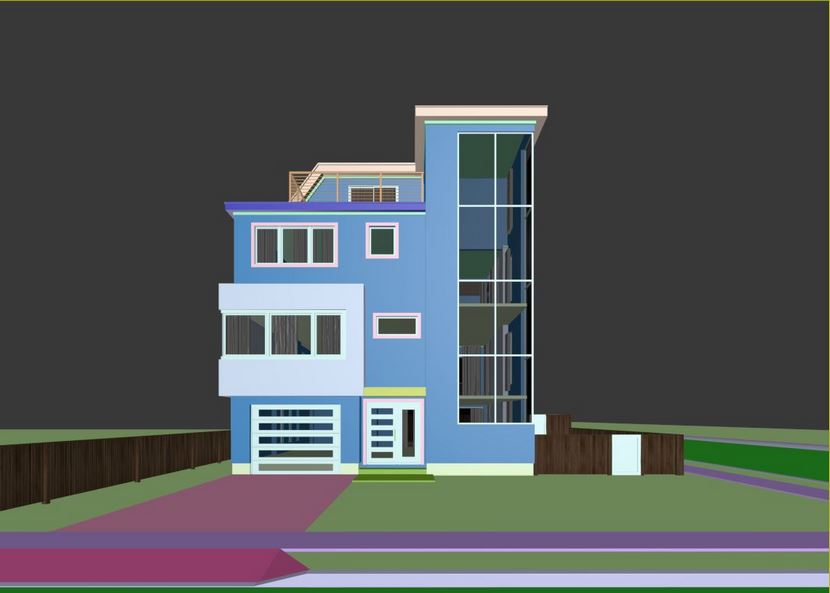
It's quite important for a 3D artist to know how to read the 2D plans a client gives him, and import them correctly into the modeling software.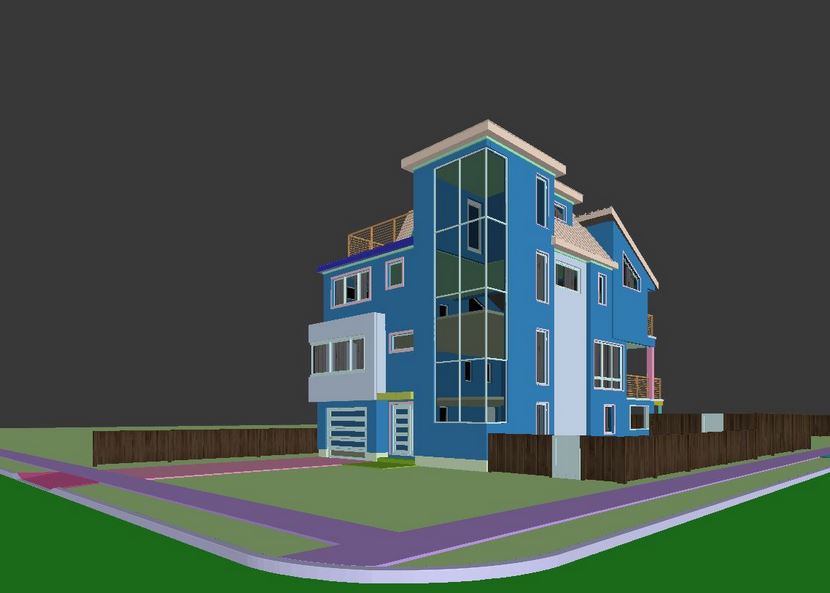
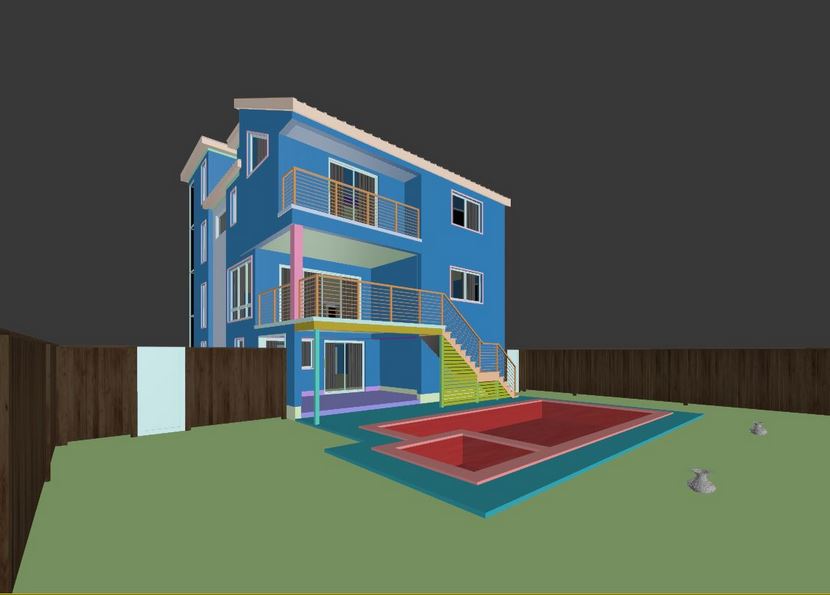
In the beginning, it probably takes a lot of your time, but with the experience you get through the years, it becomes just a routine that you can always share with other colleagues so as to run the project in a fast and proper way. Try to be as precise as possible because the clients don't like to spend time checking for possible mistakes and for sure, you won't feel comfortable being characterized as a 3D artist who has difficulties in understanding architectural details. I think that the modeling video tutorial below, using blueprints to 3DS Max, is a must to see and you'll explore many useful tips to adapt to your workflow.
Below you can also watch a very helpful video tutorial I found a couple of years ago that is specialized in this topic and focused on lighting as well.
Vegetation & Assets.
There are a lot of web pages on the net where you can find really great assets in high-quality not only referred top geometry but also the applied materials. It's absolutely essential that you have to spend an enormous amount of time to build a good 3D library but you have to see it as an investment that can offer you much money in the future when you will start having dozen of projects to work on at the same time.
For this project, we mostly used Maxtree & Globe Plants for the vegetation and Evermotion's 3D TRAFFIC for the Cars. Both 3D plant companies produce extraordinary 3D models but as you probably know there is always space for improvement. We used the great Forest Pack software to scatter the grass. Here is another great video tutorial full of tips, speaking about the best ways of scattering 3D plant models in architectural visualization. Enjoy!
Lighting.
Really nothing important to mention here, just a common good HDR map which according to me is the perfect lighting solution in exterior scenarios.
I would strongly recommend you to visit The Common Point website created by two Polish masters, Bartosz Domiczek and Artut Tamiola, and explore it. There, you can find a great article related to HDRI Lighting called: "HDRI Lighting Easy to learn, easy to master!"
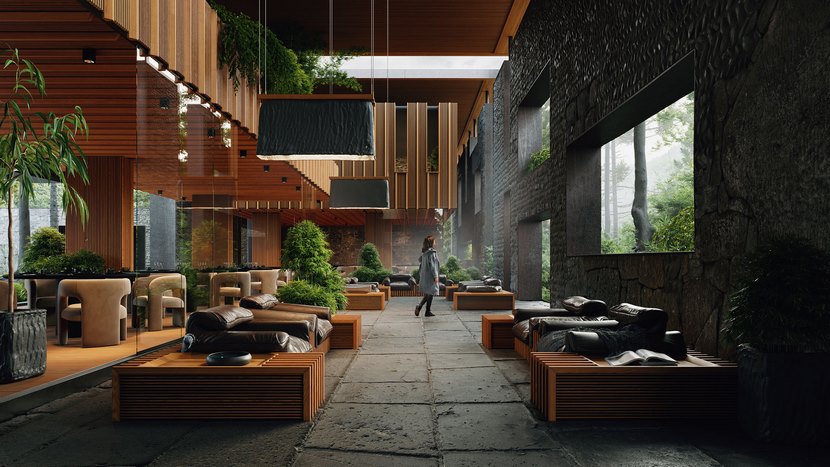
Interior by The Common Point Team.
Concerning the way you can apply an HDR map as the main source of the illumination of your scene, you can watch the official Corona Renderer video below:
Materials.
The only worthy material I would like to focus on, in this making-of article, is the road one. I always enjoy seeing details on the asphalt of an exterior scene because a good material can totally enrich the photorealism of an image. Below, is a very helpful video tutorial created by Arch Viz Champ.
Post-production.
I'm the kind of 3D artist who tries to make everything in 3D and doesn’t rely that much on post-production. I just like playing with curves, contrast, saturation, color balance, and at the most, adding a 'Lut'. Below you can compare the image without and with post-production.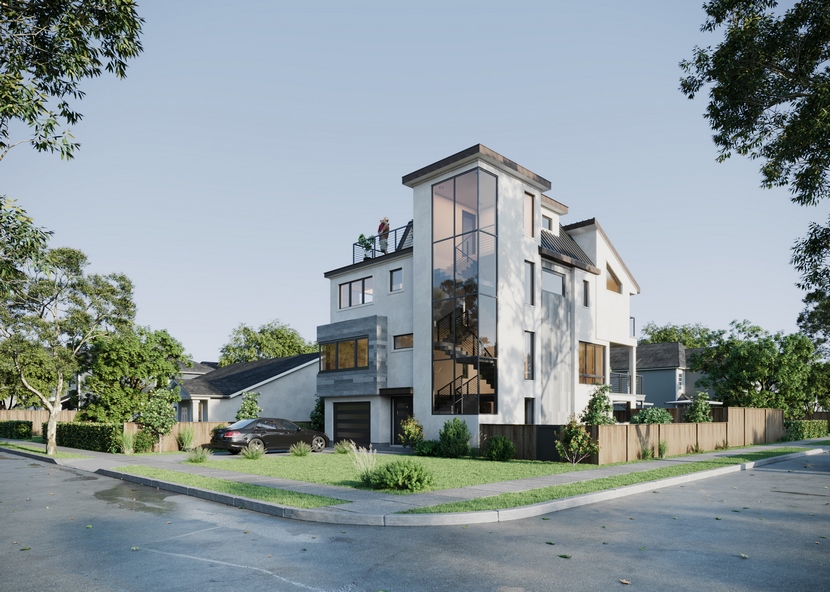
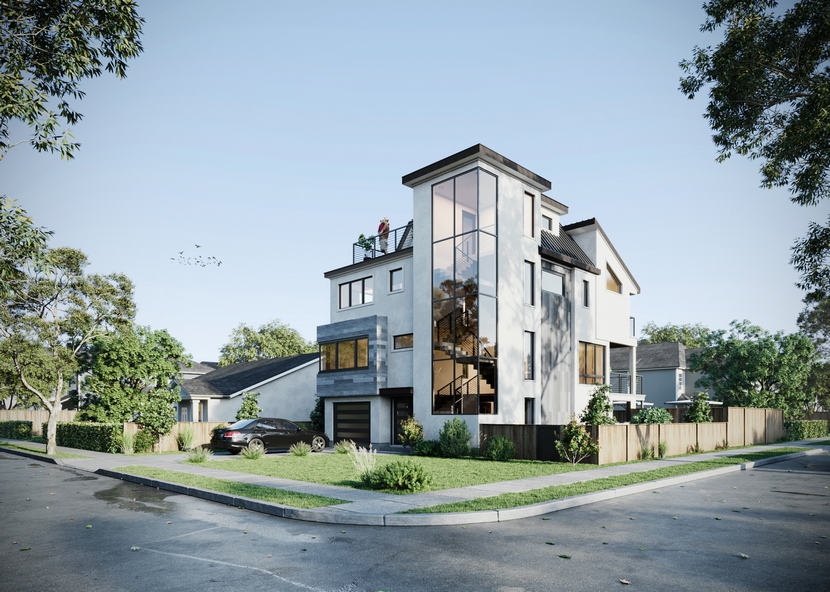
So that's it! I hope you enjoyed the making of the Villa USA. Thank you so much for your interest in my work and thanks again, RebusFarm for this great opportunity.
With warm regards,
Raveendra Chahar.
Check more of Humam's work on these channels:
Want to share your work with our community too?
Contact us at 이 이메일 주소가 스팸봇으로부터 보호됩니다. 확인하려면 자바스크립트 활성화가 필요합니다.and tell us about your favorite project.
Get started with your own renderings
