How to use the CostCalculator and the Render Cost Estimation in order to make a reliable cost estimation to render online
3.1 How to use the CostCalculator?
You can open the CostCalculator via our website www.rebusfarm.net under the section 'Buy' or via the RebusFarm setup window on your 3D software.

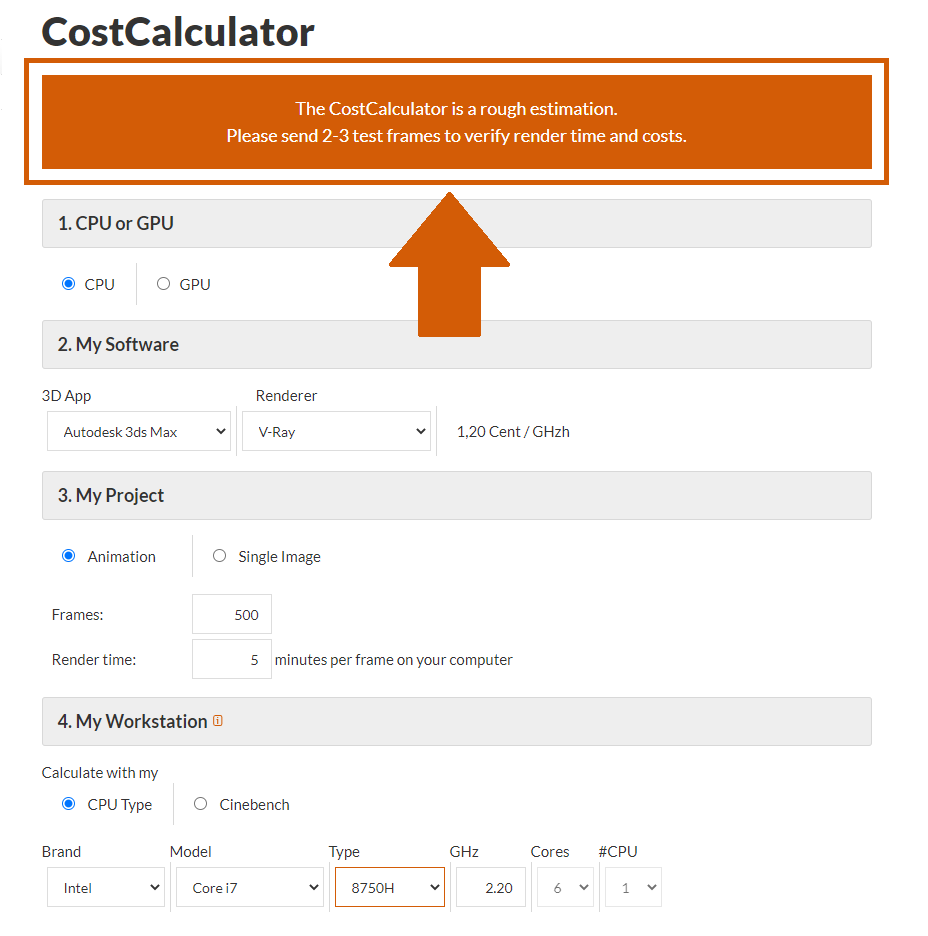
On the CostCalculator site, you select the settings of your render job.
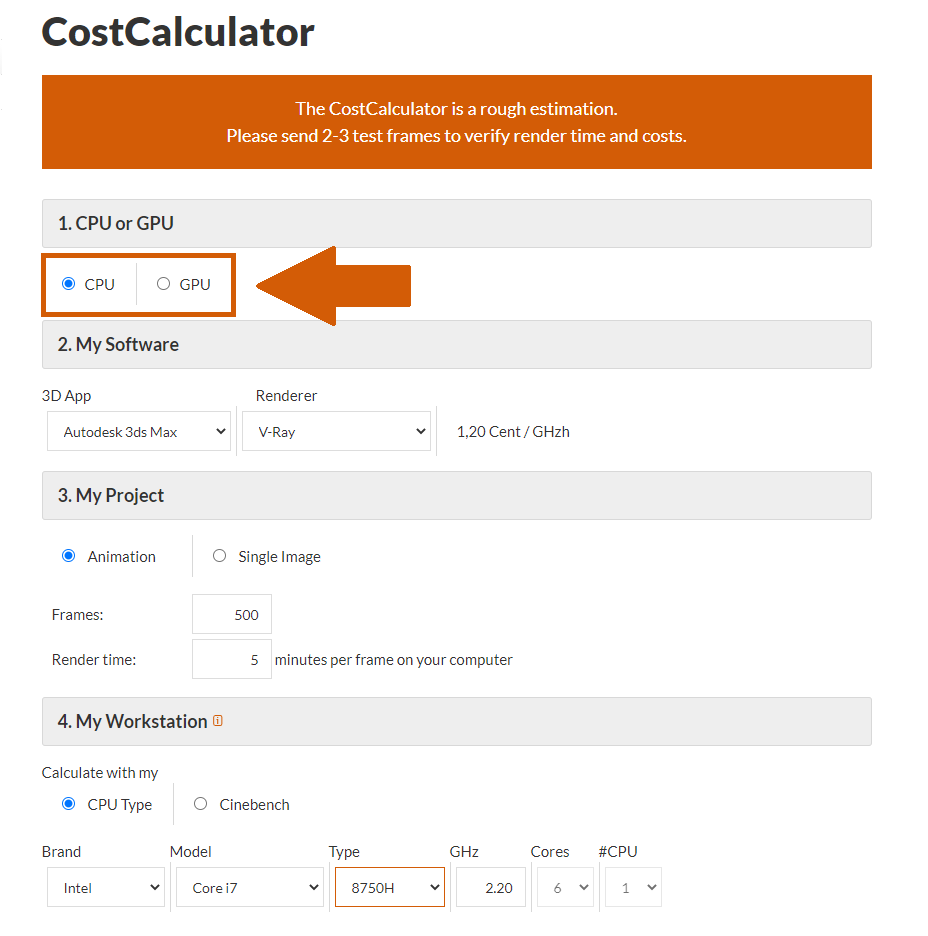
1. CPU or GPU: Please select if you will use CPU or GPU renderers in the render cloud.
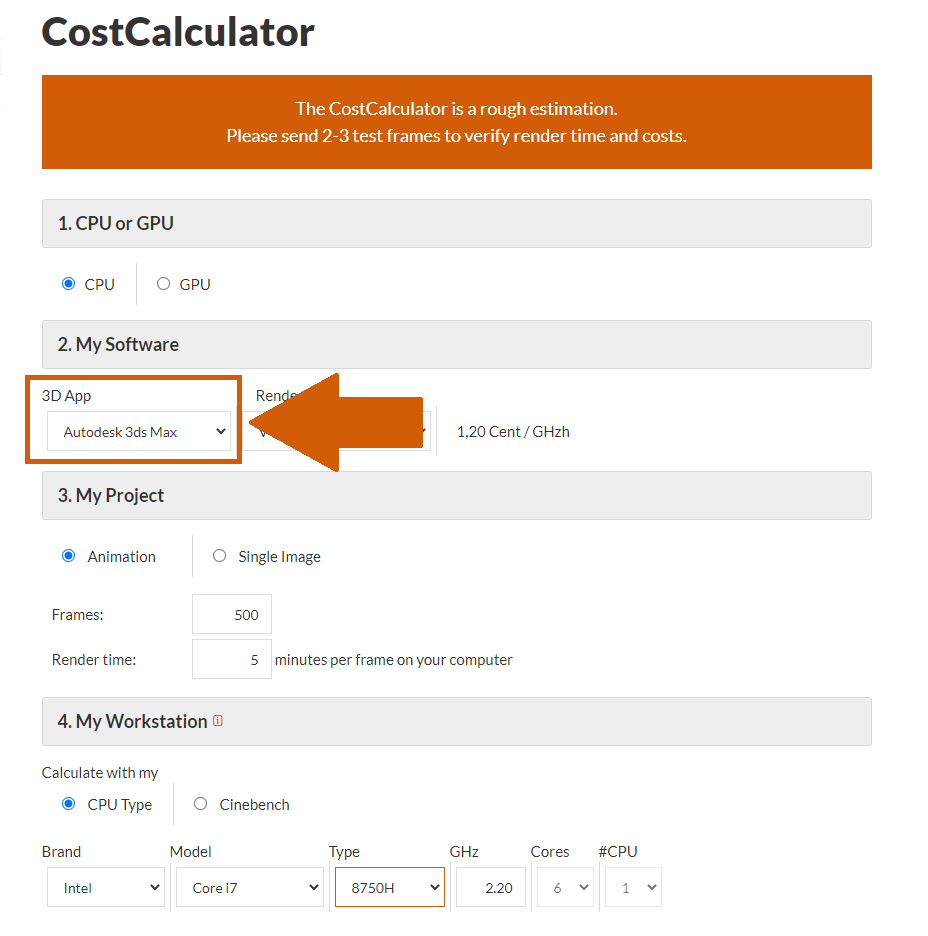
2. My Software - 3D App: Please select which 3D software you will use to render online.
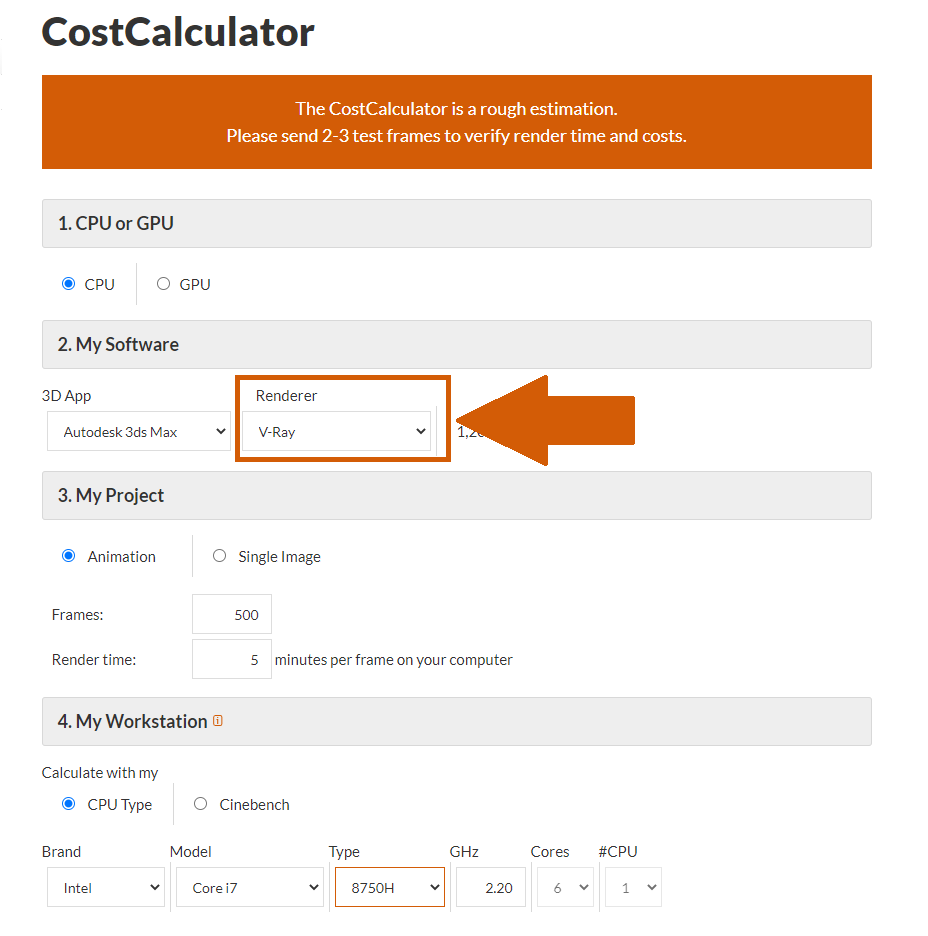
2. My Software - Renderer: Please select which renderer you will use with your 3D software.
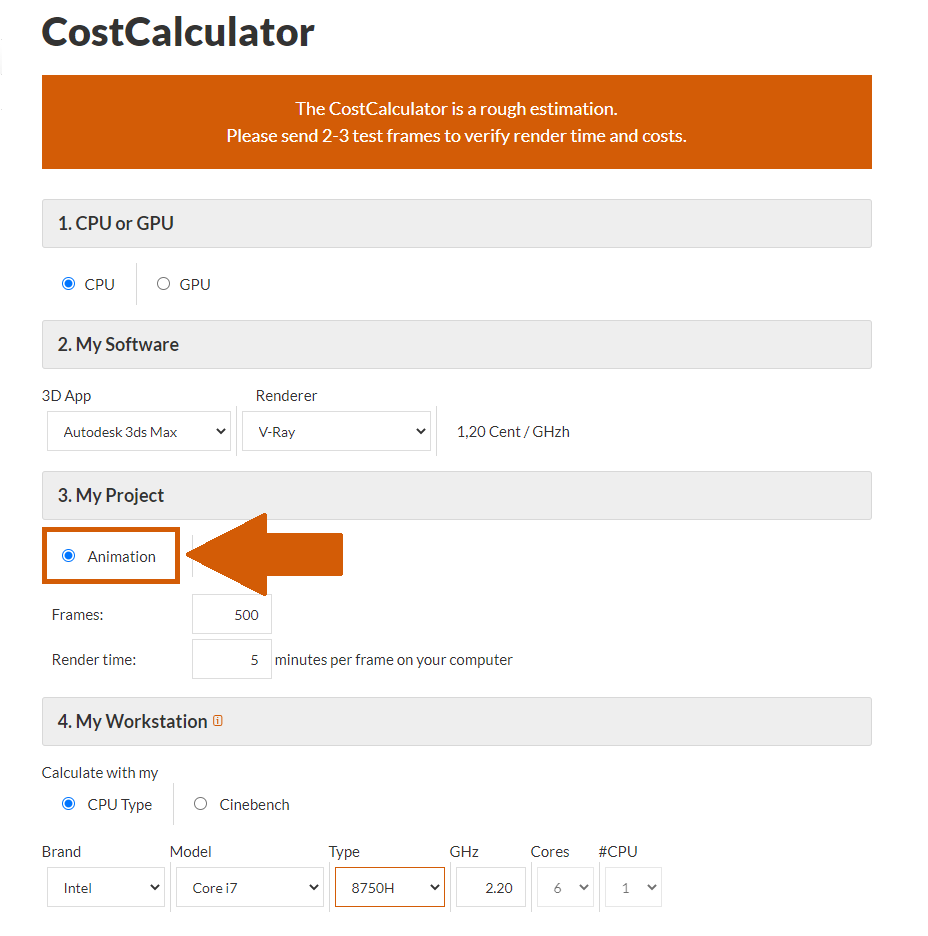
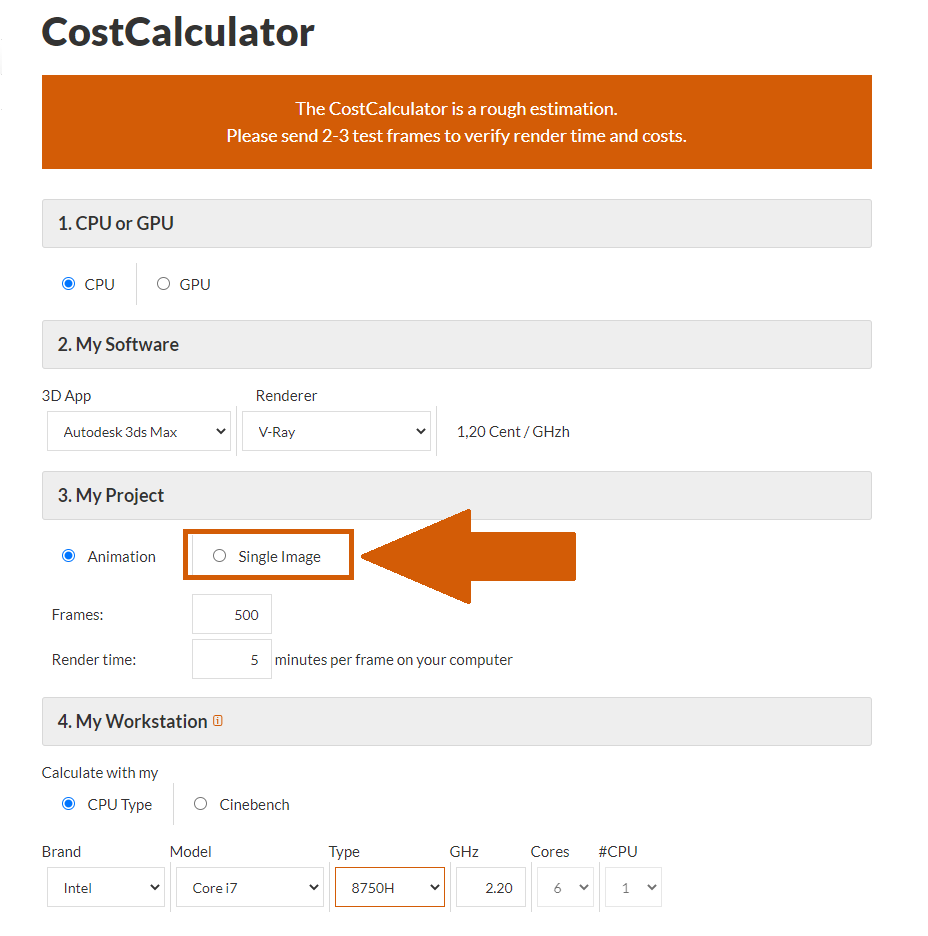
3. My Project - Animation: Select the option 'Animation' if you want to render an animation with two or more frames. Single Image: Select the option 'Single Image' if you want to render a single frame in single rendering mode. If you select 'Single Image' scroll down a little bit for further instructions.
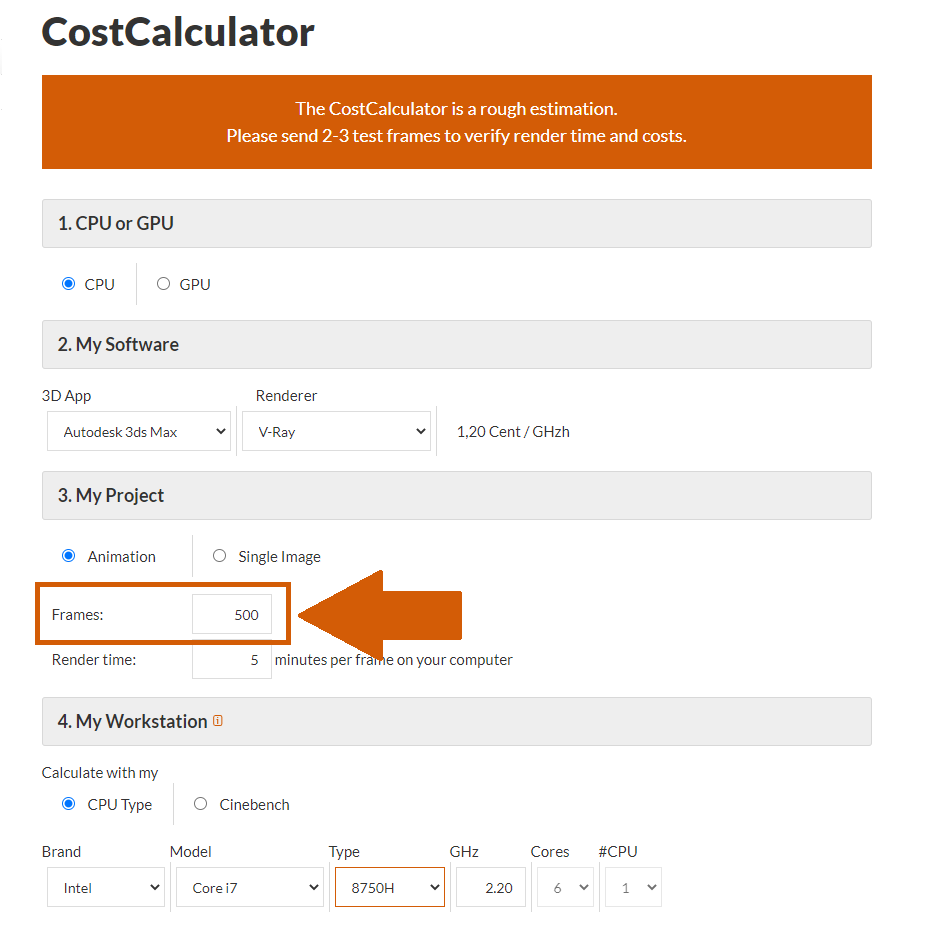
3. My Project - Animation - Frames: If you want to render a single frame on a single node, please enter "1" in this field. If you want to render an animation, please enter the total amount of frames that you will send to the render cloud.
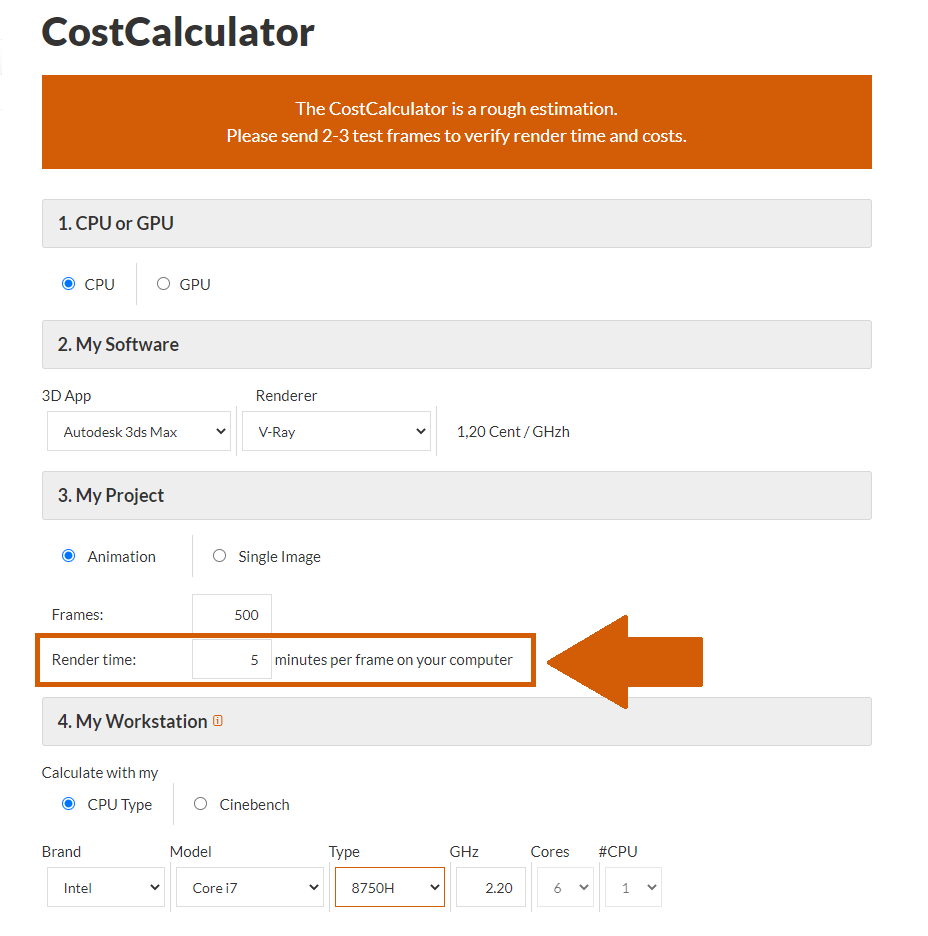
3. My Project - Animation - Render time: Please enter the time that one frame takes to render on your local machine. Please do not enter the time that you expect the frame to take in the render cloud. Make sure you use the longest time of the most intensive part of the animation as the base value.
3. My Project - Single Image: Select this option if you only want to render a single frame in distributed mode.
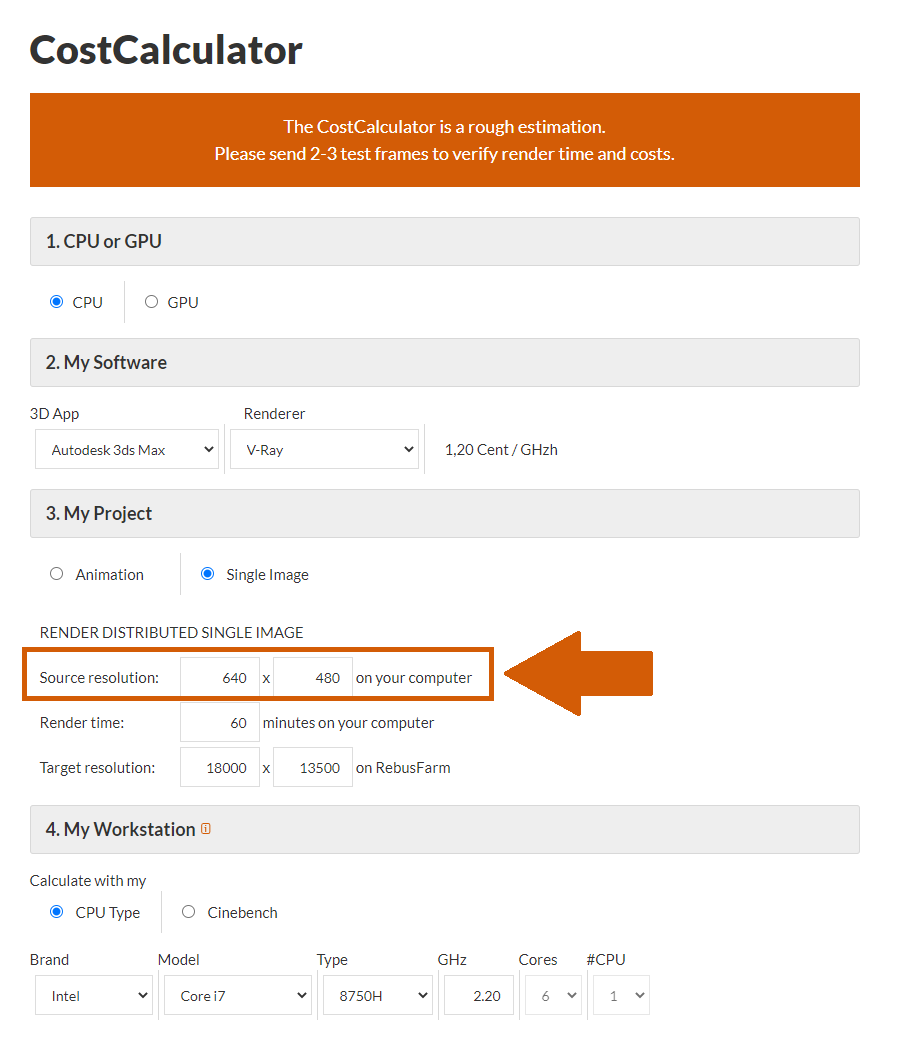
3. My Project - Single Image - Source resolution: Please enter the resolution you used to make the local test on your machine.
3. My Project - Single Image - Render time: Enter the time that one frame needed to be rendered on your local machine. Please do not enter the time that you expect the frame to take in the render cloud.
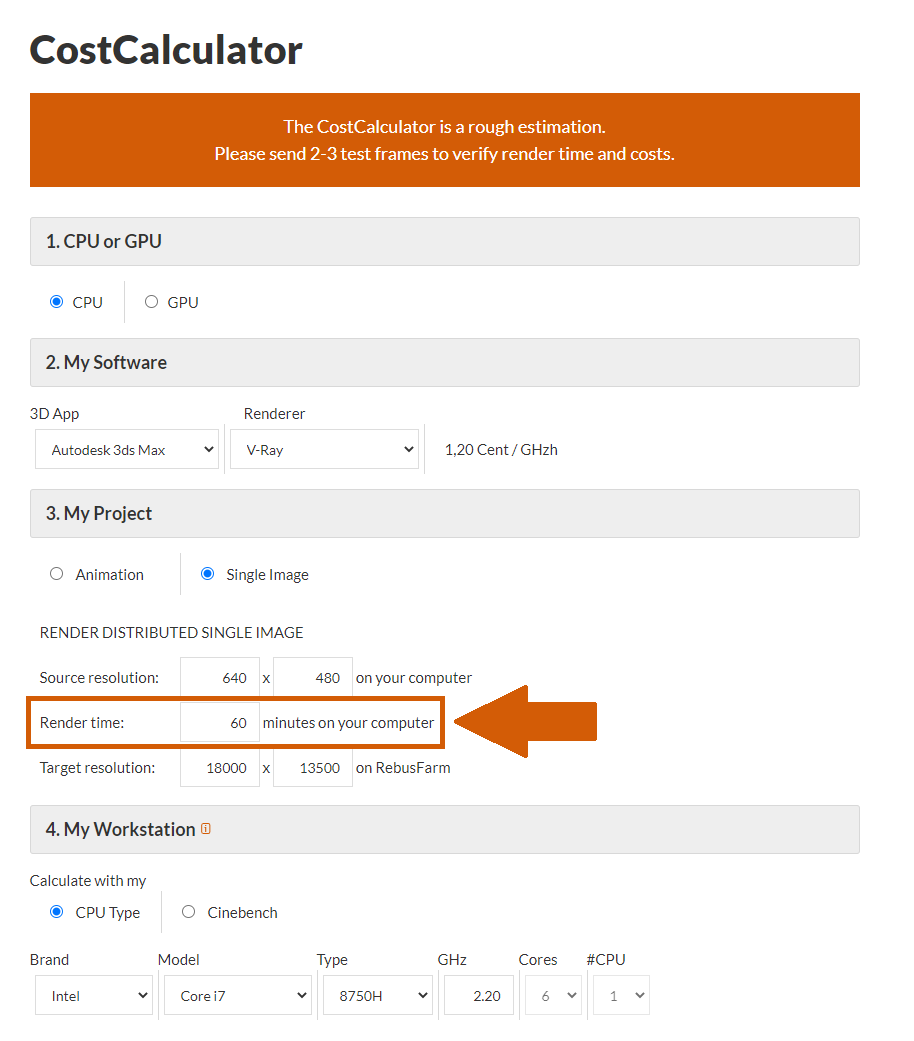
3. My Project - Single Image - Target resolution: In this field, you enter the resolution that you will use when you send your job to the render cloud.
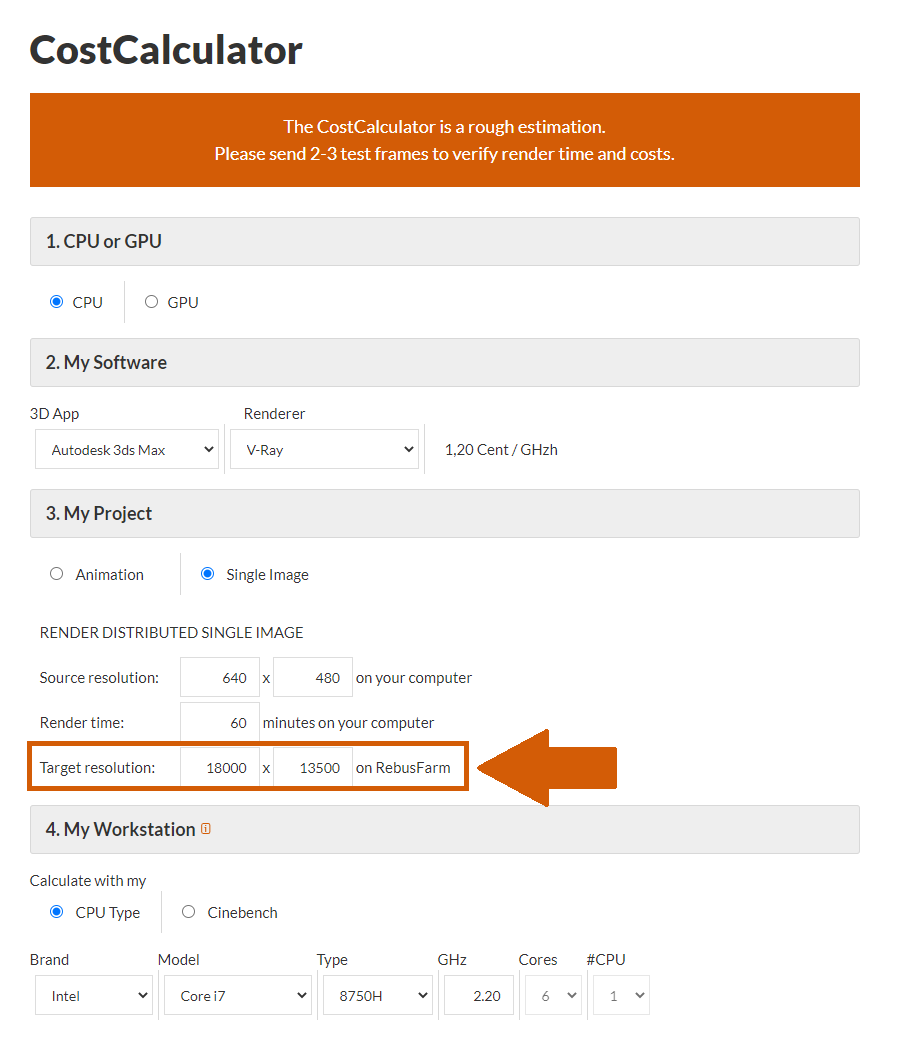
4. My Workstation - Calculate with my: Please select if you want to enter your CPU Type or your Cinebench to make your calculation.
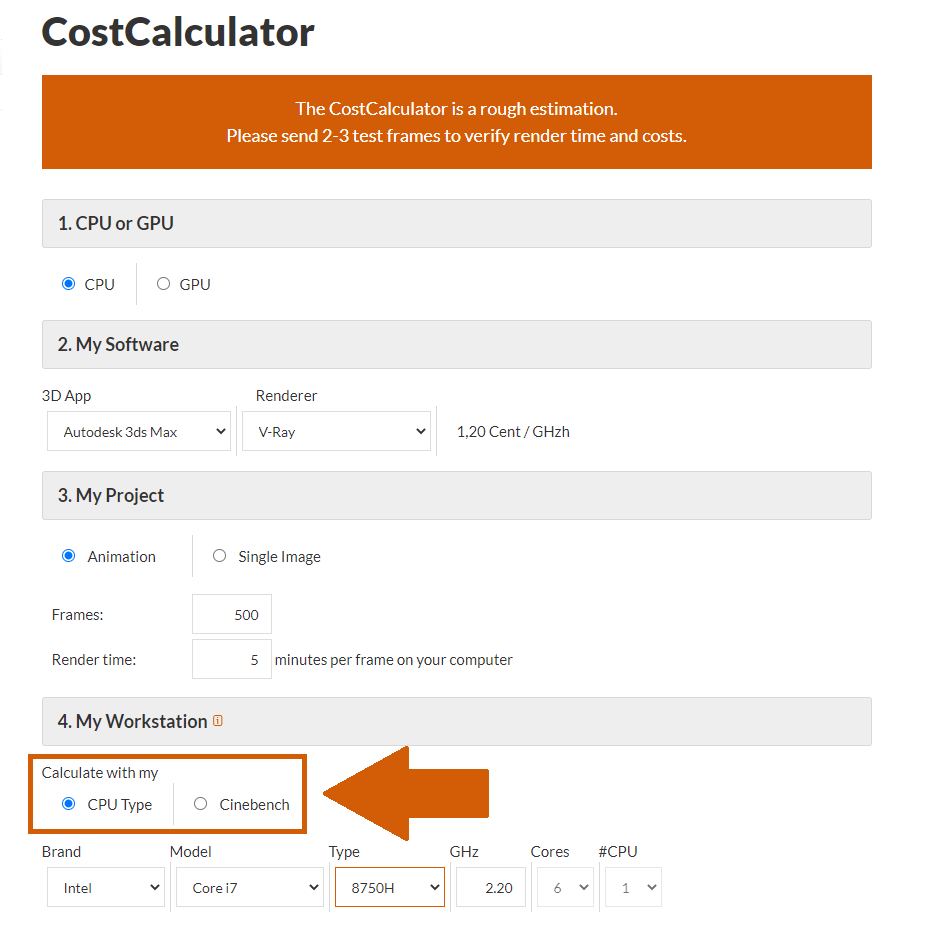
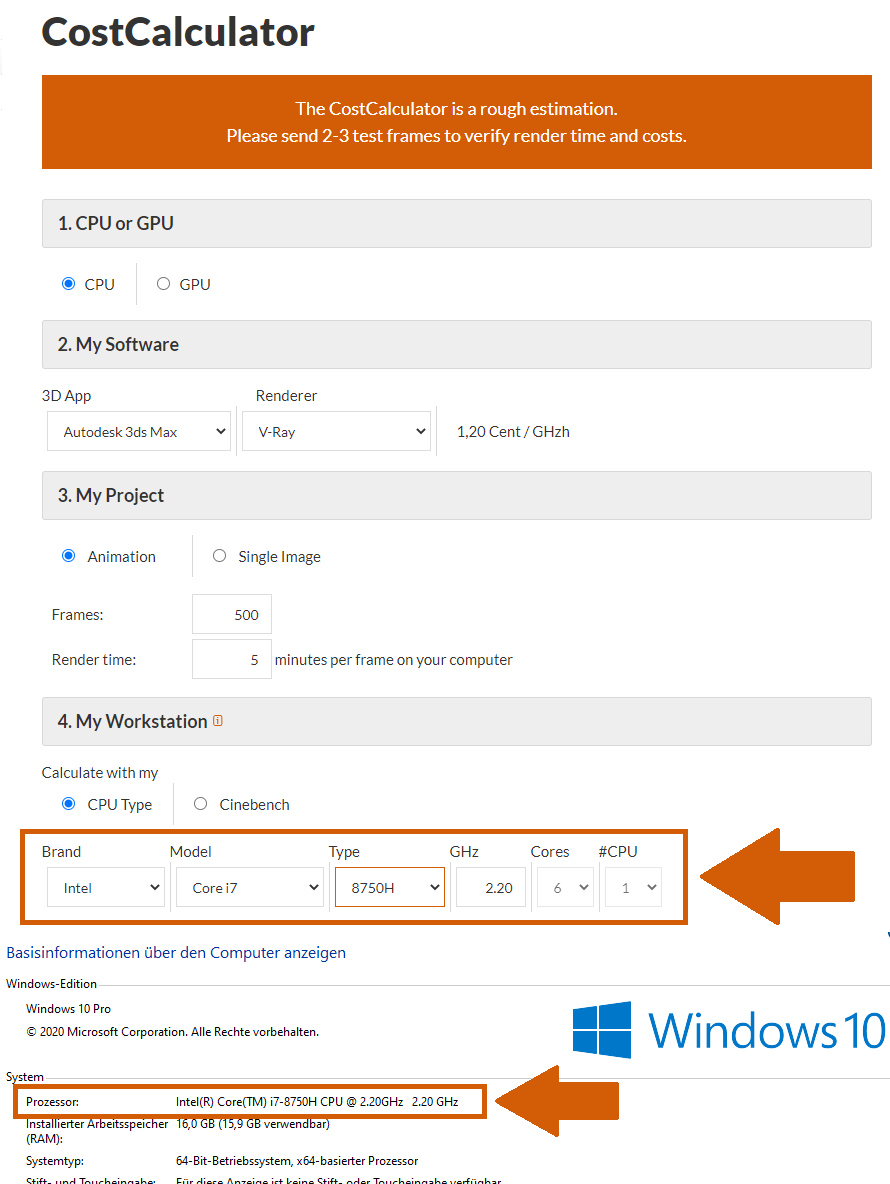
4. My Workstation - Calculate with my - CPU type: If you select 'CPU Type' enter the exact information of your local machine. You can find this information in the properties of your computer.
4. My Workstation - Calculate with my - Cinebench: Insert your corresponding Cinebench score.
After filling in all the required fields, you will find your cost estimation to render online with RebusFarm at the bottom of the page.
If needed, you can change to a different currency.
To render online with RebusFarm, you will need to buy RenderPoints. You can do that directly by clicking on the button 'Buy RenderPoints' at the bottom of the CostCalculator page. Or you log in to your account and buy the RenderPoints via the 'Payment' section.
Please notice that the CostCalculator is not accurate. Cost may be affected by incorrect data, or big changes during the rendering process. Therefore, it is recommended to send test frames before sending the entire project to the farm.
3.2 How to use the Render Cost Estimation tool?
Using the Render Cost Estimation is a very comfortable procedure to prognosticate the cost more accurately before sending your final job to the render cloud. It also allows you to continue rendering the job if no changes are necessary and the price matches. Below we will show you an example with Cinema 4D. This can be taken analogously in other programs like 3ds Max, Maya, and Blender.
First, you open your Cinema 4D project and make sure you have configured all your settings, before sending your job to render online.
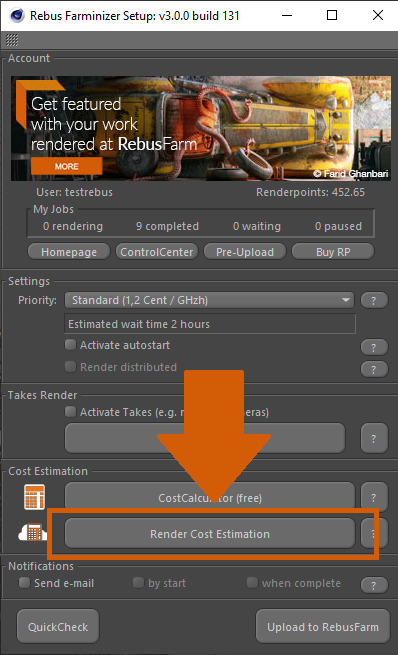
Next, open the RebusFarm setup window on the RebusFarm tab or press Ctrl+shift+F on your keyboard.
Click on the 'Render Cost Estimation' option.
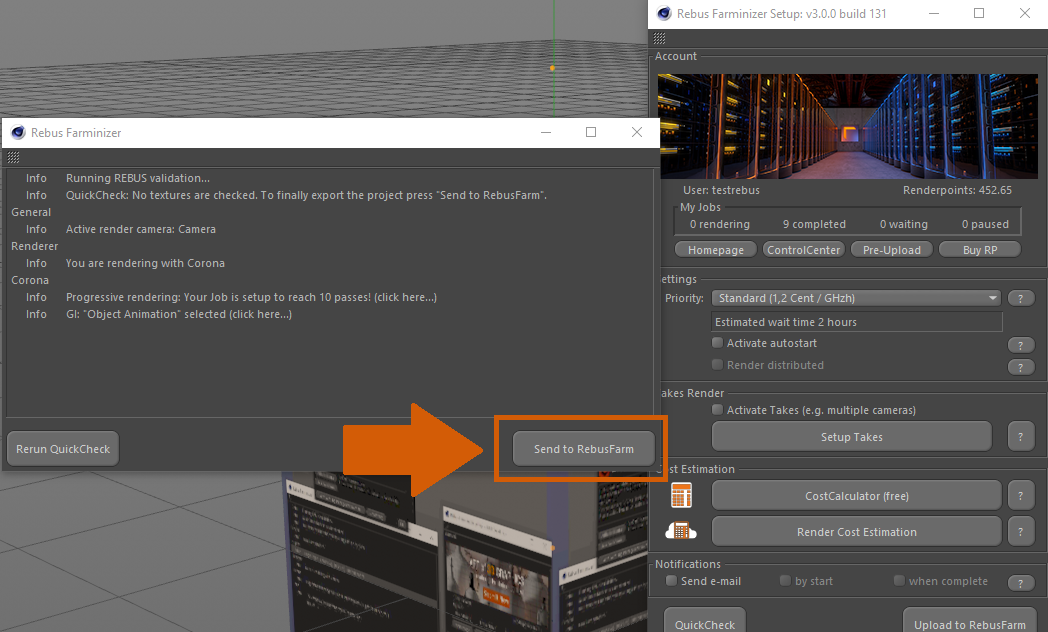
A new window will open for RebusFarm messages. This window shows all the relevant information, warnings, and errors your scene may have. If you don’t get any error message, please click on 'Send to Rebus' to upload your file to the render cloud. If you get warnings or errors, take care of them and you can send your job to the render farm.
Your job will be uploaded. Our system randomly picks three frames of your project and starts to render those automatically.

Once those three frames are ready, your job will be paused and the cost estimation will appear in the ControlCenter and you also get an e-mail with the cost estimation.


If you agree with the estimated cost, you just have to click on the 'Start render/Play' button to complete the job.

